Useful Functions
Selective area transmission
By using the selective area window, you can specify the necessary information alone from the computer screen, and display it on the projection screen.
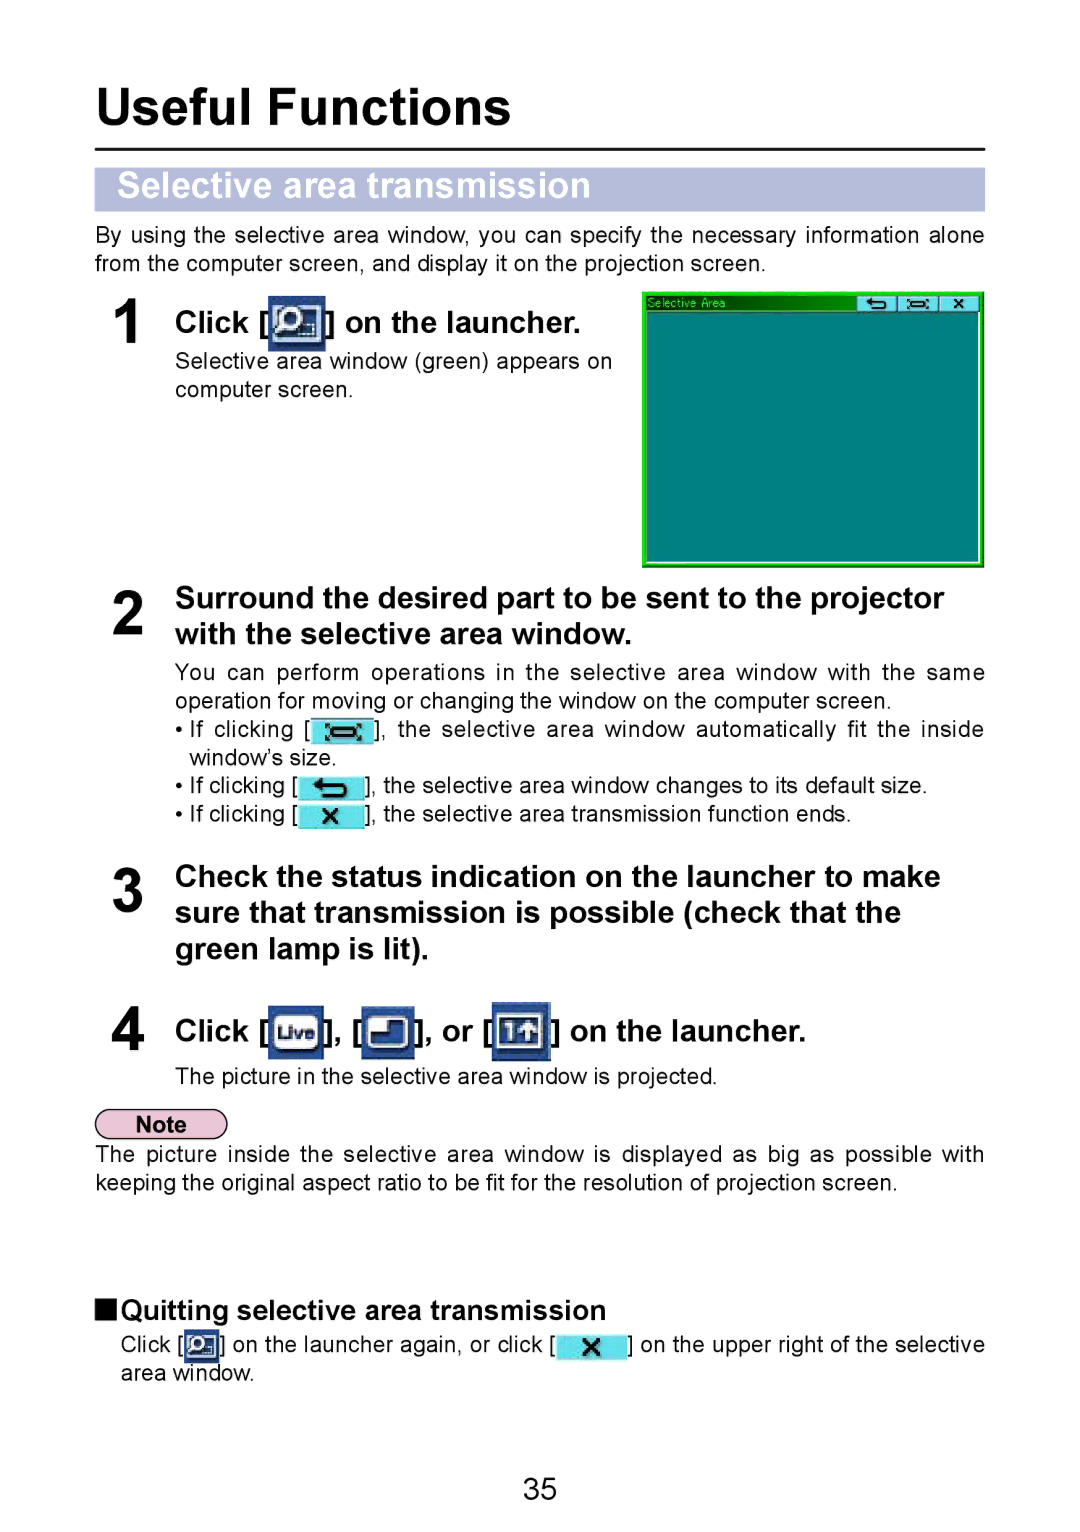
1Click [ ] on the launcher.
Selective area window (green) appears on computer screen.
2Surround the desired part to be sent to the projector with the selective area window.
You can perform operations in the selective area window with the same operation for moving or changing the window on the computer screen.
•If clicking [![]() ], the selective area window automatically fit the inside window’s size.
], the selective area window automatically fit the inside window’s size.
•If clicking [![]() ], the selective area window changes to its default size.
], the selective area window changes to its default size.
•If clicking [![]() ], the selective area transmission function ends.
], the selective area transmission function ends.
3
4
Check the status indication on the launcher to make sure that transmission is possible (check that the green lamp is lit).
Click [ | ], [ | ], or [ | ] on the launcher. |
The picture in the selective area window is projected.
The picture inside the selective area window is displayed as big as possible with keeping the original aspect ratio to be fit for the resolution of projection screen.
 Quitting selective area transmission
Click [ ] on the launcher again, or click [ | ] on the upper right of the selective |
area window. |
|
35