Before Use
Quick Guide
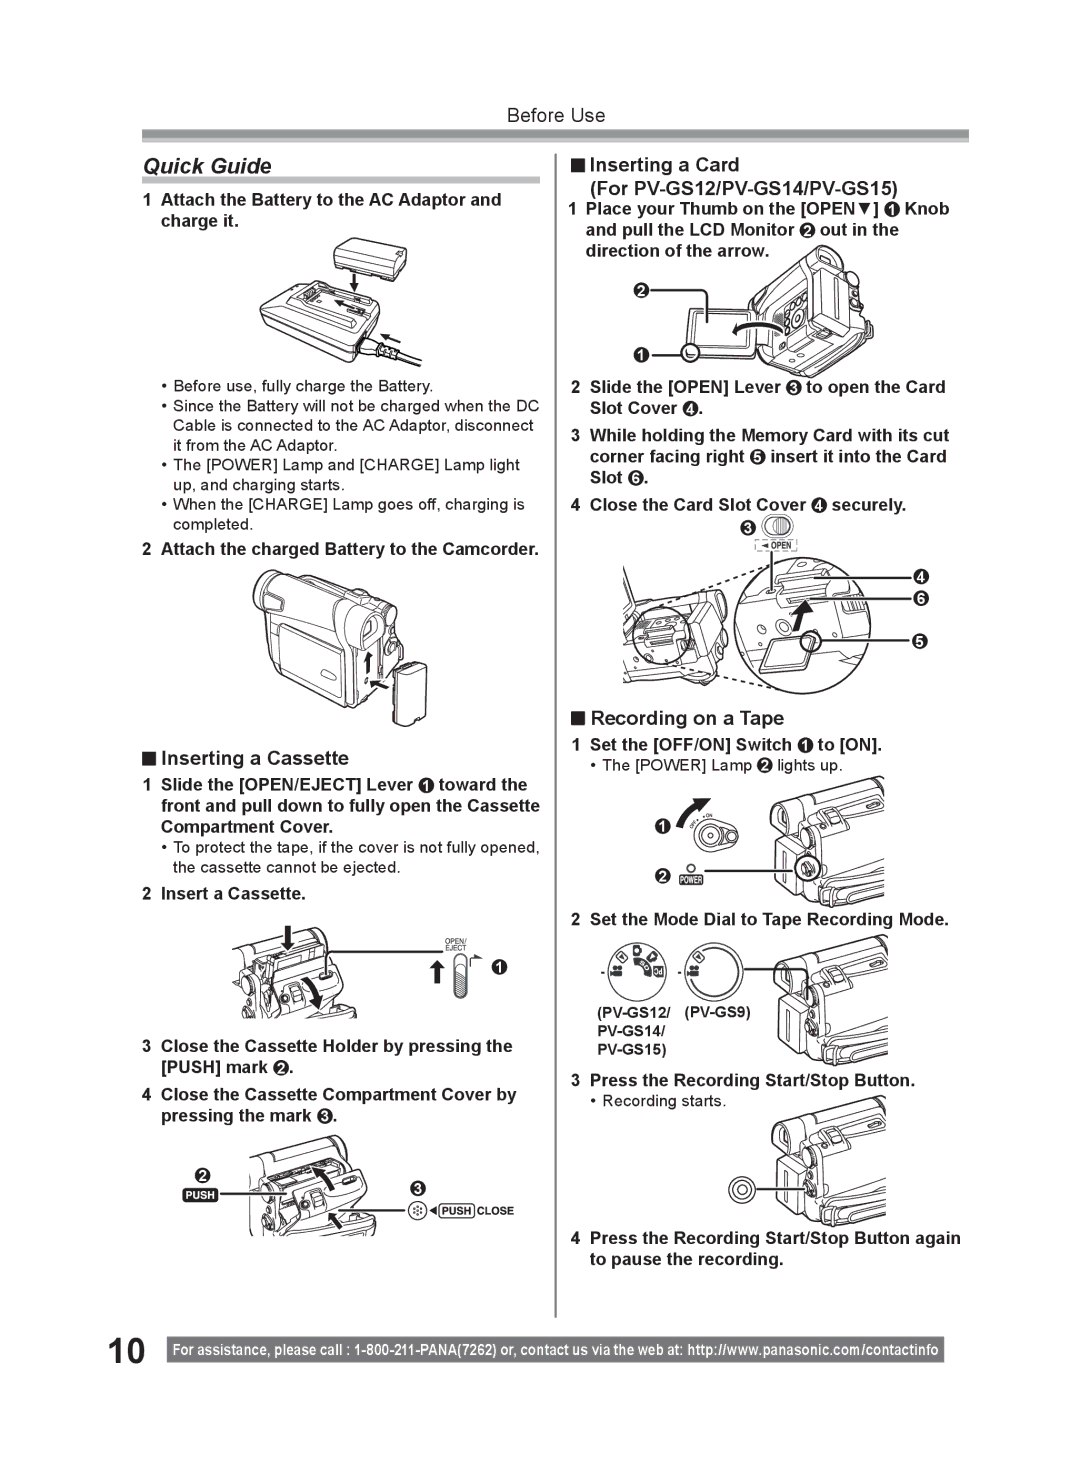
1Attach the Battery to the AC Adaptor and charge it.
•Before use, fully charge the Battery.
•Since the Battery will not be charged when the DC Cable is connected to the AC Adaptor, disconnect it from the AC Adaptor.
•The [POWER] Lamp and [CHARGE] Lamp light up, and charging starts.
•When the [CHARGE] Lamp goes off, charging is completed.
2 Attach the charged Battery to the Camcorder.
 Inserting a Cassette
1Slide the [OPEN/EJECT] Lever 1 toward the front and pull down to fully open the Cassette Compartment Cover.
•To protect the tape, if the cover is not fully opened, the cassette cannot be ejected.
2Insert a Cassette.
1
3Close the Cassette Holder by pressing the [PUSH] mark 2 .
4Close the Cassette Compartment Cover by pressing the mark 3 .
2 ![]()
![]() 3
3
 Inserting a Card
(For PV-GS12/PV-GS14/PV-GS15)
1Place your Thumb on the [OPEN▼] 1 Knob and pull the LCD Monitor 2 out in the direction of the arrow.
2
1
2Slide the [OPEN] Lever 3 to open the Card Slot Cover 4 .
3While holding the Memory Card with its cut corner facing right 5 insert it into the Card Slot 6 .
4Close the Card Slot Cover 4 securely.
3
4
6
5
 Recording on a Tape
1Set the [OFF/ON] Switch 1 to [ON].
• The [POWER] Lamp 2 lights up.
1![]()
2![]()
2 Set the Mode Dial to Tape Recording Mode.
3Press the Recording Start/Stop Button.
• Recording starts.
4Press the Recording Start/Stop Button again to pause the recording.
10 |
|
For assistance, please call : | |
|