With a PC
With a PC
Using the Software with a Personal Computer
An image stored on the DV Cassette or Memory Card can be transferred to your personal computer.
 Software Installation (For Windows)
1Turn on the personal computer and start up Windows.
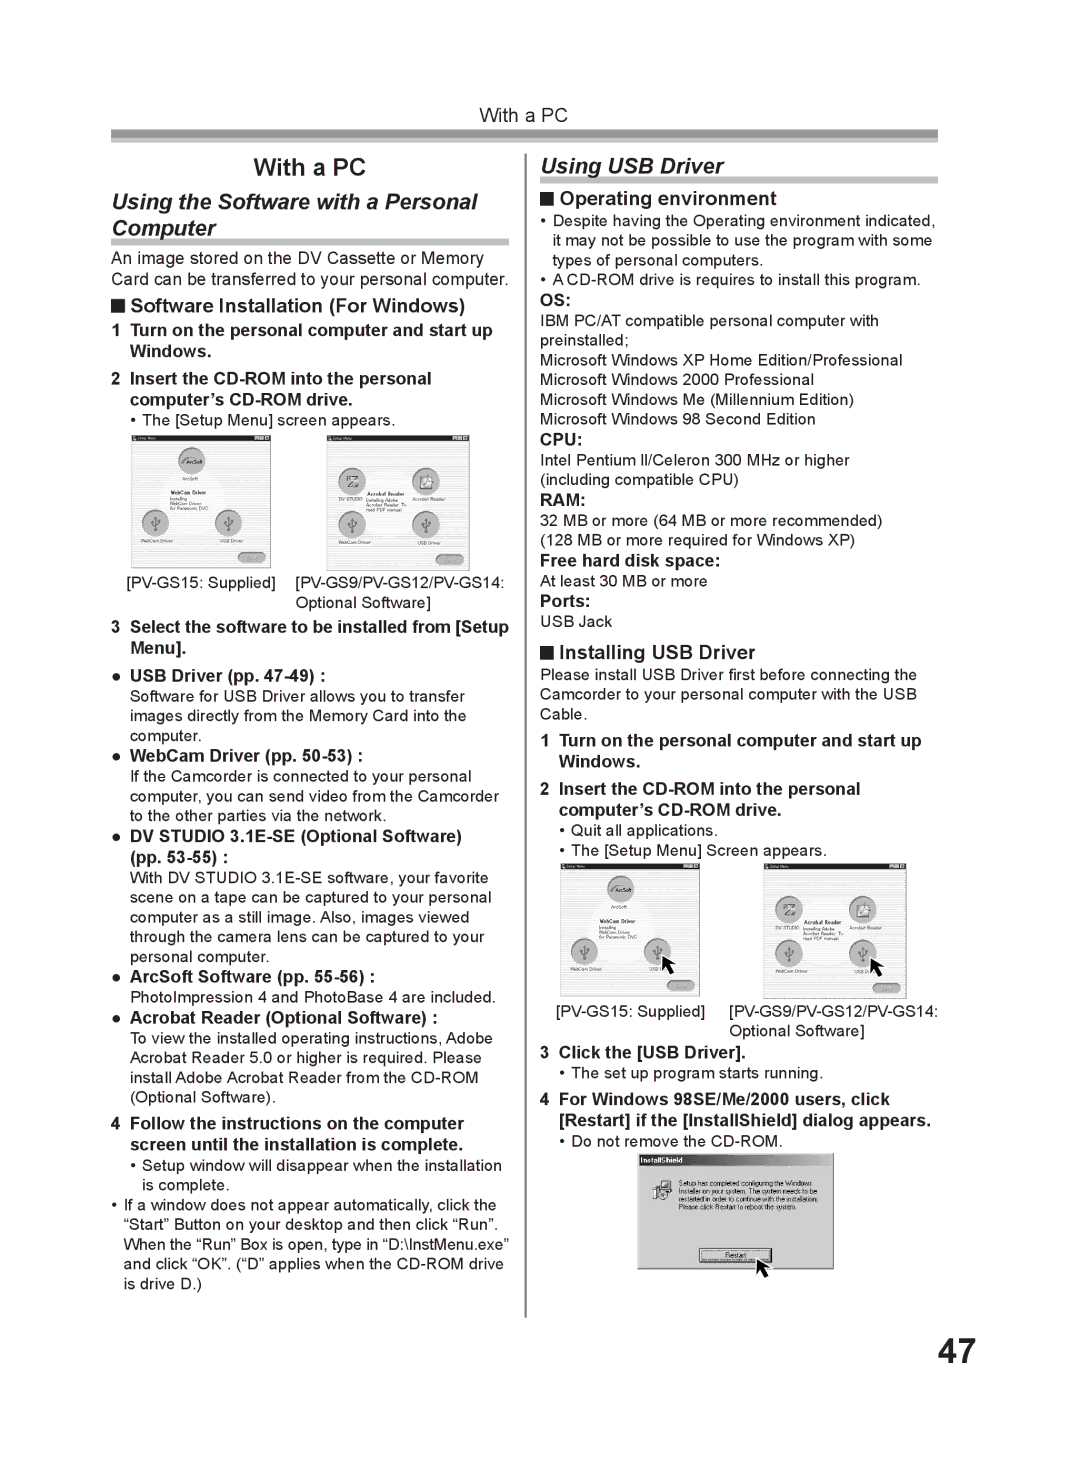
2Insert the
• The [Setup Menu] screen appears.
3Select the software to be installed from [Setup Menu].
●USB Driver (pp.
Software for USB Driver allows you to transfer images directly from the Memory Card into the computer.
●WebCam Driver (pp. 50-53) :
If the Camcorder is connected to your personal computer, you can send video from the Camcorder to the other parties via the network.
●DV STUDIO 3.1E-SE (Optional Software) (pp. 53-55) :
With DV STUDIO
●ArcSoft Software (pp.
●Acrobat Reader (Optional Software) :
To view the installed operating instructions, Adobe Acrobat Reader 5.0 or higher is required. Please install Adobe Acrobat Reader from the
4Follow the instructions on the computer screen until the installation is complete.
•Setup window will disappear when the installation is complete.
•If a window does not appear automatically, click the “Start” Button on your desktop and then click “Run”. When the “Run” Box is open, type in “D:\InstMenu.exe” and click “OK”. (“D” applies when the
Using USB Driver
 Operating environment
•Despite having the Operating environment indicated, it may not be possible to use the program with some types of personal computers.
•A
OS:
IBM PC/AT compatible personal computer with preinstalled;
Microsoft Windows XP Home Edition/Professional Microsoft Windows 2000 Professional Microsoft Windows Me (Millennium Edition) Microsoft Windows 98 Second Edition
CPU:
Intel Pentium ll/Celeron 300 MHz or higher (including compatible CPU)
RAM:
32 MB or more (64 MB or more recommended)
(128 MB or more required for Windows XP)
Free hard disk space: At least 30 MB or more
Ports: USB Jack
 Installing USB Driver
Please install USB Driver first before connecting the Camcorder to your personal computer with the USB Cable.
1Turn on the personal computer and start up Windows.
2Insert the
•Quit all applications.
•The [Setup Menu] Screen appears.
3Click the [USB Driver].
•The set up program starts running.
4For Windows 98SE/Me/2000 users, click [Restart] if the [InstallShield] dialog appears.
•Do not remove the
47