Before Use
•Since the Battery will not be charged when the DC Cable is connected to the AC Adaptor, disconnect it from the AC Adaptor.
•The [POWER] Lamp and [CHARGE] Lamp light up, and charging starts.
•When the [CHARGE] Lamp goes off, charging is completed.
•When the battery is completely discharged, the [CHARGE] Lamp blinks at first, but the battery is charged normally. When the temperature of the battery is too high or low, the [CHARGE] Lamp blinks and the charging time becomes longer than usual.
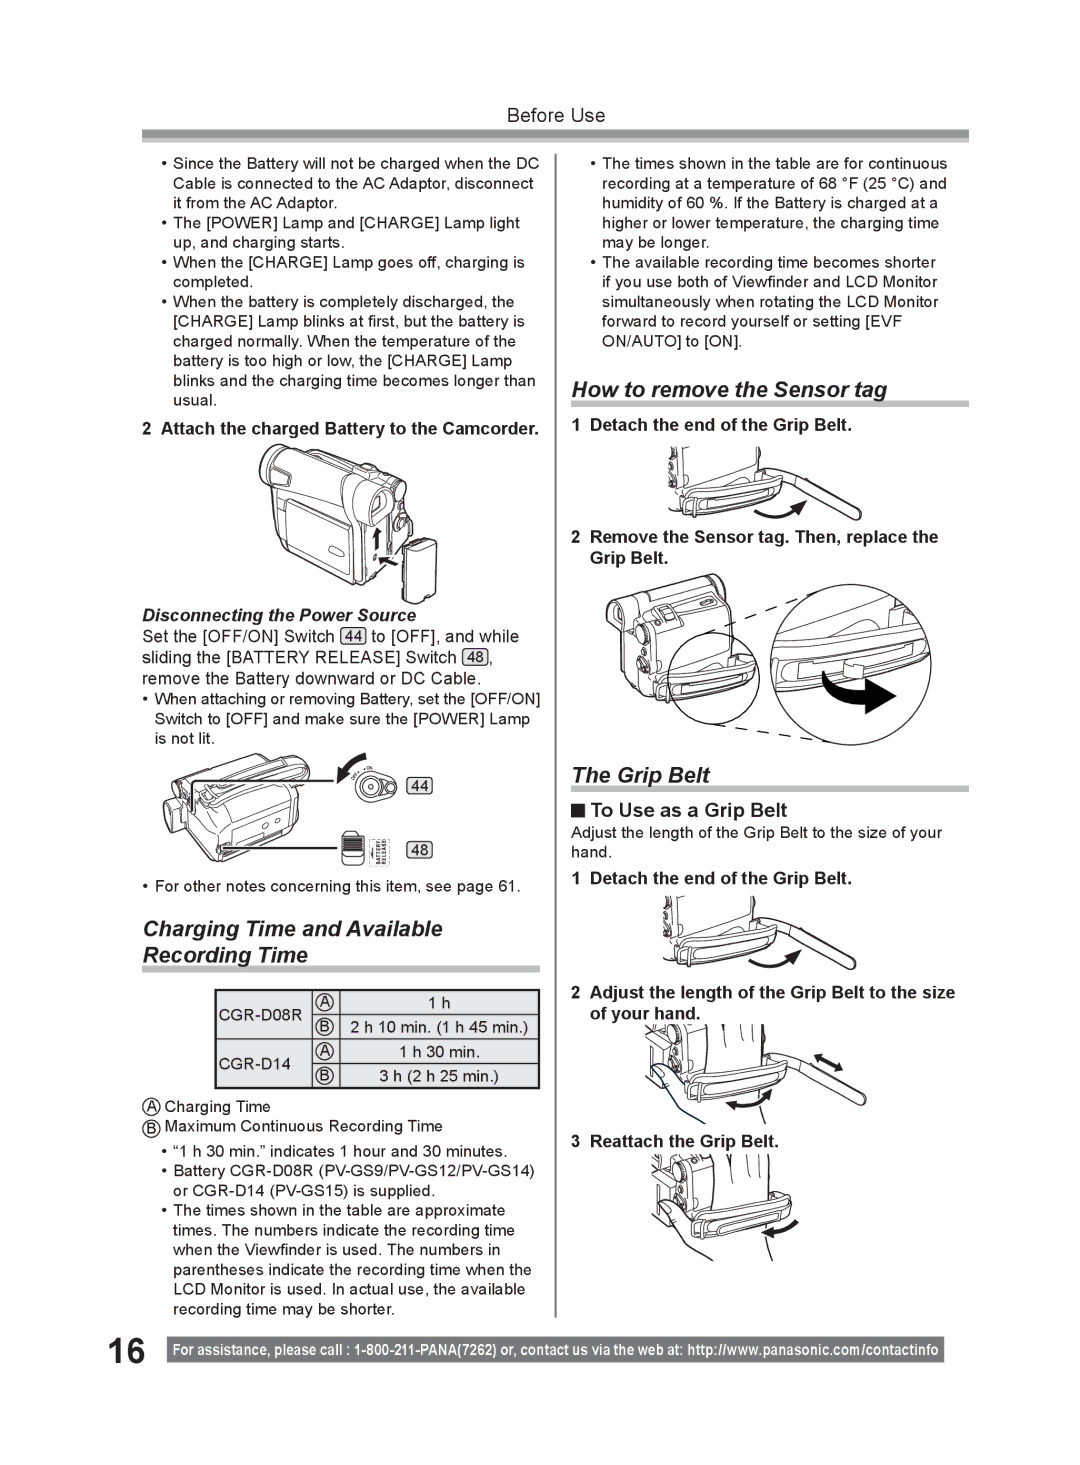
2 Attach the charged Battery to the Camcorder.
Disconnecting the Power Source
Set the [OFF/ON] Switch 44 to [OFF], and while sliding the [BATTERY RELEASE] Switch 48 , remove the Battery downward or DC Cable.
•When attaching or removing Battery, set the [OFF/ON] Switch to [OFF] and make sure the [POWER] Lamp is not lit.
44
48
• For other notes concerning this item, see page 61.
Charging Time and Available Recording Time
| A | 1 h | |
B | 2 h 10 min. (1 h 45 min.) | ||
A | 1 h 30 min. | ||
B | 3 h (2 h 25 min.) | ||
|
ACharging Time
BMaximum Continuous Recording Time
•“1 h 30 min.” indicates 1 hour and 30 minutes.
•Battery
•The times shown in the table are approximate times. The numbers indicate the recording time when the Viewfinder is used. The numbers in parentheses indicate the recording time when the LCD Monitor is used. In actual use, the available recording time may be shorter.
•The times shown in the table are for continuous recording at a temperature of 68 °F (25 °C) and humidity of 60 %. If the Battery is charged at a higher or lower temperature, the charging time may be longer.
•The available recording time becomes shorter if you use both of Viewfinder and LCD Monitor simultaneously when rotating the LCD Monitor forward to record yourself or setting [EVF ON/AUTO] to [ON].
How to remove the Sensor tag
1Detach the end of the Grip Belt.
2Remove the Sensor tag. Then, replace the Grip Belt.
The Grip Belt
 To Use as a Grip Belt
Adjust the length of the Grip Belt to the size of your hand.
1Detach the end of the Grip Belt.
2Adjust the length of the Grip Belt to the size of your hand.
3Reattach the Grip Belt.
16 |
|
For assistance, please call : | |
|