Before Use
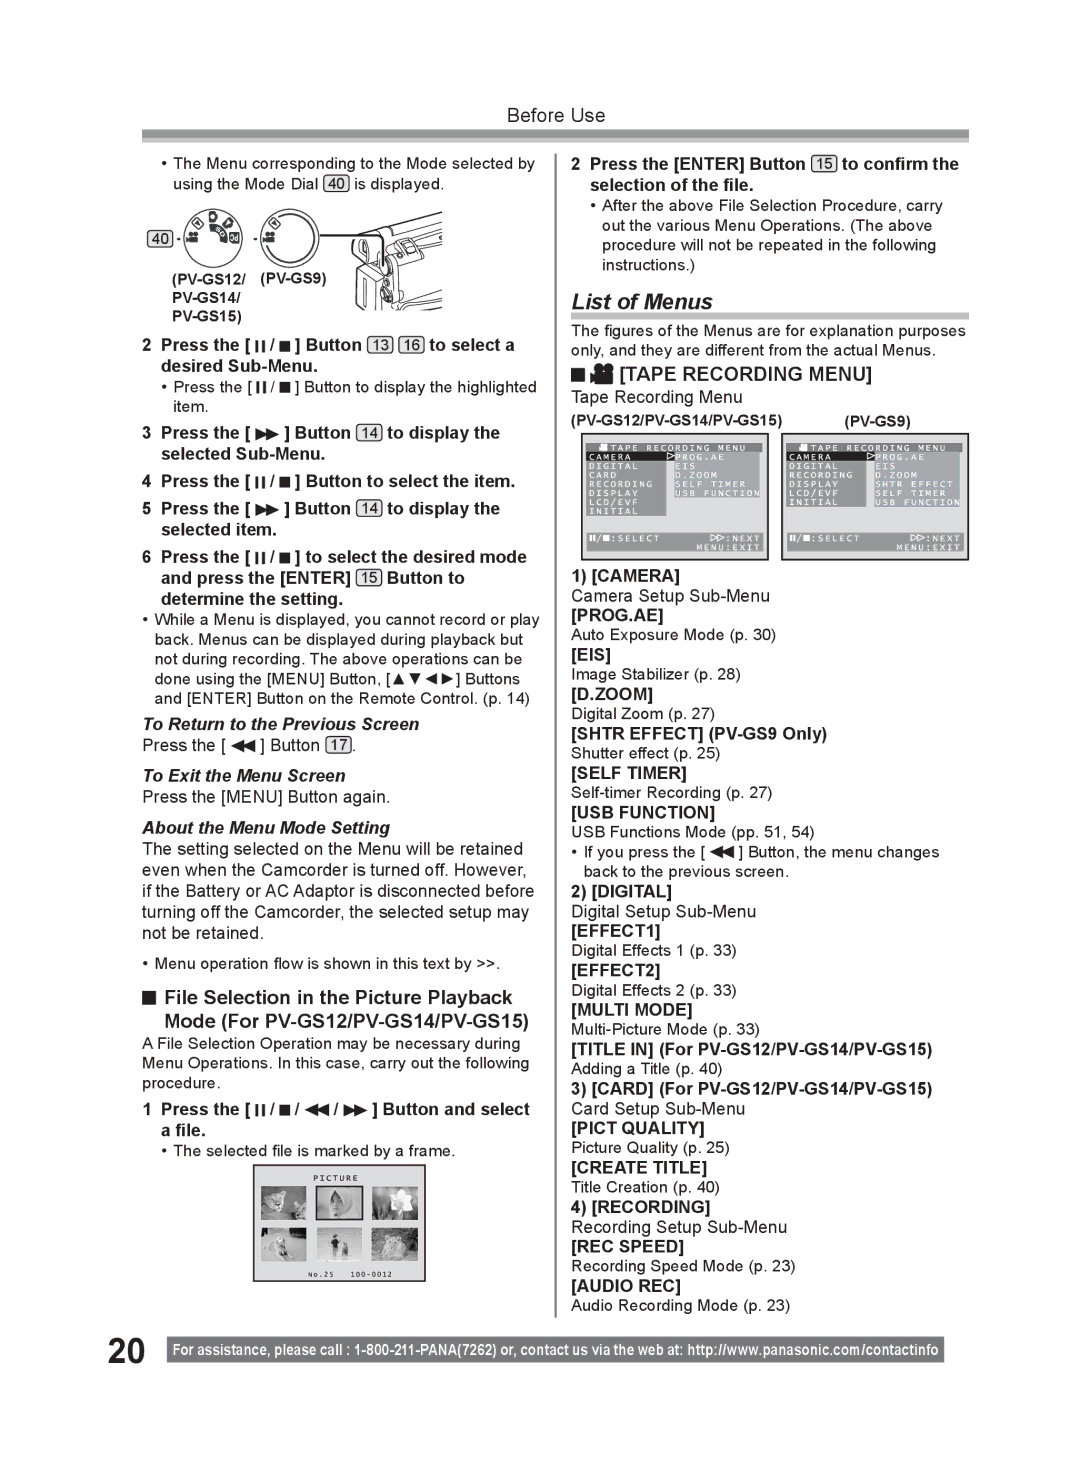
•The Menu corresponding to the Mode selected by using the Mode Dial 40 is displayed.
40 ![]()
![]()
![]()
2 Press the [ ![]()
![]() /
/ ![]() ] Button 13 16 to select a desired
] Button 13 16 to select a desired
•Press the [ ![]()
![]() /
/ ![]() ] Button to display the highlighted item.
] Button to display the highlighted item.
3Press the [ ![]() ] Button 14 to display the selected
] Button 14 to display the selected
4Press the [ ![]()
![]() /
/ ![]() ] Button to select the item.
] Button to select the item.
5Press the [ ![]() ] Button 14 to display the selected item.
] Button 14 to display the selected item.
6Press the [ ![]()
![]() /
/ ![]() ] to select the desired mode and press the [ENTER] 15 Button to
] to select the desired mode and press the [ENTER] 15 Button to
determine the setting.
•While a Menu is displayed, you cannot record or play back. Menus can be displayed during playback but not during recording. The above operations can be done using the [MENU] Button, [▲▼◄►] Buttons and [ENTER] Button on the Remote Control. (p. 14)
To Return to the Previous Screen
Press the [ ![]() ] Button 17 .
] Button 17 .
To Exit the Menu Screen
Press the [MENU] Button again.
About the Menu Mode Setting
The setting selected on the Menu will be retained even when the Camcorder is turned off. However, if the Battery or AC Adaptor is disconnected before turning off the Camcorder, the selected setup may not be retained.
• Menu operation flow is shown in this text by >>.
![]() File Selection in the Picture Playback Mode (For
File Selection in the Picture Playback Mode (For
A File Selection Operation may be necessary during Menu Operations. In this case, carry out the following procedure.
1Press the [ ![]()
![]() /
/ ![]() /
/ ![]() /
/ ![]() ] Button and select a file.
] Button and select a file.
• The selected file is marked by a frame.
2Press the [ENTER] Button 15 to confirm the selection of the file.
•After the above File Selection Procedure, carry out the various Menu Operations. (The above procedure will not be repeated in the following instructions.)
List of Menus
The figures of the Menus are for explanation purposes only, and they are different from the actual Menus.
[TAPE RECORDING MENU]
Tape Recording Menu
1) [CAMERA]
Camera Setup
[PROG.AE]
Auto Exposure Mode (p. 30)
[EIS]
Image Stabilizer (p. 28)
[D.ZOOM]
Digital Zoom (p. 27)
[SHTR EFFECT]
Shutter effect (p. 25)
[SELF TIMER]
[USB FUNCTION]
USB Functions Mode (pp. 51, 54)
•If you press the [ ![]() ] Button, the menu changes back to the previous screen.
] Button, the menu changes back to the previous screen.
2) [DIGITAL]
Digital Setup
[EFFECT1]
Digital Effects 1 (p. 33)
[EFFECT2]
Digital Effects 2 (p. 33)
[MULTI MODE]
[TITLE IN] (For PV-GS12/PV-GS14/PV-GS15)
Adding a Title (p. 40)
3)[CARD] (For
[PICT QUALITY] Picture Quality (p. 25)
[CREATE TITLE] Title Creation (p. 40)
4)[RECORDING]
Recording Setup
[REC SPEED]
Recording Speed Mode (p. 23)
[AUDIO REC]
Audio Recording Mode (p. 23)
20 |
|
For assistance, please call : | |
|