Correct image defects (blemishes) such as scratches
Image defects (blemishes) such as scratches can be corrected in the following method.
Step 1
Press the [SET] button after moving the cursor onto "PIX OFF" on the "SPECIAL SETUP" page.
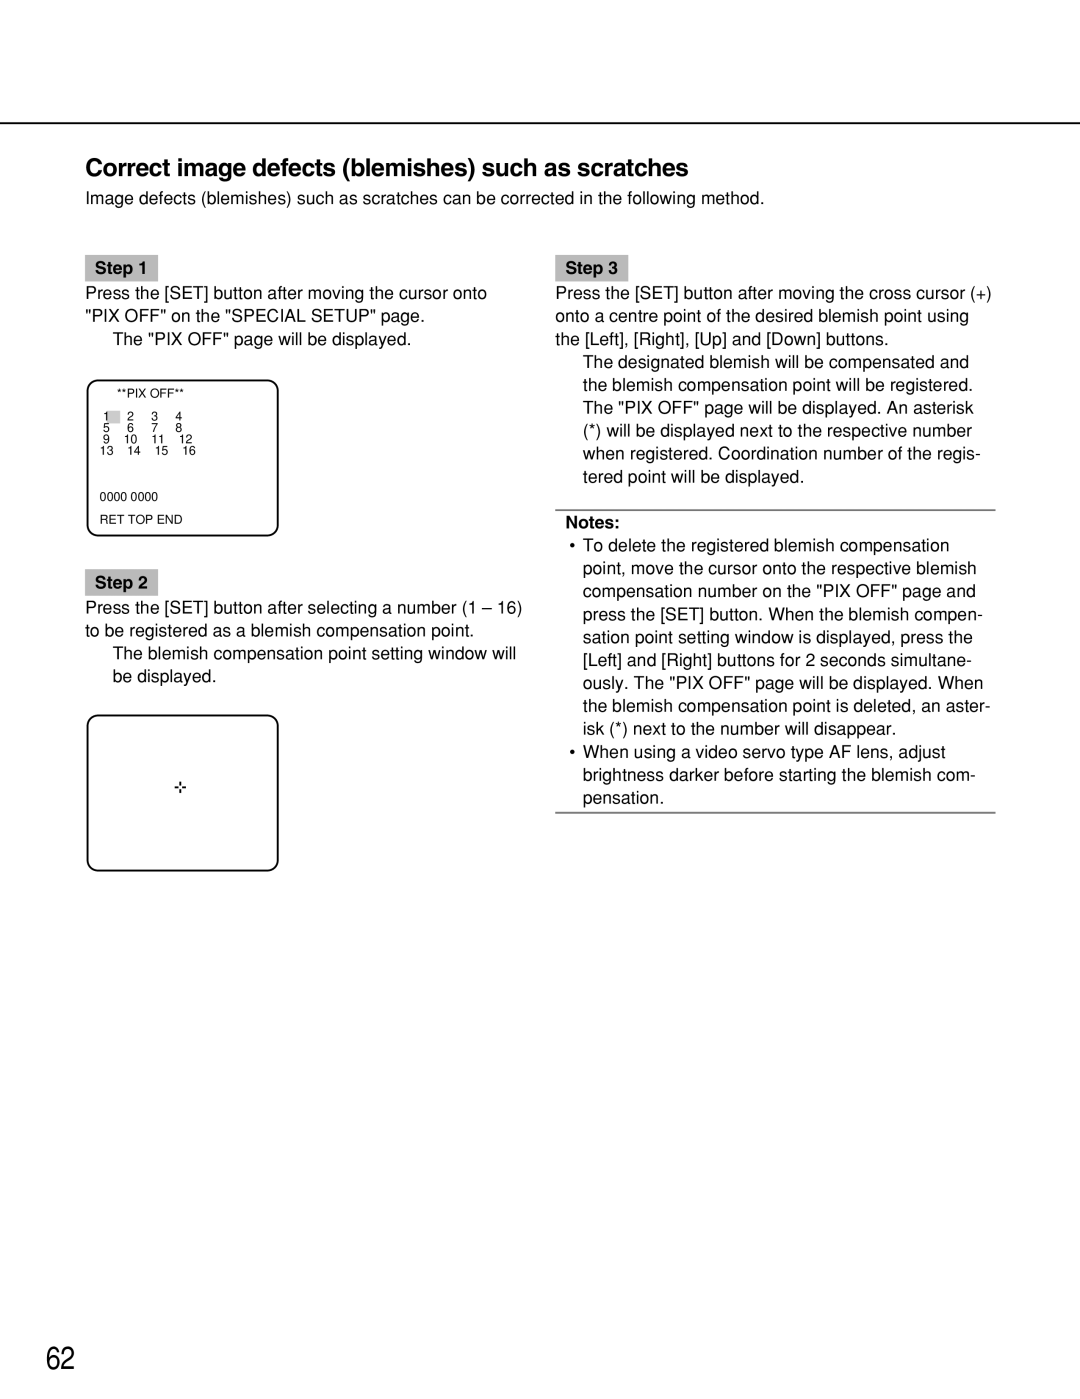
→The "PIX OFF" page will be displayed.
|
| **PIX OFF** |
| |
|
| 2 | 3 | 4 |
1 | ||||
| 5 | 6 | 7 | 8 |
9 | 10 | 11 | 12 | |
13 | 14 | 15 | 16 | |
0000 0000
RET TOP END
Step 2
Press the [SET] button after selecting a number (1 – 16) to be registered as a blemish compensation point.
→The blemish compensation point setting window will be displayed.
Step 3
Press the [SET] button after moving the cross cursor (+) onto a centre point of the desired blemish point using the [Left], [Right], [Up] and [Down] buttons.
→The designated blemish will be compensated and the blemish compensation point will be registered. The "PIX OFF" page will be displayed. An asterisk
(*)will be displayed next to the respective number when registered. Coordination number of the regis- tered point will be displayed.
Notes:
•To delete the registered blemish compensation point, move the cursor onto the respective blemish compensation number on the "PIX OFF" page and press the [SET] button. When the blemish compen- sation point setting window is displayed, press the [Left] and [Right] buttons for 2 seconds simultane- ously. The "PIX OFF" page will be displayed. When the blemish compensation point is deleted, an aster- isk (*) next to the number will disappear.
•When using a video servo type AF lens, adjust brightness darker before starting the blemish com- pensation.
62