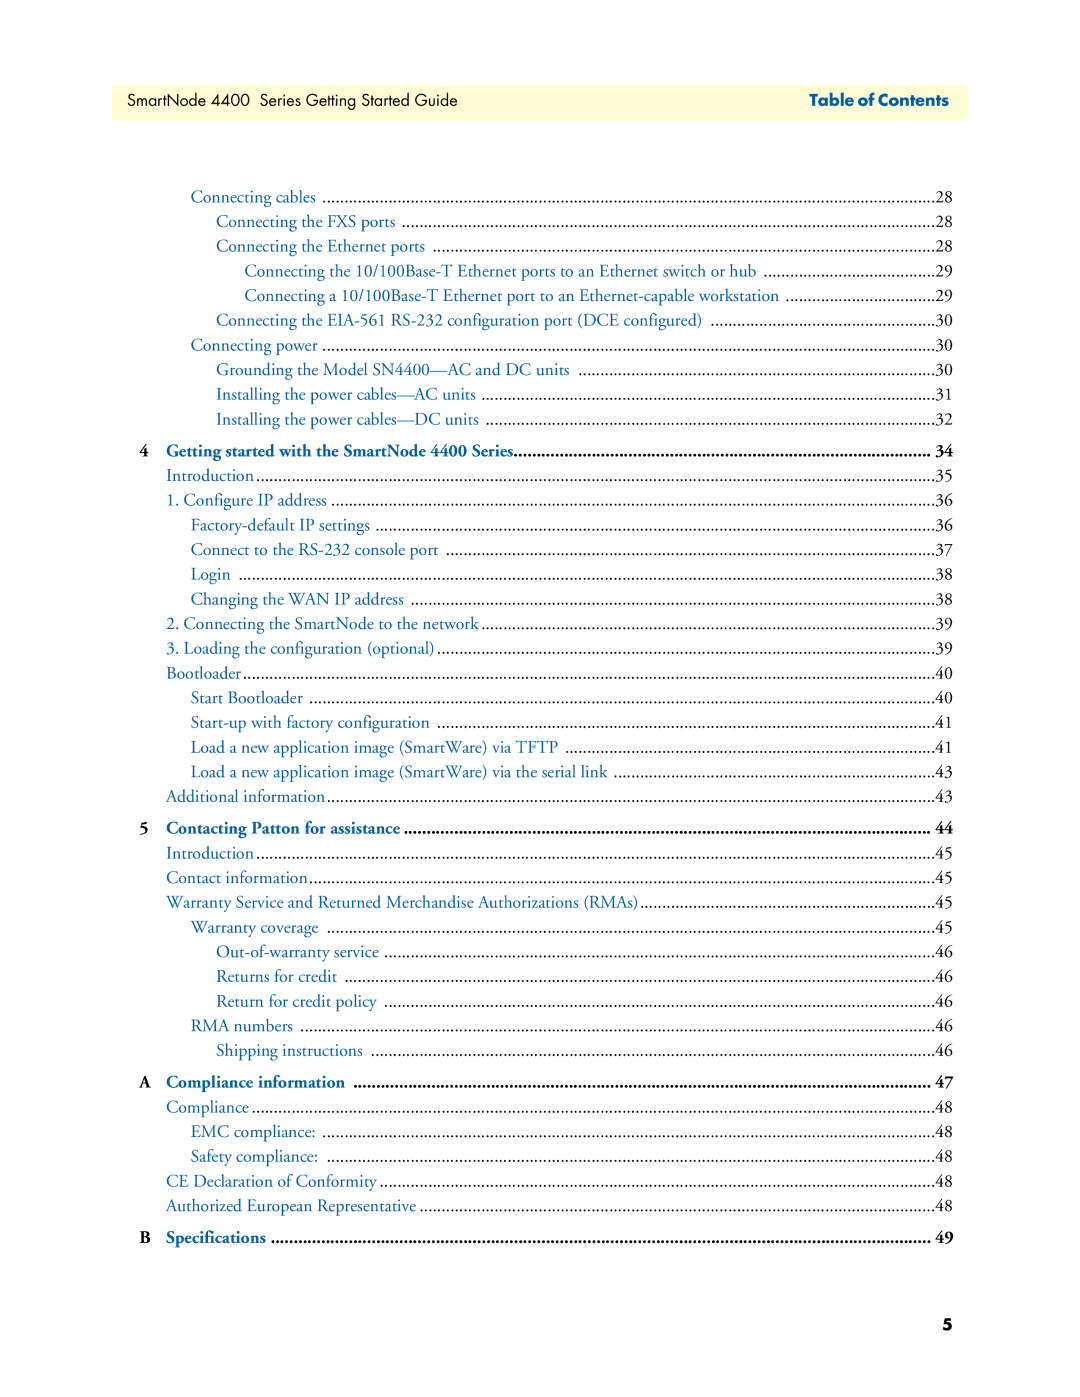
SmartNode 4400 Series Getting Started Guide | Table of Contents |
|
|
| Connecting cables | 28 |
| Connecting the FXS ports | 28 |
| Connecting the Ethernet ports | 28 |
| Connecting the | 29 |
| Connecting a | 29 |
| Connecting the | 30 |
| Connecting power | 30 |
| Grounding the Model | 30 |
| Installing the power | 31 |
| Installing the power | 32 |
4 Getting started with the SmartNode 4400 Series | 34 | |
| Introduction | 35 |
| 1. Configure IP address | 36 |
| 36 | |
| Connect to the | 37 |
| Login | 38 |
| Changing the WAN IP address | 38 |
| 2. Connecting the SmartNode to the network | 39 |
| 3. Loading the configuration (optional) | 39 |
| Bootloader | 40 |
| Start Bootloader | 40 |
| 41 | |
| Load a new application image (SmartWare) via TFTP | 41 |
| Load a new application image (SmartWare) via the serial link | 43 |
| Additional information | 43 |
5 Contacting Patton for assistance | 44 | |
| Introduction | 45 |
| Contact information | 45 |
| Warranty Service and Returned Merchandise Authorizations (RMAs) | 45 |
| Warranty coverage | 45 |
| 46 | |
| Returns for credit | 46 |
| Return for credit policy | 46 |
| RMA numbers | 46 |
| Shipping instructions | 46 |
A | Compliance information | 47 |
| Compliance | 48 |
| EMC compliance: | 48 |
| Safety compliance: | 48 |
| CE Declaration of Conformity | 48 |
| Authorized European Representative | 48 |
B | Specifications | 49 |
5
