3.Press the down arrow button until the one of the follow preset numbers appears:
•90 and 91: Set the outer limit for manual stops. Make sure to select different locations for each preset number.
•92 and 93: Set the other outer limit for scan stops. Make sure you select different locations for each preset number.
4.Press the channel button numbered 1 (F1 on the remote control).
Using Preset 95
Preset 95 displays the camera menu for Esprit and Spectra cameras. You can use this menu to configure settings on these cameras. Follow these instructions to use Preset 95 and to navigate the camera menus.
1.Select a channel that is displaying Esprit and Spectra camera, and then press the PTZ/Focus button on the front panel of the DX4000 or on the remote control until the PTZ/Focus controls appear in the
2.Press the up or down arrow button until you have selected preset 95.
3.Press the channel button numbered 1 (F1 on the remote control). The camera menu appears on the screen.
4.Navigate through the menu as follows:
•Press the PTZ/Focus button on the front panel of the DX4000 until the PTZ controls are displayed, and then press the up or down arrow buttons to navigate the list of options.
•Press the PTZ/Focus button on the front panel of the DX4000 until the Focus/Iris controls are displayed, and then press the left arrow button to select an option, or press the right arrow button to deselect an option.
5.Press the Return button until all menus or commands have been cleared from the monitor.
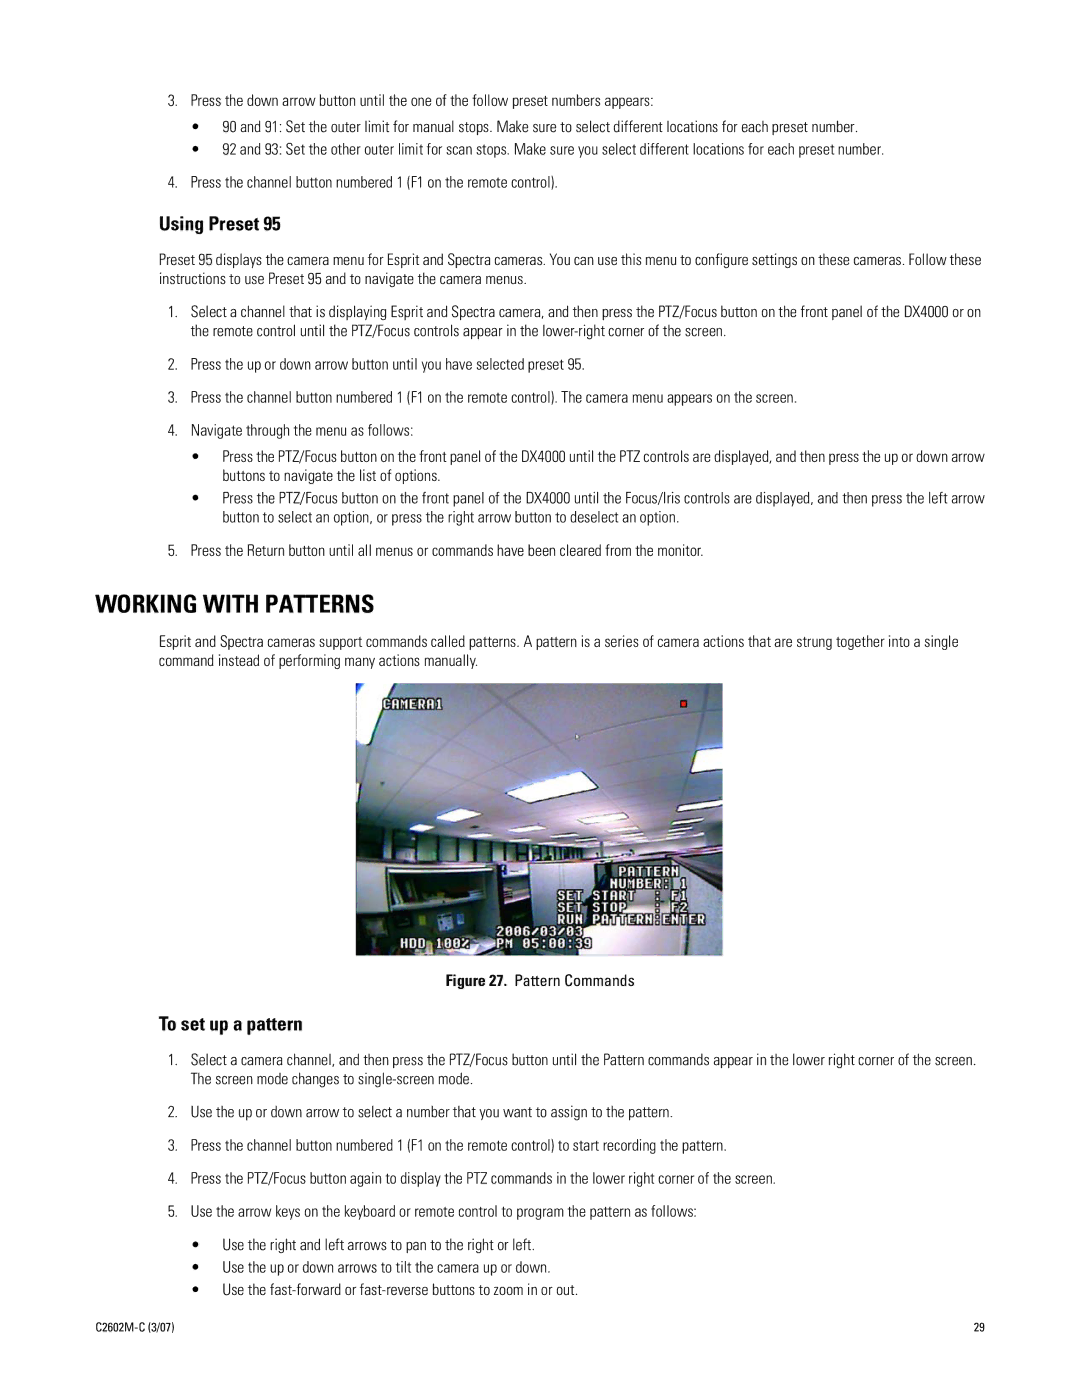
WORKING WITH PATTERNS
Esprit and Spectra cameras support commands called patterns. A pattern is a series of camera actions that are strung together into a single command instead of performing many actions manually.
Figure 27. Pattern Commands
To set up a pattern
1.Select a camera channel, and then press the PTZ/Focus button until the Pattern commands appear in the lower right corner of the screen. The screen mode changes to
2.Use the up or down arrow to select a number that you want to assign to the pattern.
3.Press the channel button numbered 1 (F1 on the remote control) to start recording the pattern.
4.Press the PTZ/Focus button again to display the PTZ commands in the lower right corner of the screen.
5.Use the arrow keys on the keyboard or remote control to program the pattern as follows:
•Use the right and left arrows to pan to the right or left.
•Use the up or down arrows to tilt the camera up or down.
•Use the
29 |