2.Open the DVR System tab, and then click the System tab.
3.Under Buzzer, configure the following settings:
•Alarm Input: Set this to On if you want to hear a buzzer sound any time an alarm occurs.
•Video Loss: Set this to On if you want to hear a buzzer sound any time the DX4000 detects that the video signal is lost while recording.
•Disk Full: Set this to On if you want to hear a buzzer sound when the hard disk drive is almost full.
•Disk Error: Set this to On if you want to hear a buzzer sound any time the DX4000 detects an error on a hard disk drive.
•Key Input: Set this to On if you want to hear a buzzer sound any time a button is pressed on the front panel of the DX4000.
4.Click the Apply button to save the changes and continue to other settings. If you are finished updating settings, click the OK button to close the screen.
To modify passwords
1. From the remote agent application main screen, click the Setup button | if the Settings screen is not open. The Settings screen |
appears and the Remote Agent tab is displayed. |
|
2.Open the DVR System tab, and then click the System tab.
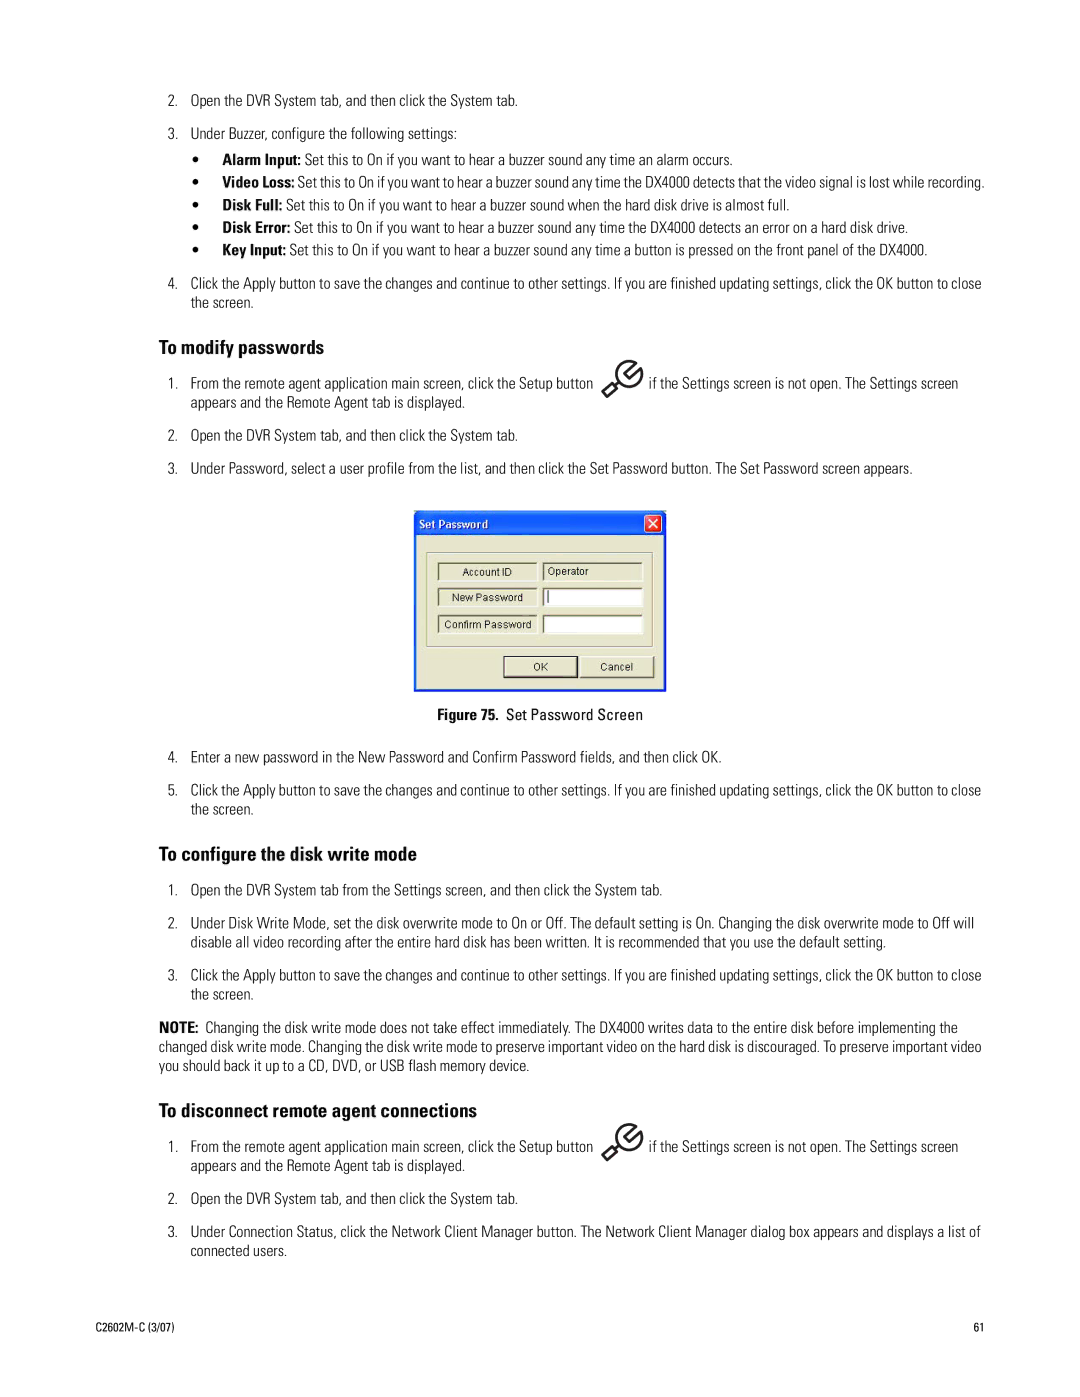
3.Under Password, select a user profile from the list, and then click the Set Password button. The Set Password screen appears.
Figure 75. Set Password Screen
4.Enter a new password in the New Password and Confirm Password fields, and then click OK.
5.Click the Apply button to save the changes and continue to other settings. If you are finished updating settings, click the OK button to close the screen.
To configure the disk write mode
1.Open the DVR System tab from the Settings screen, and then click the System tab.
2.Under Disk Write Mode, set the disk overwrite mode to On or Off. The default setting is On. Changing the disk overwrite mode to Off will disable all video recording after the entire hard disk has been written. It is recommended that you use the default setting.
3.Click the Apply button to save the changes and continue to other settings. If you are finished updating settings, click the OK button to close the screen.
NOTE: Changing the disk write mode does not take effect immediately. The DX4000 writes data to the entire disk before implementing the changed disk write mode. Changing the disk write mode to preserve important video on the hard disk is discouraged. To preserve important video you should back it up to a CD, DVD, or USB flash memory device.
To disconnect remote agent connections
1. From the remote agent application main screen, click the Setup button | if the Settings screen is not open. The Settings screen |
appears and the Remote Agent tab is displayed. |
|
2.Open the DVR System tab, and then click the System tab.
3.Under Connection Status, click the Network Client Manager button. The Network Client Manager dialog box appears and displays a list of connected users.
| 61 |