To adjust the focus
1.Display live video in
2.In
3.In the remote agent main screen, look for the Focus button on the controls in the
4.Click the Focus button, and then click the + (plus) or - (minus) buttons to adjust the focus.
To adjust the iris
1.In
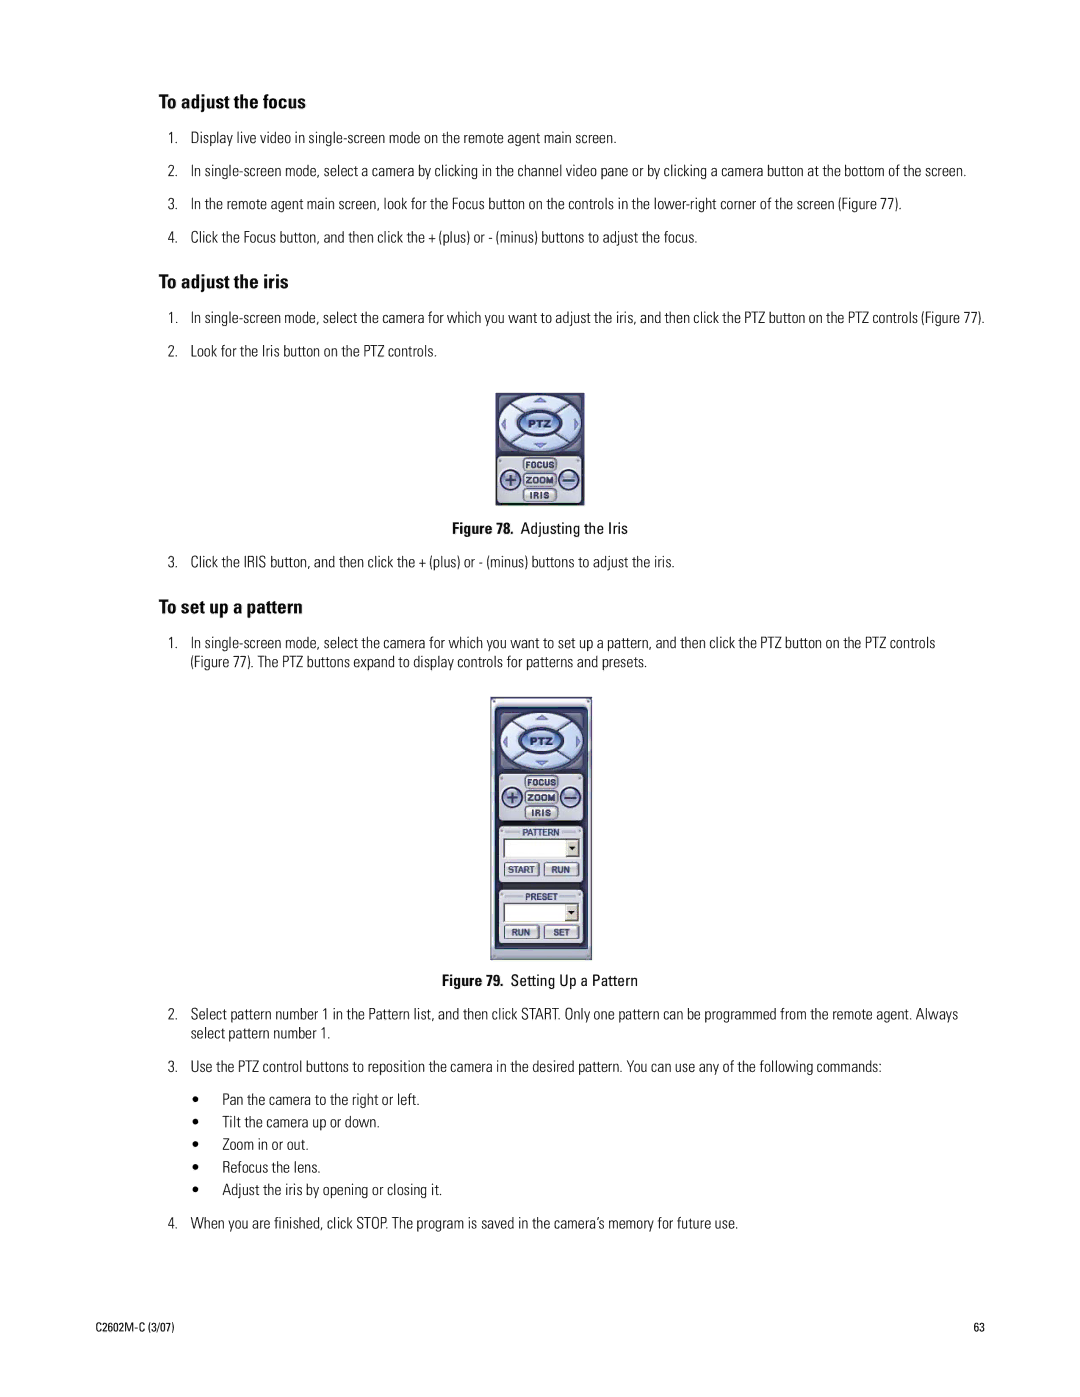
2.Look for the Iris button on the PTZ controls.
Figure 78. Adjusting the Iris
3. Click the IRIS button, and then click the + (plus) or - (minus) buttons to adjust the iris.
To set up a pattern
1.In
Figure 79. Setting Up a Pattern
2.Select pattern number 1 in the Pattern list, and then click START. Only one pattern can be programmed from the remote agent. Always select pattern number 1.
3.Use the PTZ control buttons to reposition the camera in the desired pattern. You can use any of the following commands:
•Pan the camera to the right or left.
•Tilt the camera up or down.
•Zoom in or out.
•Refocus the lens.
•Adjust the iris by opening or closing it.
4.When you are finished, click STOP. The program is saved in the camera’s memory for future use.
| 63 |
