To back up video
The DX4000 supports backup to three different devices. All units support backups to a USB flash memory device. If you purchased a model that contains a
1.Exit all menus if any are displayed.
2.Press the Search button on the front panel of the DX4000.
3.Type your password, and then press the Enter button. The Search menu appears.
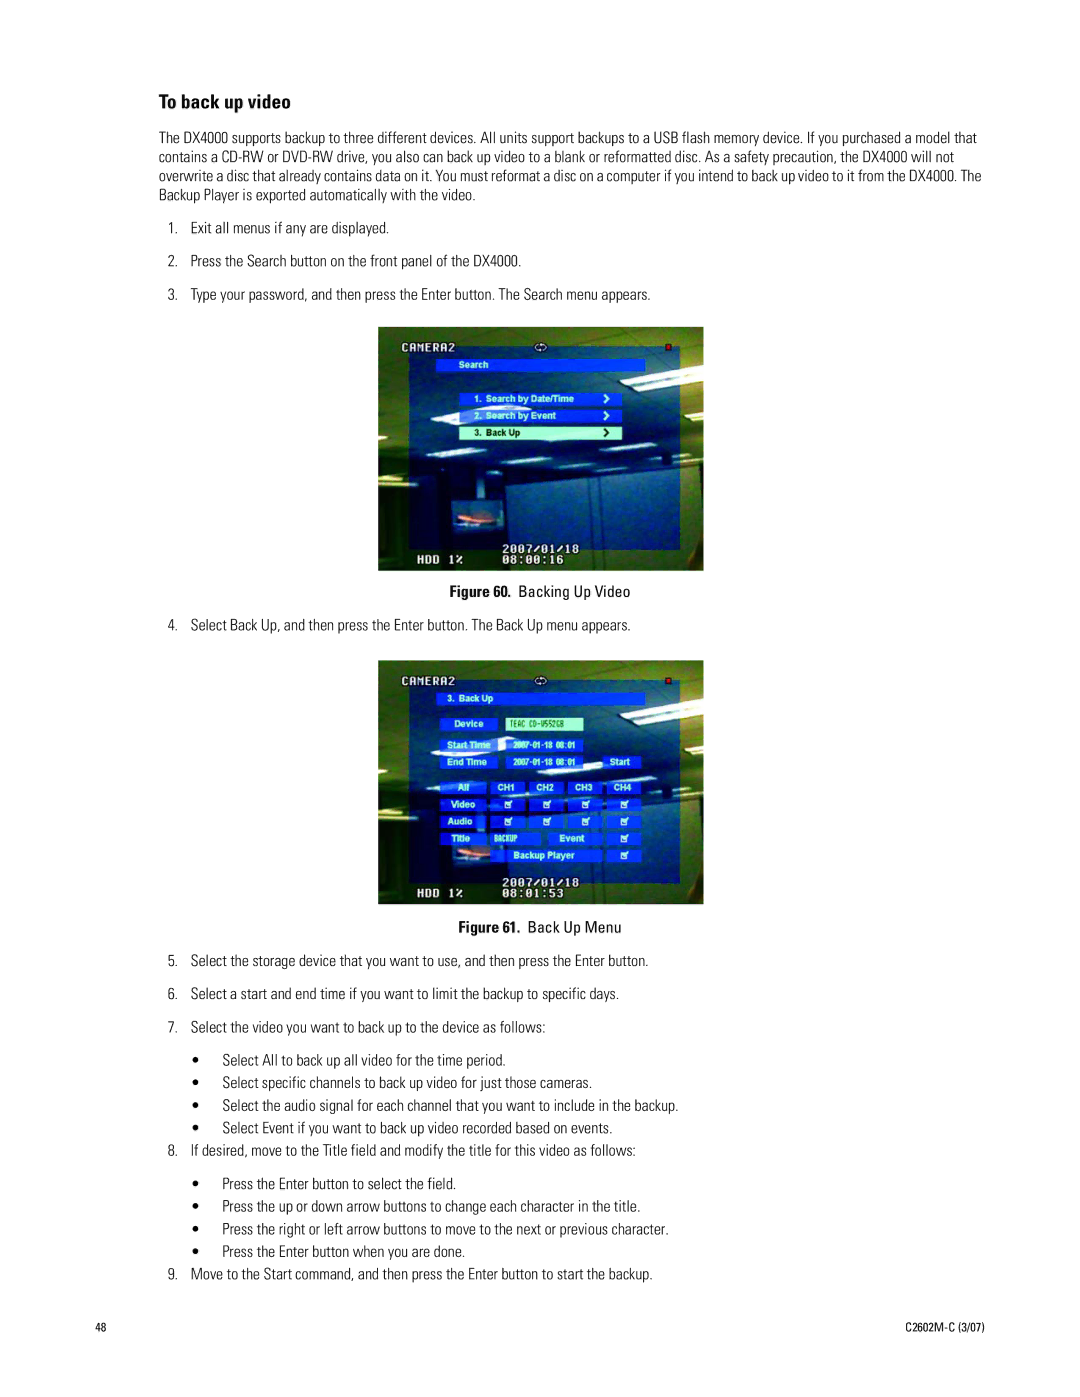
Figure 60. Backing Up Video
4. Select Back Up, and then press the Enter button. The Back Up menu appears.
Figure 61. Back Up Menu
5.Select the storage device that you want to use, and then press the Enter button.
6.Select a start and end time if you want to limit the backup to specific days.
7.Select the video you want to back up to the device as follows:
•Select All to back up all video for the time period.
•Select specific channels to back up video for just those cameras.
•Select the audio signal for each channel that you want to include in the backup.
•Select Event if you want to back up video recorded based on events.
8.If desired, move to the Title field and modify the title for this video as follows:
•Press the Enter button to select the field.
•Press the up or down arrow buttons to change each character in the title.
•Press the right or left arrow buttons to move to the next or previous character.
•Press the Enter button when you are done.
9.Move to the Start command, and then press the Enter button to start the backup.
48 |
|