PLAYING RECORDED VIDEO
To play back recorded video, you must first follow the instructions above to search for video. When you search for video by date, the DX4000 dis- plays all video on the screen. When you play it back, you will play back all of the video simultaneously. When you search for video by an event, the DX4000 lists each recording separately. When you play it back, you play back the video simultaneously in
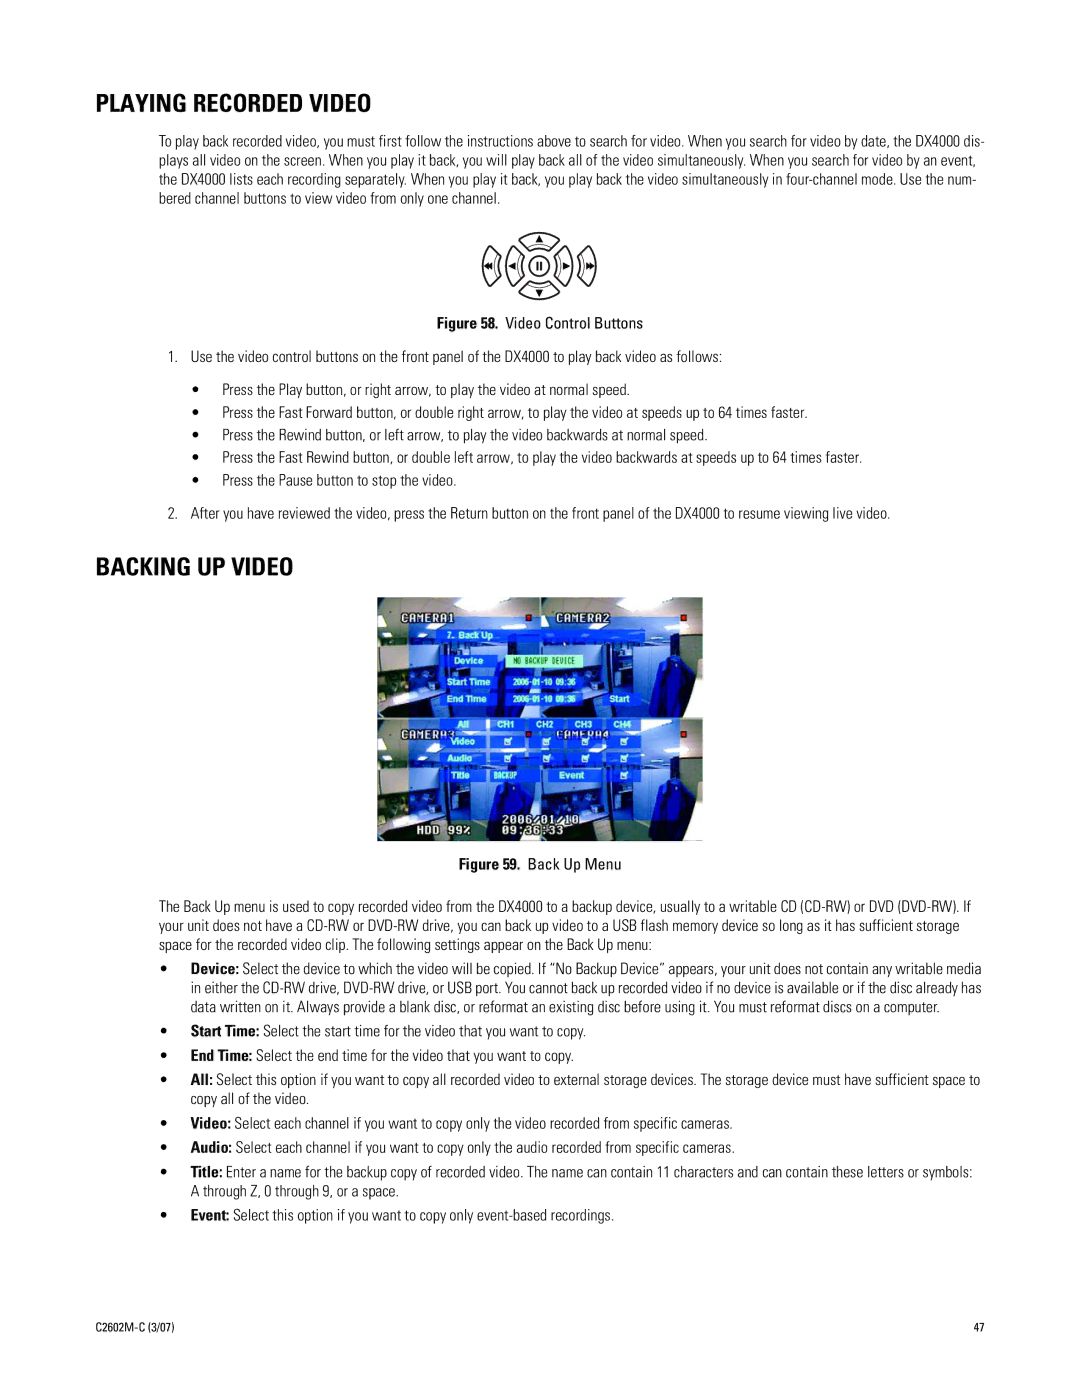
Figure 58. Video Control Buttons
1.Use the video control buttons on the front panel of the DX4000 to play back video as follows:
•Press the Play button, or right arrow, to play the video at normal speed.
•Press the Fast Forward button, or double right arrow, to play the video at speeds up to 64 times faster.
•Press the Rewind button, or left arrow, to play the video backwards at normal speed.
•Press the Fast Rewind button, or double left arrow, to play the video backwards at speeds up to 64 times faster.
•Press the Pause button to stop the video.
2.After you have reviewed the video, press the Return button on the front panel of the DX4000 to resume viewing live video.
BACKING UP VIDEO
Figure 59. Back Up Menu
The Back Up menu is used to copy recorded video from the DX4000 to a backup device, usually to a writable CD
•Device: Select the device to which the video will be copied. If “No Backup Device” appears, your unit does not contain any writable media in either the
•Start Time: Select the start time for the video that you want to copy.
•End Time: Select the end time for the video that you want to copy.
•All: Select this option if you want to copy all recorded video to external storage devices. The storage device must have sufficient space to copy all of the video.
•Video: Select each channel if you want to copy only the video recorded from specific cameras.
•Audio: Select each channel if you want to copy only the audio recorded from specific cameras.
•Title: Enter a name for the backup copy of recorded video. The name can contain 11 characters and can contain these letters or symbols: A through Z, 0 through 9, or a space.
•Event: Select this option if you want to copy only
| 47 |