•Start: Select the hour at which recording should start. The schedule is based on a
•Stop: Select the hour at which recording should stop. The schedule is based on a
4.Click the Apply button to save the changes and continue to other settings. If you are finished updating settings, click the OK button to close the screen.
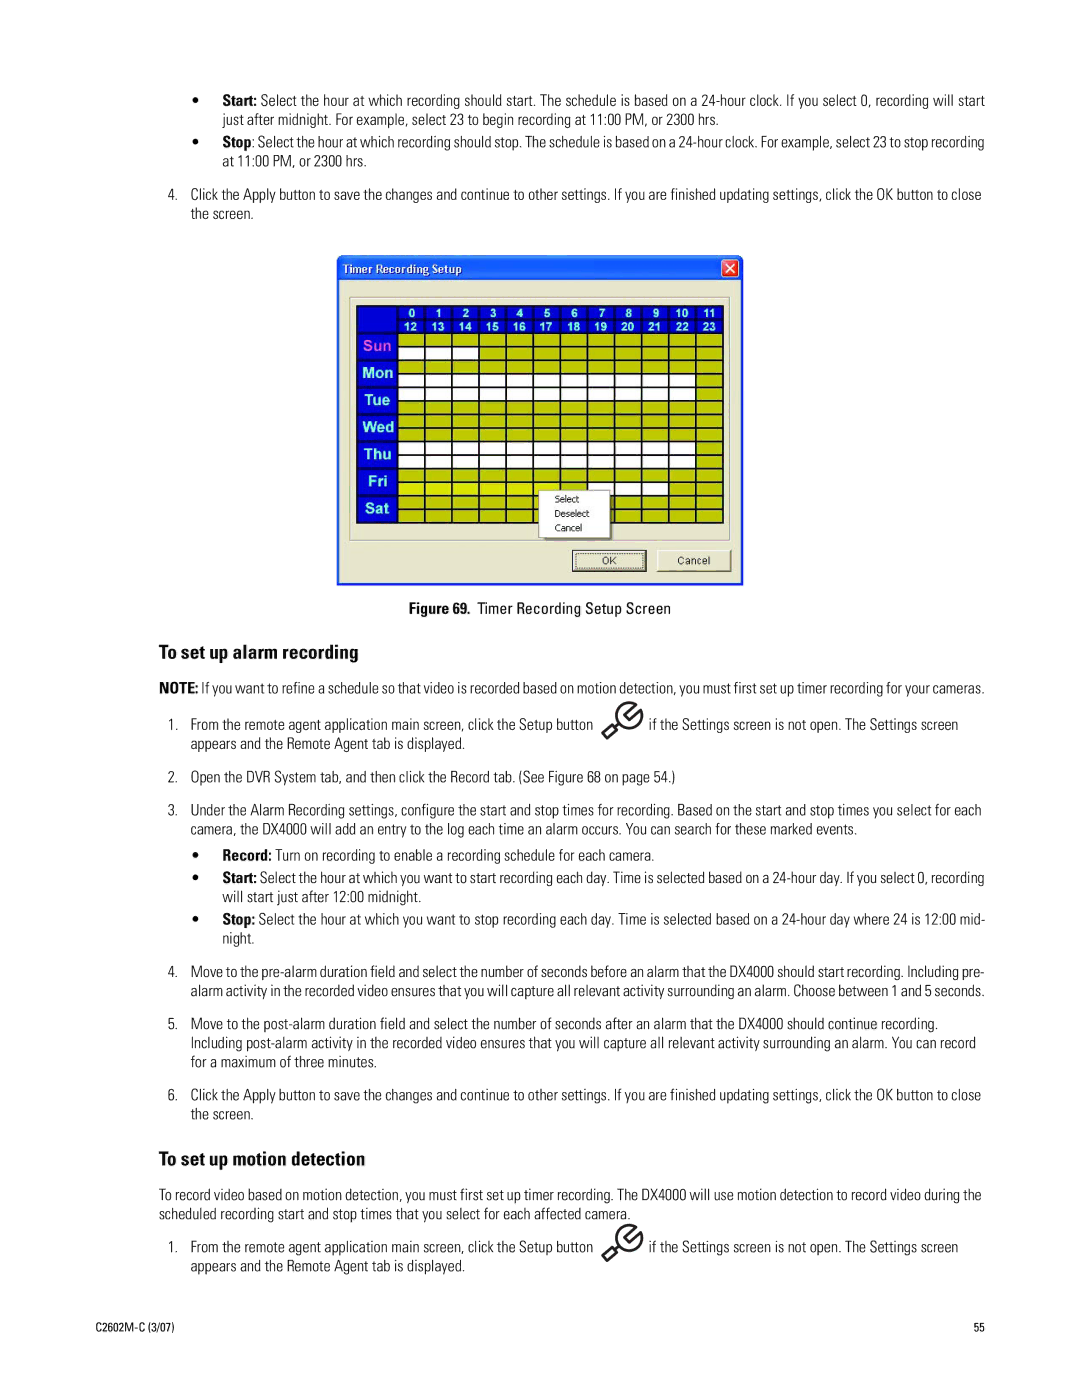
Figure 69. Timer Recording Setup Screen
To set up alarm recording
NOTE: If you want to refine a schedule so that video is recorded based on motion detection, you must first set up timer recording for your cameras.
1. From the remote agent application main screen, click the Setup button | if the Settings screen is not open. The Settings screen |
appears and the Remote Agent tab is displayed. |
|
2.Open the DVR System tab, and then click the Record tab. (See Figure 68 on page 54.)
3.Under the Alarm Recording settings, configure the start and stop times for recording. Based on the start and stop times you select for each camera, the DX4000 will add an entry to the log each time an alarm occurs. You can search for these marked events.
•Record: Turn on recording to enable a recording schedule for each camera.
•Start: Select the hour at which you want to start recording each day. Time is selected based on a
•Stop: Select the hour at which you want to stop recording each day. Time is selected based on a
4.Move to the
5.Move to the
6.Click the Apply button to save the changes and continue to other settings. If you are finished updating settings, click the OK button to close the screen.
To set up motion detection
To record video based on motion detection, you must first set up timer recording. The DX4000 will use motion detection to record video during the scheduled recording start and stop times that you select for each affected camera.
1. From the remote agent application main screen, click the Setup button | if the Settings screen is not open. The Settings screen |
appears and the Remote Agent tab is displayed. |
|
| 55 |