MODIFYING ALARMS AND RELAYS
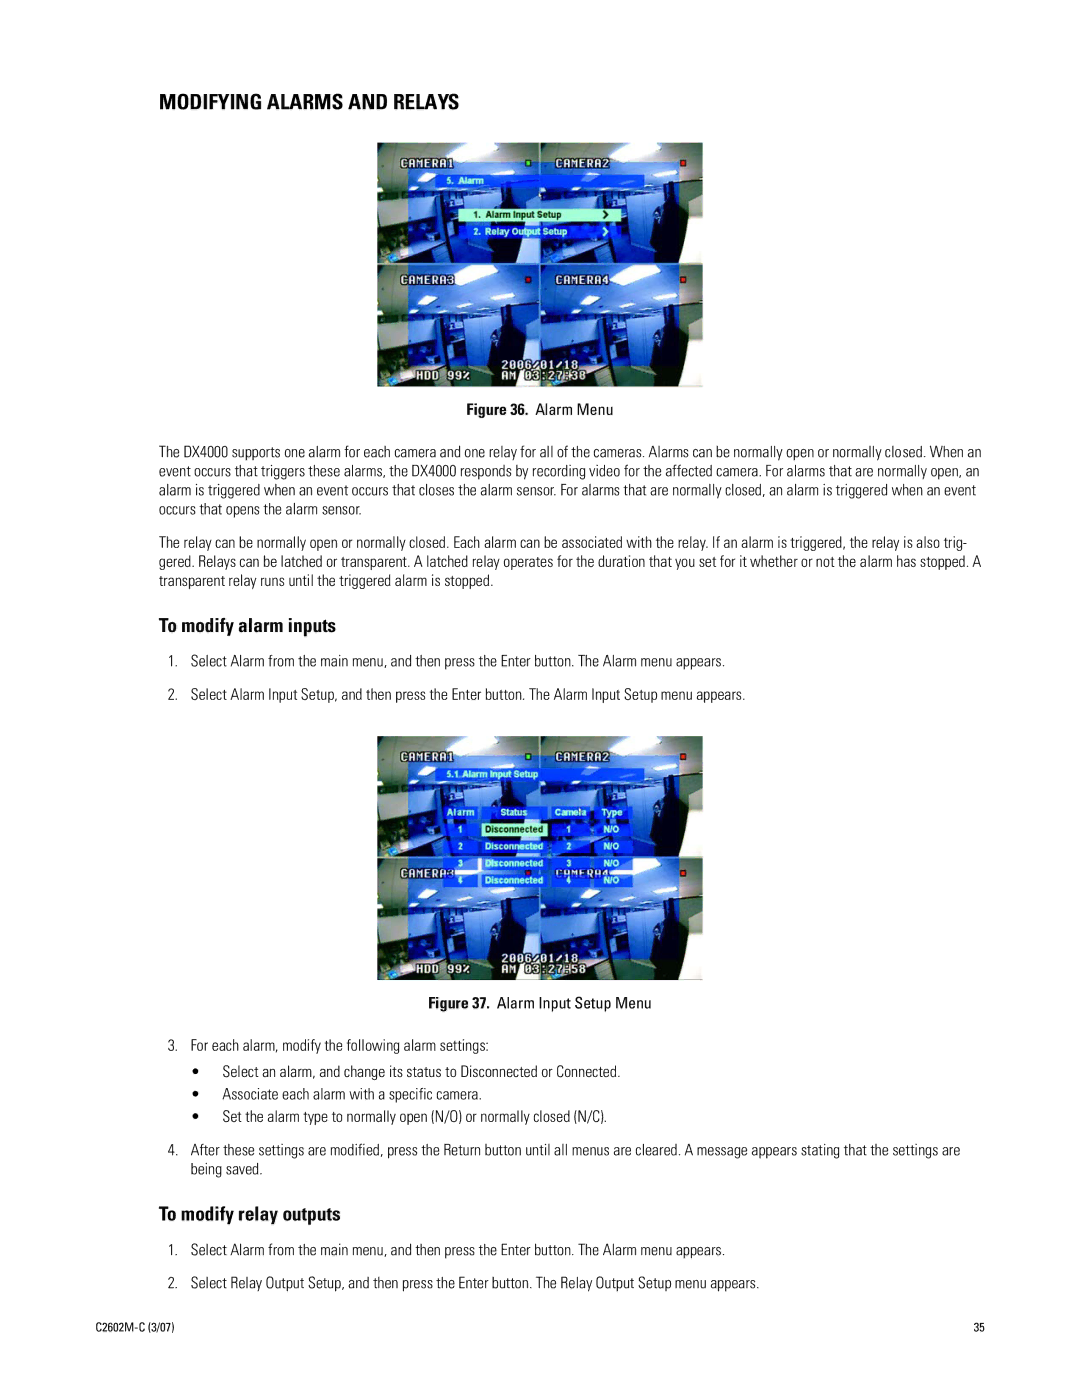
Figure 36. Alarm Menu
The DX4000 supports one alarm for each camera and one relay for all of the cameras. Alarms can be normally open or normally closed. When an event occurs that triggers these alarms, the DX4000 responds by recording video for the affected camera. For alarms that are normally open, an alarm is triggered when an event occurs that closes the alarm sensor. For alarms that are normally closed, an alarm is triggered when an event occurs that opens the alarm sensor.
The relay can be normally open or normally closed. Each alarm can be associated with the relay. If an alarm is triggered, the relay is also trig- gered. Relays can be latched or transparent. A latched relay operates for the duration that you set for it whether or not the alarm has stopped. A transparent relay runs until the triggered alarm is stopped.
To modify alarm inputs
1.Select Alarm from the main menu, and then press the Enter button. The Alarm menu appears.
2.Select Alarm Input Setup, and then press the Enter button. The Alarm Input Setup menu appears.
Figure 37. Alarm Input Setup Menu
3.For each alarm, modify the following alarm settings:
•Select an alarm, and change its status to Disconnected or Connected.
•Associate each alarm with a specific camera.
•Set the alarm type to normally open (N/O) or normally closed (N/C).
4.After these settings are modified, press the Return button until all menus are cleared. A message appears stating that the settings are being saved.
To modify relay outputs
1.Select Alarm from the main menu, and then press the Enter button. The Alarm menu appears.
2.Select Relay Output Setup, and then press the Enter button. The Relay Output Setup menu appears.
| 35 |
