Installing
5 Select your wireless network name, and input the encryption key you found in step 1.
A) If asked, select the wireless network name from the list of wireless network names (SSID) presented to you on the TV screen.
Use the navigation buttons (Cursor Up/Down) on the remote control to select the correct network name and press OK button to confirm.
Note : If there is only one wireless network, it will be selected for you and you will not be asked to select one.
B) If asked, also input the encryption key.
Use the navigation buttons (Cursor Left/Right/Up/ Down) on the remote control to choose your type of encryption and to input the key itself. Press OK button to confirm.
Please remember that the encryption key is case sensitive, meaning that ‘ABC’ is not the same as ‘aBc’. Always input characters in the correct case to avoid problems.
Note : If the wireless network is not encrypted, you will not be asked to input an encryption key.
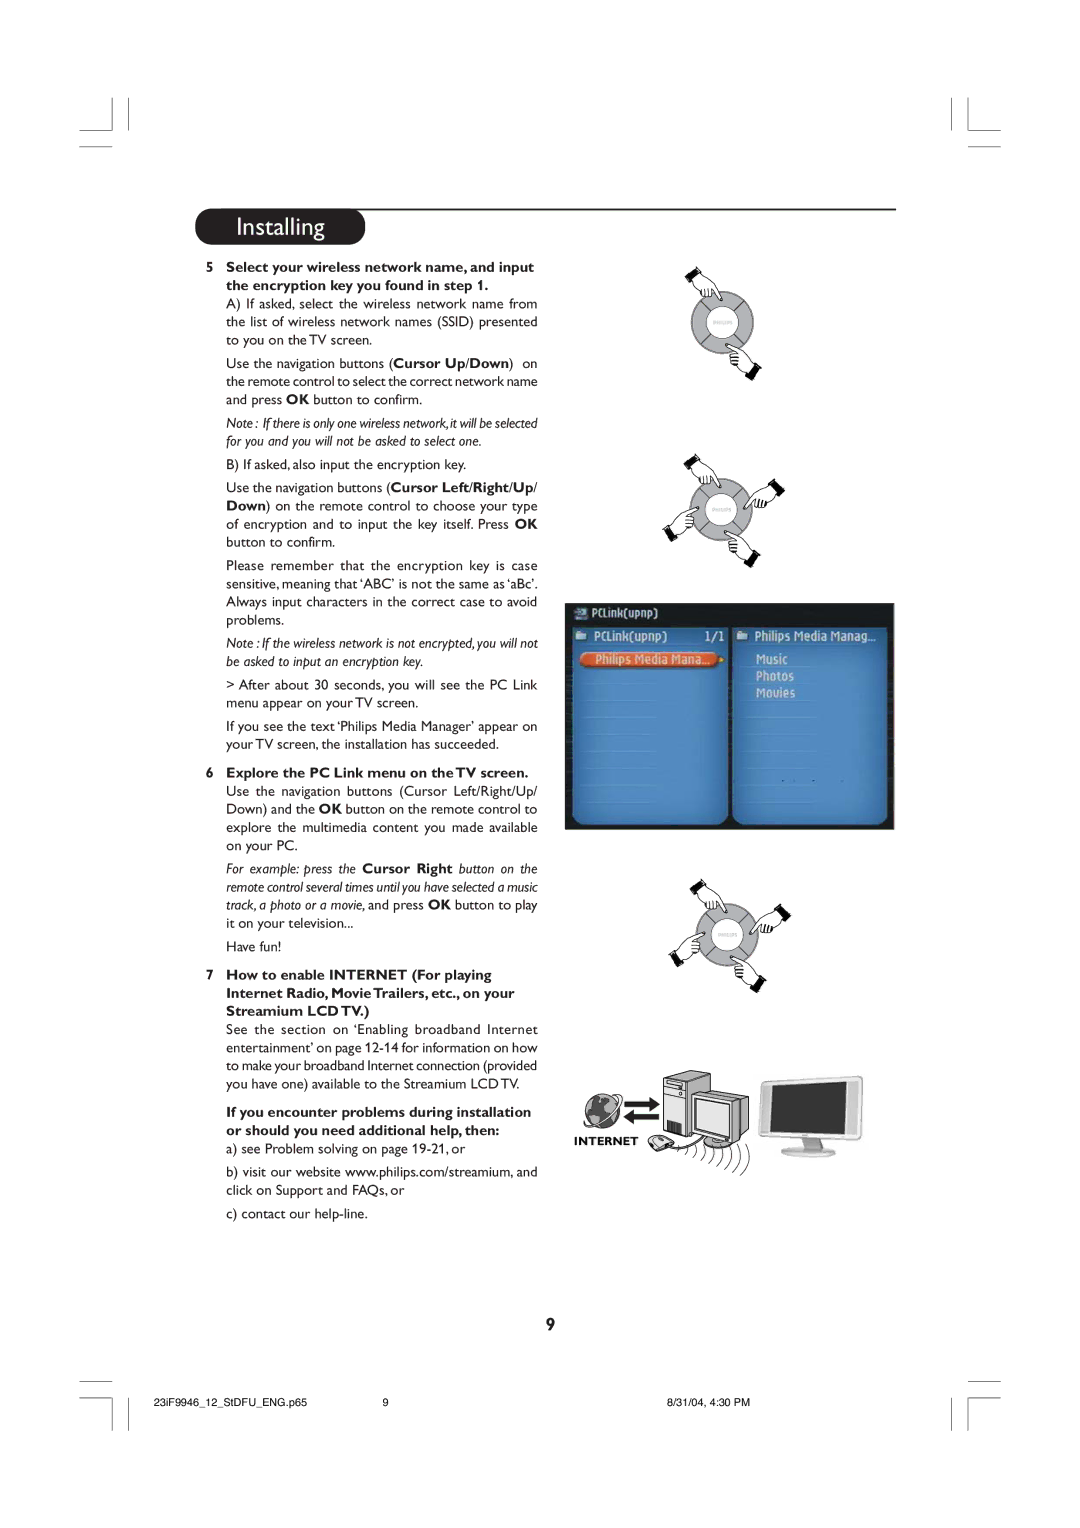
>After about 30 seconds, you will see the PC Link menu appear on your TV screen.
If you see the text ‘Philips Media Manager’ appear on your TV screen, the installation has succeeded.
6Explore the PC Link menu on the TV screen. Use the navigation buttons (Cursor Left/Right/Up/ Down) and the OK button on the remote control to explore the multimedia content you made available on your PC.
For example: press the Cursor Right button on the remote control several times until you have selected a music track, a photo or a movie, and press OK button to play it on your television...
Have fun!
7 How to enable INTERNET (For playing Internet Radio, Movie Trailers, etc., on your Streamium LCD TV.)
See the section on ‘Enabling broadband Internet entertainment’ on page
If you encounter problems during installation or should you need additional help, then:
a) see Problem solving on page 19-21, or
INTERNET
b) visit our website www.philips.com/streamium, and click on Support and FAQs, or
c) contact our
9
23iF9946_12_StDFU_ENG.p65 | 9 | 8/31/04, 4:30 PM |
