5Running your first installation
Once the recorder is physically connected, you need to go through the setup procedure to get your FREEVIEW channels.
1Switch on your TV.
2If necessary, press the Standby button on your remote control to wake the recorder up from standby mode.
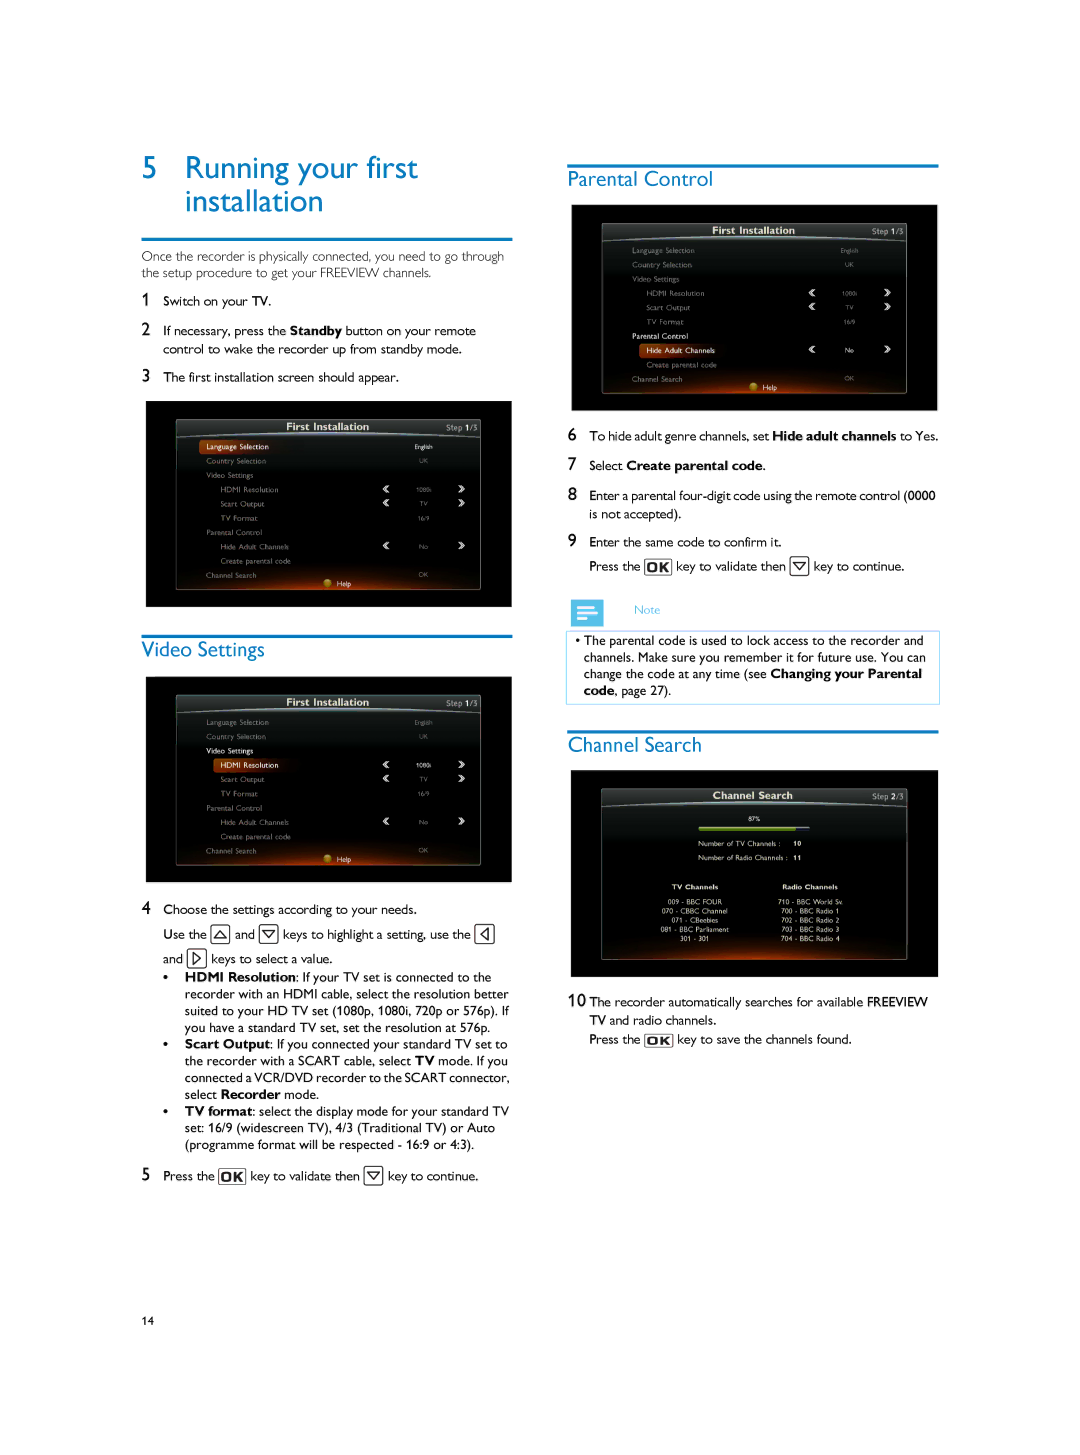
3The first installation screen should appear.
Video Settings
4Choose the settings according to your needs.
Use the ![]() and
and ![]() keys to highlight a setting, use the
keys to highlight a setting, use the ![]()
and ![]() keys to select a value.
keys to select a value.
•HDMI Resolution: If your TV set is connected to the recorder with an HDMI cable, select the resolution better suited to your HD TV set (1080p, 1080i, 720p or 576p). If you have a standard TV set, set the resolution at 576p.
•Scart Output: If you connected your standard TV set to the recorder with a SCART cable, select TV mode. If you
connected a VCR/DVD recorder to the SCART connector, select Recorder mode.
•TV format: select the display mode for your standard TV
set: 16/9 (widescreen TV), 4/3 (Traditional TV) or Auto (programme format will be respected - 16:9 or 4:3).
5Press the ![]() key to validate then
key to validate then ![]() key to continue.
key to continue.
Parental Control
6To hide adult genre channels, set Hide adult channels to Yes.
7Select Create parental code.
8Enter a parental
9Enter the same code to confirm it.
Press the ![]() key to validate then
key to validate then ![]() key to continue.
key to continue.
Note
•The parental code is used to lock access to the recorder and
channels. Make sure you remember it for future use. You can change the code at any time (see Changing your Parental code, page 27).
Channel Search
10 The recorder automatically searches for available FREEVIEW TV and radio channels.
Press the ![]() key to save the channels found.
key to save the channels found.
14
