TIMER Programming (Standard Timer)
Data on six recordings can be entered and stored in the video recorder. The OSD page on screen or the video recorder display will lead you "step by step" to the next and possible data entry.
The data is stored in the next free TIMER block of the video recorder.
You can programme with the buttons on the video recorder and/or on the remote control handset. Ensure that a cassette without erase protection is inserted.
!Switch on the TV set and select the programme number for the video recorder.
"Press the remote control button o. The OSD page "TIMER" appears on screen.
¤Select the line "Standard Timer". Confirm this by pressing the button _.
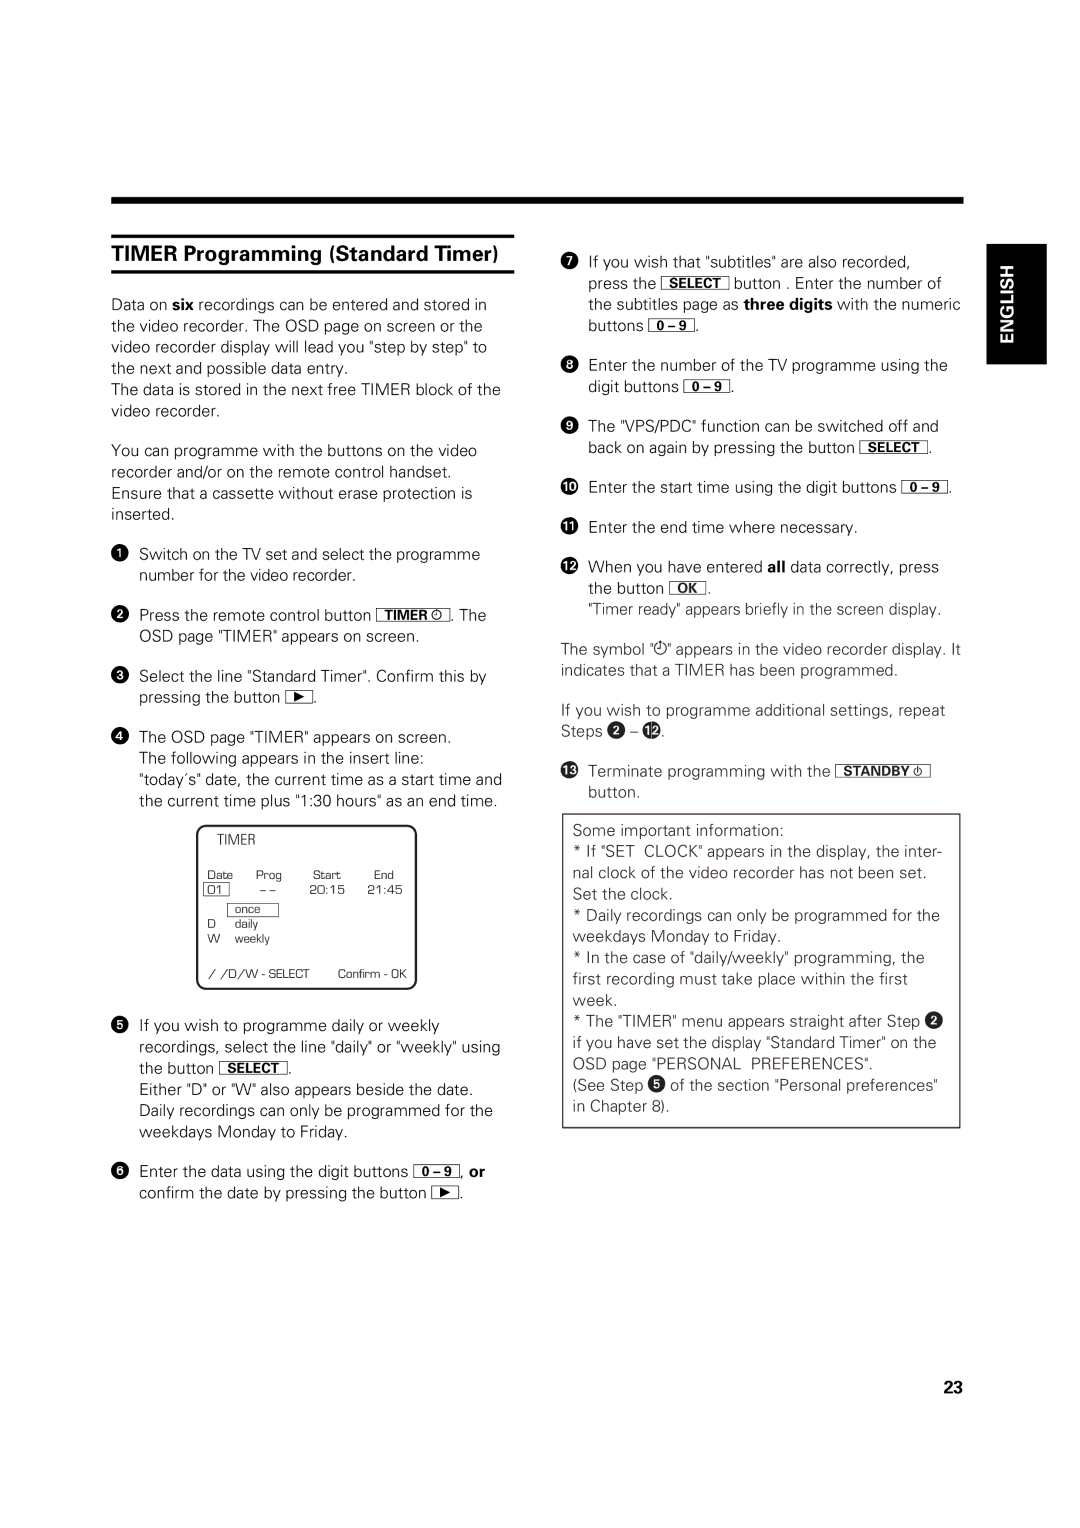
$The OSD page "TIMER" appears on screen. The following appears in the insert line:
"today´s" date, the current time as a start time and the current time plus "1:30 hours" as an end time.
TIMER
Date | Prog | Start | End | |
01 |
| – – | 20:15 | 21:45 |
once
Ddaily
W weekly
/ /D/W - SELECT Confirm - OK
%If you wish to programme daily or weekly recordings, select the line "daily" or "weekly" using the button p.
Either "D" or "W" also appears beside the date. Daily recordings can only be programmed for the weekdays Monday to Friday.
&Enter the data using the digit buttons k, or confirm the date by pressing the button _.
/If you wish that "subtitles" are also recorded, press the pbutton . Enter the number of the subtitles page as three digits with the numeric buttons O.
(Enter the number of the TV programme using the digit buttons k.
)The "VPS/PDC" function can be switched off and back on again by pressing the button p.
<: Enter the start time using the digit buttons k. <> Enter the end time where necessary.
<Y When you have entered all data correctly, press the button K.
"Timer ready" appears briefly in the screen display.
The symbol "Å" appears in the video recorder display. It indicates that a TIMER has been programmed.
If you wish to programme additional settings, repeat Steps " – <Y.
<X Terminate programming with the d button.
Some important information:
*If "SET CLOCK" appears in the display, the inter- nal clock of the video recorder has not been set. Set the clock.
*Daily recordings can only be programmed for the weekdays Monday to Friday.
*In the case of "daily/weekly" programming, the first recording must take place within the first week.
*The "TIMER" menu appears straight after Step " if you have set the display "Standard Timer" on the
OSD page "PERSONAL PREFERENCES".
(See Step % of the section "Personal preferences" in Chapter 8).
ENGLISH
23