3Select and set Server Select Method. Use / to change, then press .
CLEARENTER
SECONDARY | OUTPUT | |||
AUDIO | VIDEO | RESOLUTION | ||
VIDEO SELECT | PLAY MODE |
|
|
|
|
|
| ||
|
|
| ||
HOME MEDIA | DISPLAY | POPUP MENU | ||
GALLERY | ||||
|
|
| MENU | |
TOP MENU |
|
| TOOLS | |
| ENTER |
|
|
|
HOME |
|
| RETURN | |
MENU |
|
| ||
•IP Address – Input the IP address.
•Server Name – Input the server name.
4 Input IP Address or Server Name
Use the number buttons (0 to 9) to input the number if you select IP address by step 3. Use / to move the cursor.
Use the number buttons (0 to 9) to input characters if you select Server Name by step 3.
The characters that can be input for the server name are listed on the table below. Pressing a button repeatedly cycles through the characters shown.
•If you want to enter two characters in succession that are both on the same button (for example a P and an R), press after inputting the first character then input the second character.
•Use CLEAR to delete the last character.
•Use / to move the displayed characters when all the input characters cannot be displayed.
Key | Characters | Key | Characters |
1 | 1 . – | 6 | m n o 6 |
|
|
|
|
2 | a b c 2 | 7 | p q r s 7 |
|
|
|
|
3 | d e f 3 | 8 | t u v 8 |
|
|
|
|
4 | g h i 4 | 9 | w x y z 9 |
|
|
|
|
5 | j k l 5 | 0 | 0 |
|
|
|
|
5Input Port Number.
Press , use the number buttons (0 to 9) to input the number.
6Press ENTER to set.
Displaying the network settings
1Select and set Network Display Network Configuration Next Screen.
Use / to select, then press ENTER.
The MAC address, IP address, subnet mask, default gateway and DNS server (primary and secondary) settings are displayed.
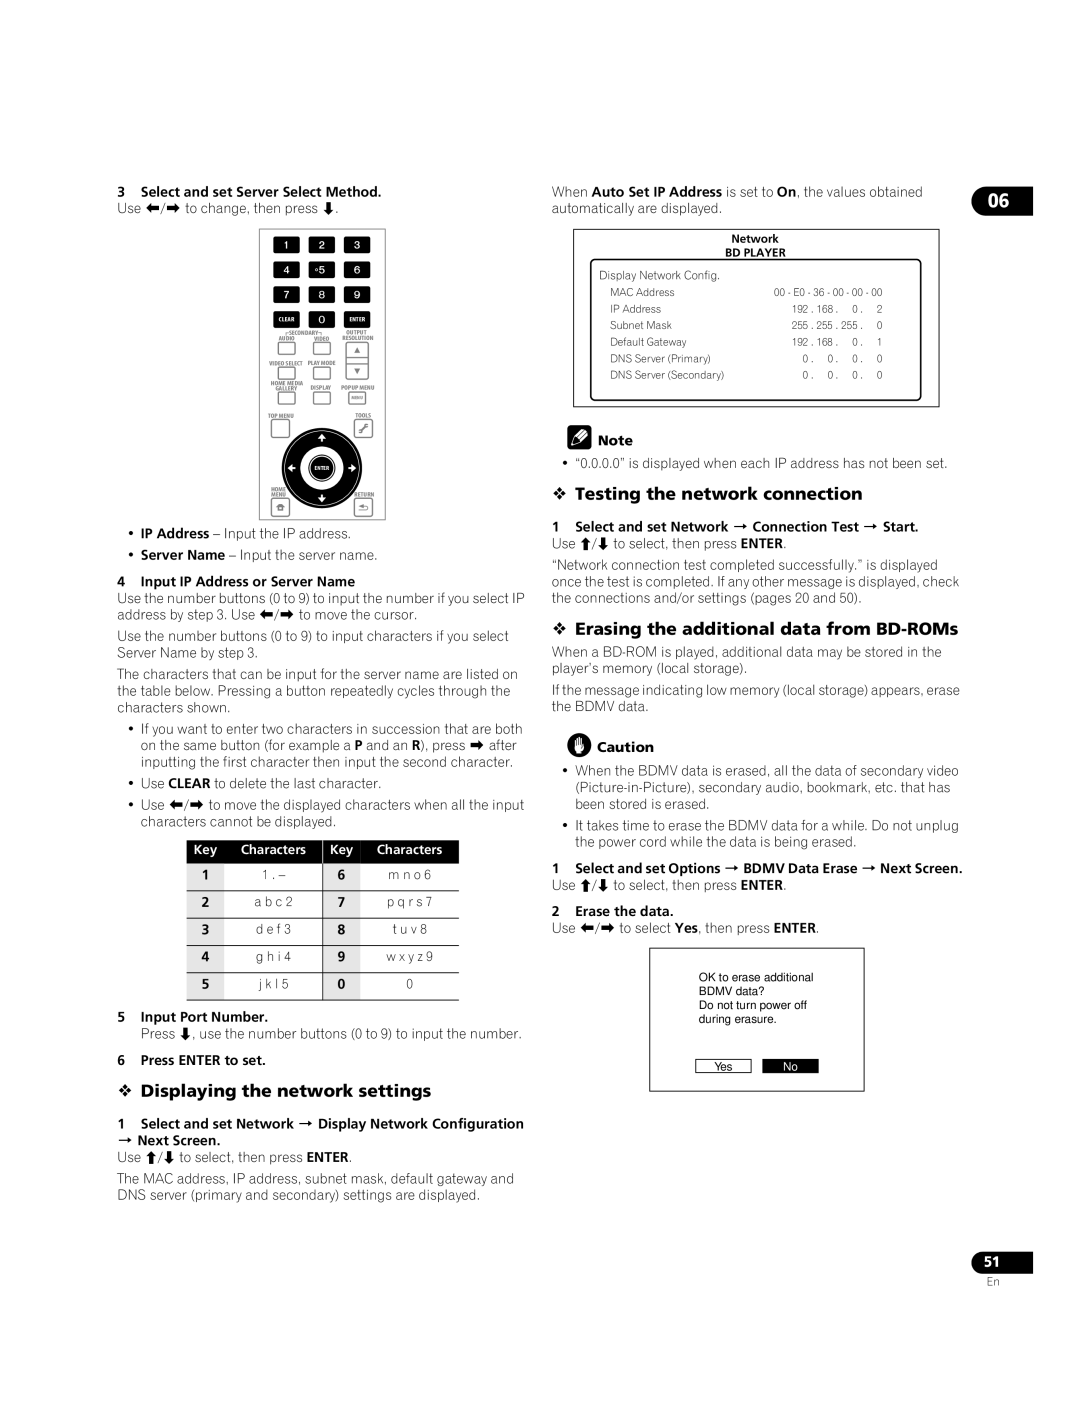
When Auto Set IP Address is set to On, the values obtained | 06 | ||||||
automatically are displayed. |
|
|
|
|
| ||
|
|
|
|
|
|
|
|
|
| Network |
|
|
|
|
|
|
| BD PLAYER |
|
|
|
|
|
| Display Network Config. |
|
|
|
|
|
|
| MAC Address | 00 - E0 - 36 - 00 - 00 - 00 |
| ||||
| IP Address | 192 . | 168 | . | 0 . | 2 |
|
| Subnet Mask | 255 . | 255 | . 255 . | 0 |
| |
| Default Gateway | 192 . | 168 | . | 0 . | 1 |
|
| DNS Server (Primary) | 0 . | 0 | . | 0 . | 0 |
|
| DNS Server (Secondary) | 0 . | 0 | . | 0 . | 0 |
|
|
|
|
|
|
|
|
|
![]() Note
Note
•“0.0.0.0” is displayed when each IP address has not been set.
Testing the network connection
1Select and set Network Connection Test Start. Use / to select, then press ENTER.
“Network connection test completed successfully.” is displayed once the test is completed. If any other message is displayed, check the connections and/or settings (pages 20 and 50).
Erasing the additional data from BD-ROMs
When a
If the message indicating low memory (local storage) appears, erase the BDMV data.
![]() Caution
Caution
•When the BDMV data is erased, all the data of secondary video
•It takes time to erase the BDMV data for a while. Do not unplug the power cord while the data is being erased.
1Select and set Options BDMV Data Erase Next Screen. Use / to select, then press ENTER.
2Erase the data.
Use / to select Yes, then press ENTER.
OK to erase additional BDMV data?
Do not turn power off during erasure.
Yes |
| No |
51
En