Section
01 Before You Start
!You can turn off the warning tone. See Switching the warning tone on page 49.
!You can turn off the face auto open. See Switching the face auto open on page 49.
![]() Important
Important
!Handle gently when removing or attaching the front panel.
!Avoid subjecting the front panel to excessive shocks.
!Keep the front panel out of direct sunlight and high temperatures.
!A few seconds after turning the ignition switch to on or off, the front panel automati- cally moves. When this happens, your fingers may become jammed in the panel, so keep your hands away from it.
Removing the front panel
1Press and hold OPEN to open the front panel.
2Slide and remove the front panel to- ward you.
Take care not to grip it too tightly or to drop the front panel and protect it from contact with water or other fluids to prevent perma- nent damage.
Attaching the front panel
1Make sure the inner cover is closed.
2Replace the front panel by clipping it into place.
Resetting the microprocessor
The microprocessor must be reset under the following conditions:
!Prior to using this unit for the first time after installation
!If the unit fails to operate properly
!When strange or incorrect messages ap- pear on the display
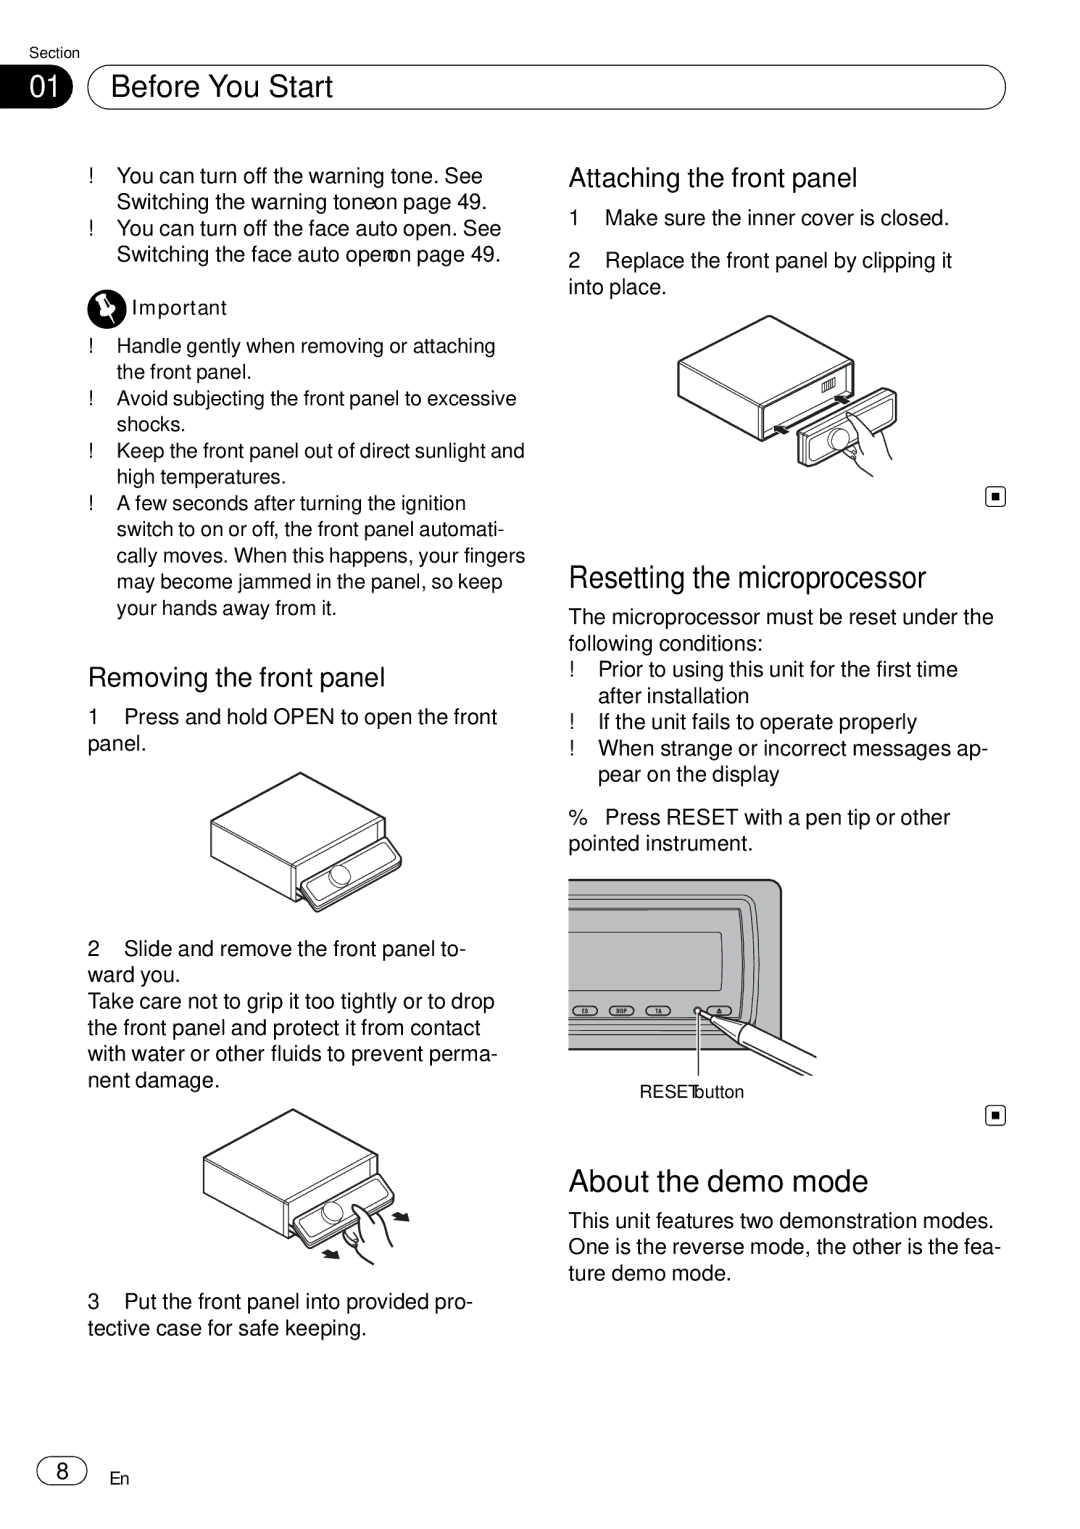
%Press RESET with a pen tip or other pointed instrument.
RESET button
About the demo mode
This unit features two demonstration modes. One is the reverse mode, the other is the fea- ture demo mode.
3Put the front panel into provided pro- tective case for safe keeping.
8 | En |