Useful adjustment settings | 10 |
Chapter 10
Useful adjustment settings
About “Option” menus
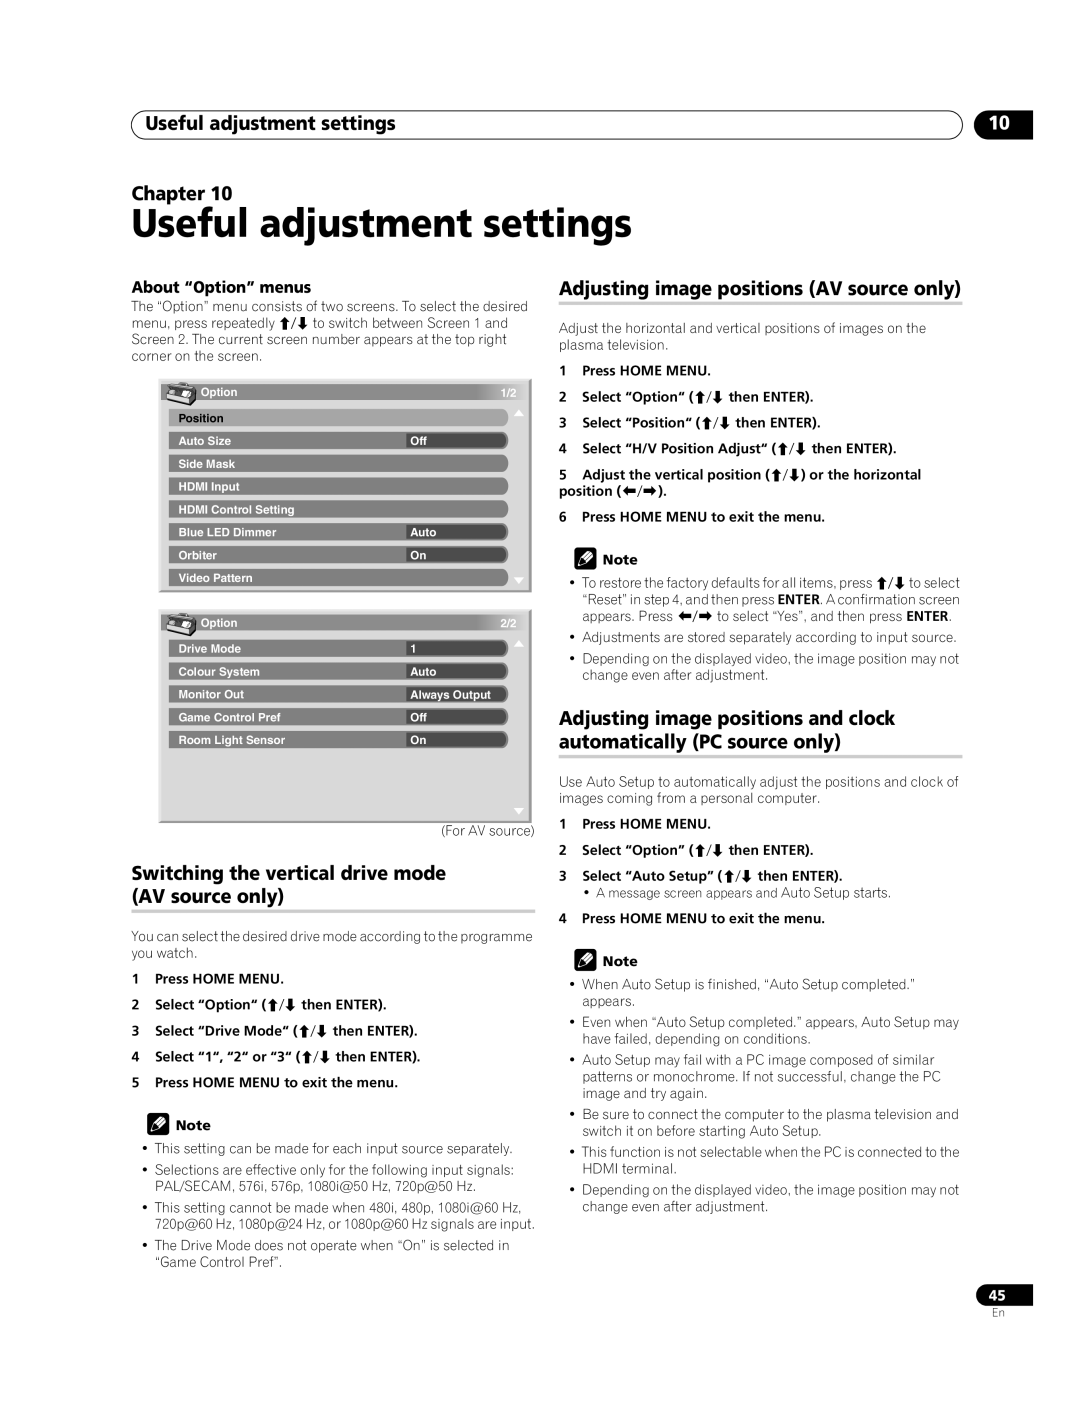
The “Option” menu consists of two screens. To select the desired menu, press repeatedly / to switch between Screen 1 and Screen 2. The current screen number appears at the top right corner on the screen.
Option | 1/2 |
Position |
|
Auto Size | Off |
Side Mask |
|
HDMI Input |
|
HDMI Control Setting |
|
Blue LED Dimmer | Auto |
Orbiter | On |
Video Pattern |
|
Option | 2/2 |
Drive Mode | 1 |
Colour System | Auto |
Monitor Out | Always Output |
Game Control Pref | Off |
Room Light Sensor | On |
(For AV source)
Switching the vertical drive mode (AV source only)
You can select the desired drive mode according to the programme you watch.
1Press HOME MENU.
2Select “Option“ (/ then ENTER).
3Select “Drive Mode“ (/ then ENTER).
4Select “1“, “2“ or “3“ (/ then ENTER).
5Press HOME MENU to exit the menu.
![]() Note
Note
•This setting can be made for each input source separately.
•Selections are effective only for the following input signals: PAL/SECAM, 576i, 576p, 1080i@50 Hz, 720p@50 Hz.
•This setting cannot be made when 480i, 480p, 1080i@60 Hz, 720p@60 Hz, 1080p@24 Hz, or 1080p@60 Hz signals are input.
•The Drive Mode does not operate when “On” is selected in “Game Control Pref”.
Adjusting image positions (AV source only)
Adjust the horizontal and vertical positions of images on the plasma television.
1Press HOME MENU.
2Select “Option“ (/ then ENTER).
3Select “Position“ (/ then ENTER).
4Select “H/V Position Adjust“ (/ then ENTER).
5Adjust the vertical position (/) or the horizontal position (/).
6Press HOME MENU to exit the menu.
![]() Note
Note
•To restore the factory defaults for all items, press / to select
“Reset” in step 4, and then press ENTER. A confirmation screen appears. Press / to select “Yes”, and then press ENTER.
•Adjustments are stored separately according to input source.
•Depending on the displayed video, the image position may not change even after adjustment.
Adjusting image positions and clock automatically (PC source only)
Use Auto Setup to automatically adjust the positions and clock of images coming from a personal computer.
1Press HOME MENU.
2Select “Option” (/ then ENTER).
3Select “Auto Setup” (/ then ENTER).
• A message screen appears and Auto Setup starts.
4Press HOME MENU to exit the menu.
![]() Note
Note
•When Auto Setup is finished, “Auto Setup completed.” appears.
•Even when “Auto Setup completed.” appears, Auto Setup may have failed, depending on conditions.
•Auto Setup may fail with a PC image composed of similar patterns or monochrome. If not successful, change the PC image and try again.
•Be sure to connect the computer to the plasma television and switch it on before starting Auto Setup.
•This function is not selectable when the PC is connected to the HDMI terminal.
•Depending on the displayed video, the image position may not change even after adjustment.
45
En