VSX-D2011-S, VSX-D2011-G specifications
The Pioneer VSX-D2011-G and VSX-D2011-S are impressive home theater receivers that embody Pioneer’s commitment to delivering high-quality audio and video performance. Both models are tailored for home entertainment enthusiasts who seek an immersive audiovisual experience without compromising on functionality or user-friendliness.One of the most notable features of the VSX-D2011 series is its advanced audio processing capabilities. With Dolby Digital and DTS support, these receivers are built to handle surround sound formats with precision, allowing users to experience cinematic audio from the comfort of their own homes. The inclusion of multi-channel audio decoding ensures that every sound is delivered with clarity, making movie nights and music listening vibrant and engaging.
Equipped with a powerful amplifier, the VSX-D2011 models offer robust power output, which is crucial for driving larger speakers effectively. This ensures that even at high volumes, the audio remains clear without distortion, providing a listening experience that’s rich and full. The receivers also feature various speaker configuration options, making them versatile for any home theater setup.
In terms of connectivity, the VSX-D2011 boasts an array of inputs and outputs, including multiple HDMI ports, optical and coaxial digital inputs, and traditional analog connections. This variety allows users to connect multiple source devices such as Blu-ray players, gaming consoles, and streaming devices easily. The inclusion of HDMI support also ensures compatibility with high-definition video formats, which is essential for today’s modern home entertainment systems.
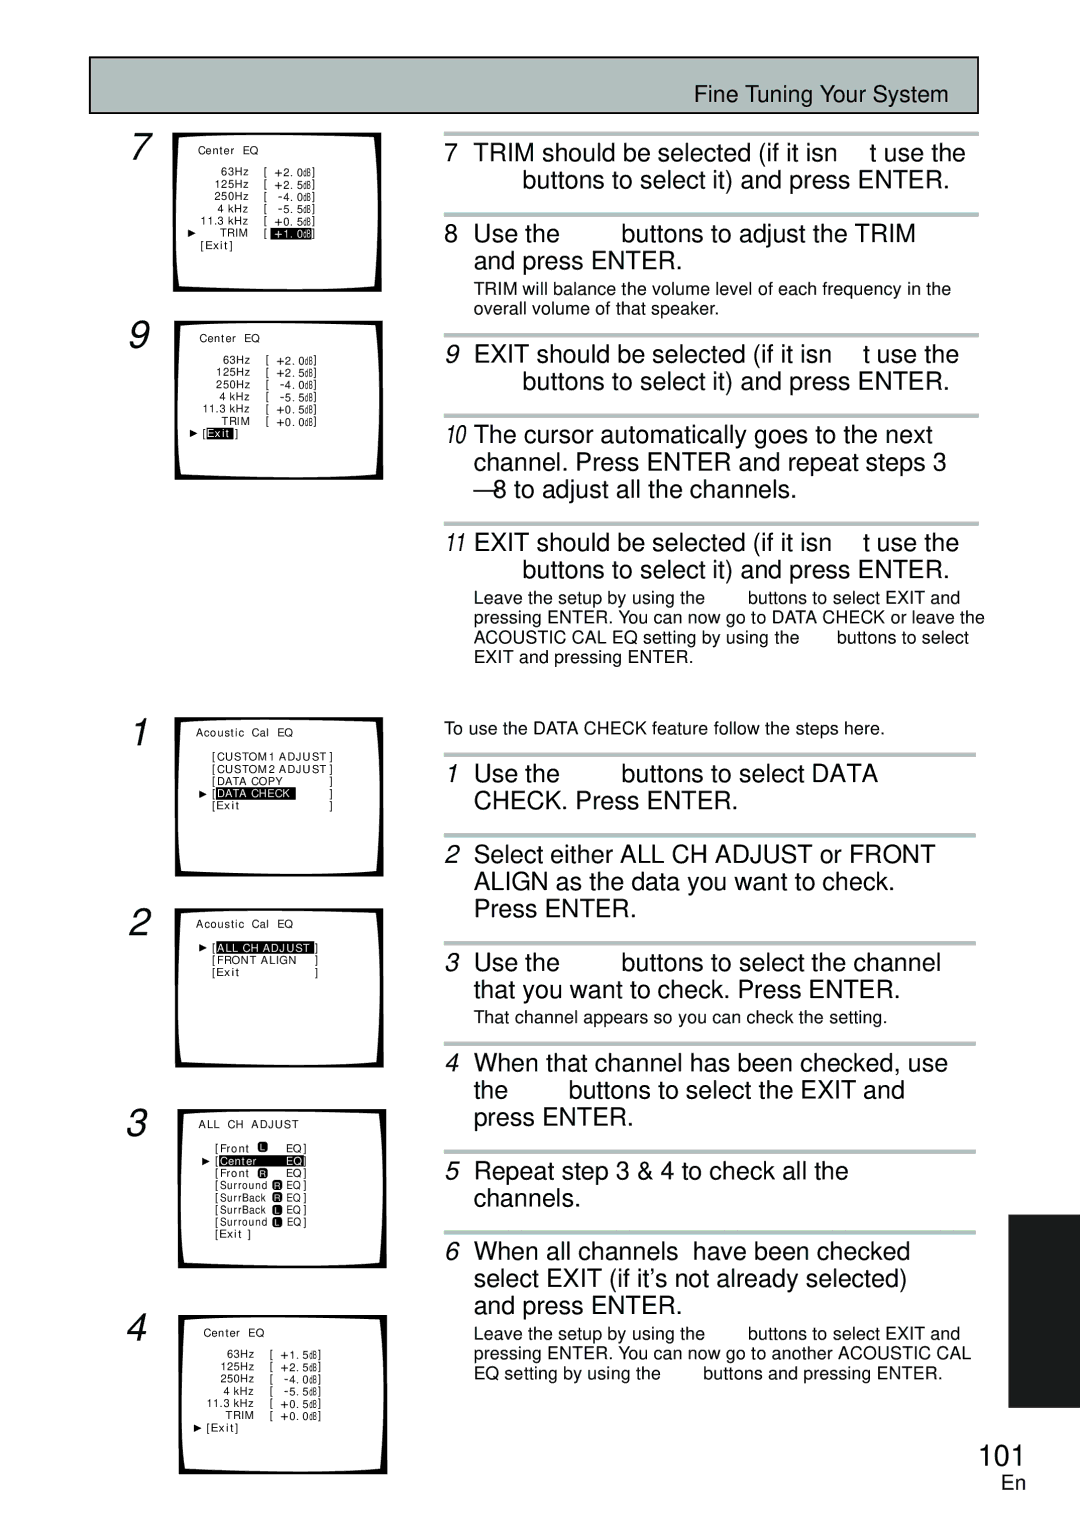
Another significant characteristic of the VSX-D2011 series is its user-friendly interface. Pioneer's intuitive on-screen menus and remote control make it easy to navigate through settings and preferences. This simplicity is beneficial for users who may not be technically inclined but still desire a sophisticated home theater experience.
Additionally, the receivers are designed with comprehensive audio calibration systems, such as MCACC, which automatically adjusts the sound settings based on the room’s acoustics. This feature ensures optimal sound quality, providing a tailored listening experience that can accommodate different environments.
In summary, the Pioneer VSX-D2011-G and VSX-D2011-S are robust home theater receivers that combine cutting-edge sound technology with ease of use. Their advanced audio processing, powerful amplification, extensive connectivity options, and user-friendly design make them ideal choices for both audiophiles and casual listeners looking to elevate their home entertainment experience. Whether watching movies, enjoying music, or gaming, these receivers deliver exceptional performance that captures every detail and nuance.

