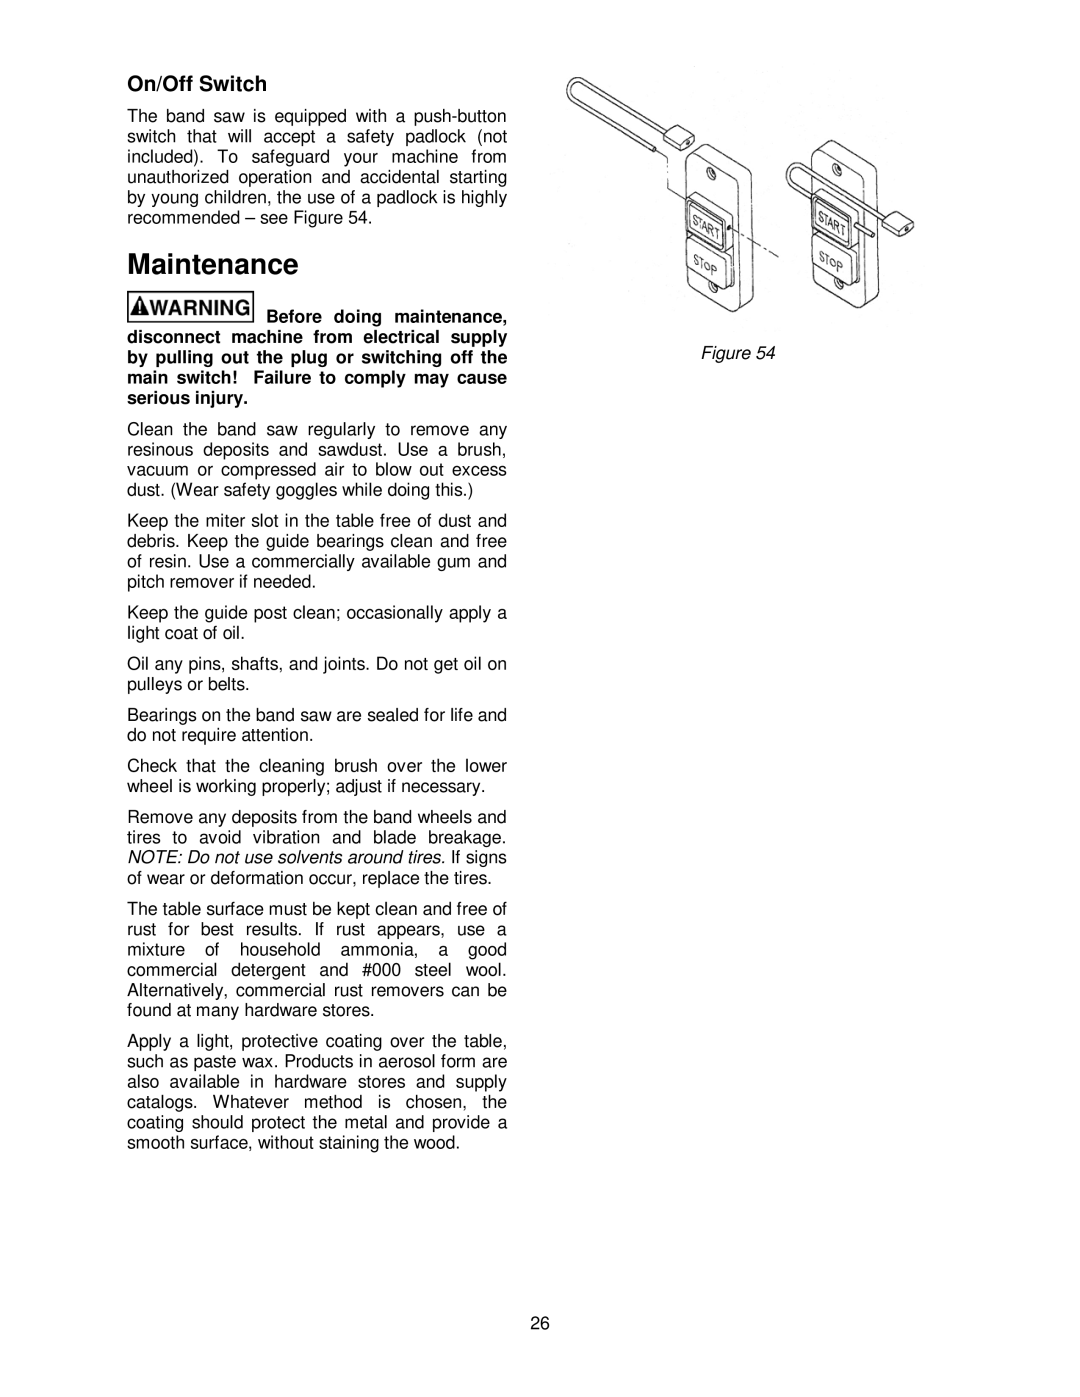
On/Off Switch
The band saw is equipped with a
Maintenance
Before doing maintenance, |
|
disconnect machine from electrical supply | Figure 54 |
by pulling out the plug or switching off the | |
main switch! Failure to comply may cause |
|
serious injury. |
|
Clean the band saw regularly to remove any |
|
resinous deposits and sawdust. Use a brush, |
|
vacuum or compressed air to blow out excess |
|
dust. (Wear safety goggles while doing this.) |
|
Keep the miter slot in the table free of dust and |
|
debris. Keep the guide bearings clean and free |
|
of resin. Use a commercially available gum and |
|
pitch remover if needed. |
|
Keep the guide post clean; occasionally apply a |
|
light coat of oil. |
|
Oil any pins, shafts, and joints. Do not get oil on |
|
pulleys or belts. |
|
Bearings on the band saw are sealed for life and |
|
do not require attention. |
|
Check that the cleaning brush over the lower |
|
wheel is working properly; adjust if necessary. |
|
Remove any deposits from the band wheels and |
|
tires to avoid vibration and blade breakage. |
|
NOTE: Do not use solvents around tires. If signs |
|
of wear or deformation occur, replace the tires. |
|
The table surface must be kept clean and free of |
|
rust for best results. If rust appears, use a |
|
mixture of household ammonia, a good |
|
commercial detergent and #000 steel wool. |
|
Alternatively, commercial rust removers can be |
|
found at many hardware stores. |
|
Apply a light, protective coating over the table, |
|
such as paste wax. Products in aerosol form are |
|
also available in hardware stores and supply |
|
catalogs. Whatever method is chosen, the |
|
coating should protect the metal and provide a |
|
smooth surface, without staining the wood. |
|
26