FastTrak TX4000 User Manual
Performance Tips
Here are some tips that may optimize performance in a RAID 0 striped array. If you are using an
Use FastTrak TX4000 as D: or other
For Audio/Video editing, keep the original system boot drive on the standard IDE controller as C: drive. Partitioning software such as FDISK will see the array as one physical drive, D: or later. This will prevent file fragmentation and provide better accessibility to the array.
Re-Configure PCI Latency Setting
The PCI Latency setting appears in some Motherboard BIOS. The setting governs how much time is allocated to service each PCI slot. Promise recommends a value of 64. An optimal value will vary from system to system.
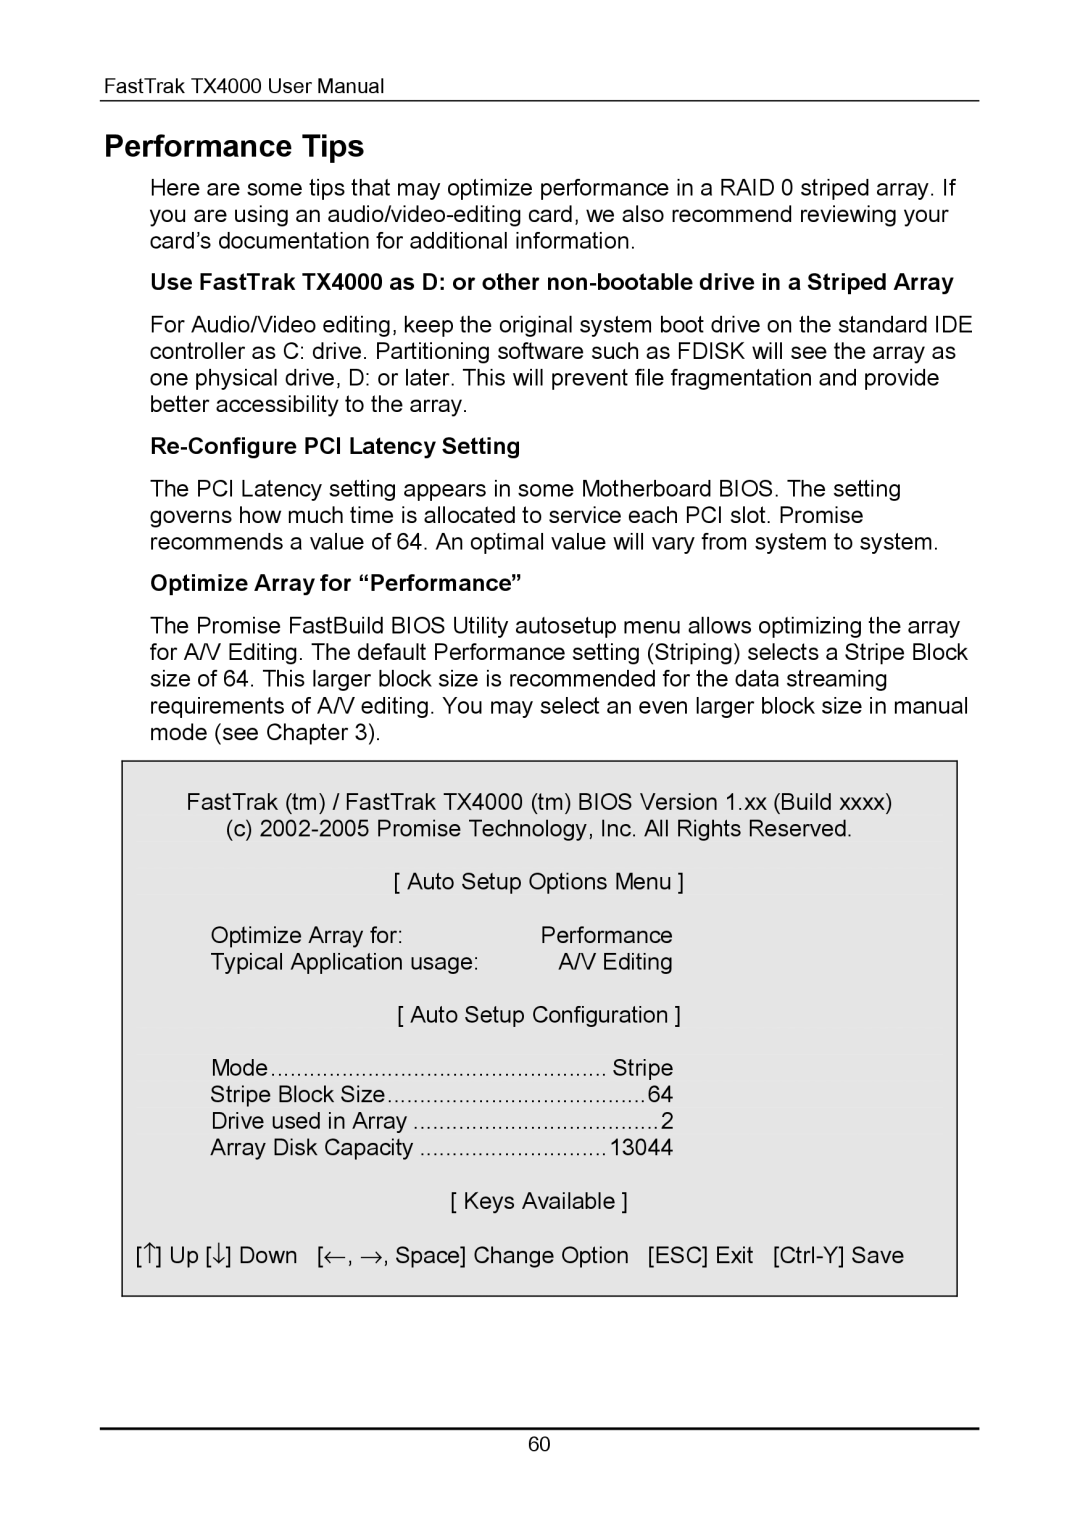
Optimize Array for “Performance”
The Promise FastBuild BIOS Utility autosetup menu allows optimizing the array for A/V Editing. The default Performance setting (Striping) selects a Stripe Block size of 64. This larger block size is recommended for the data streaming requirements of A/V editing. You may select an even larger block size in manual mode (see Chapter 3).
FastTrak (tm) / FastTrak TX4000 (tm) BIOS Version 1.xx (Build xxxx)
(c)
Optimize Array for: | Performance |
Typical Application usage: | A/V Editing |
[ Auto Setup Configuration ] | |
Mode | Stripe |
Stripe Block Size | 64 |
Drive used in Array | 2 |
Array Disk Capacity | 13044 |
[ Keys Available ] | |
[↑ ] Up [↓ ] Down [← , → , Space] Change Option [ESC] Exit | |
60