Chapter 3: FastBuild Configuration Utility
Making a FastTrak TX4000 Disk Array Bootable
Warning
If you plan to boot from an array on the FastTrak TX4000, you must configure the system BIOS Setup to use the FastTrak TX4000 as a bootable device (rather than the onboard controller or another
This option is not available if the FastTrak TX4000 is being used as a secondary controller.
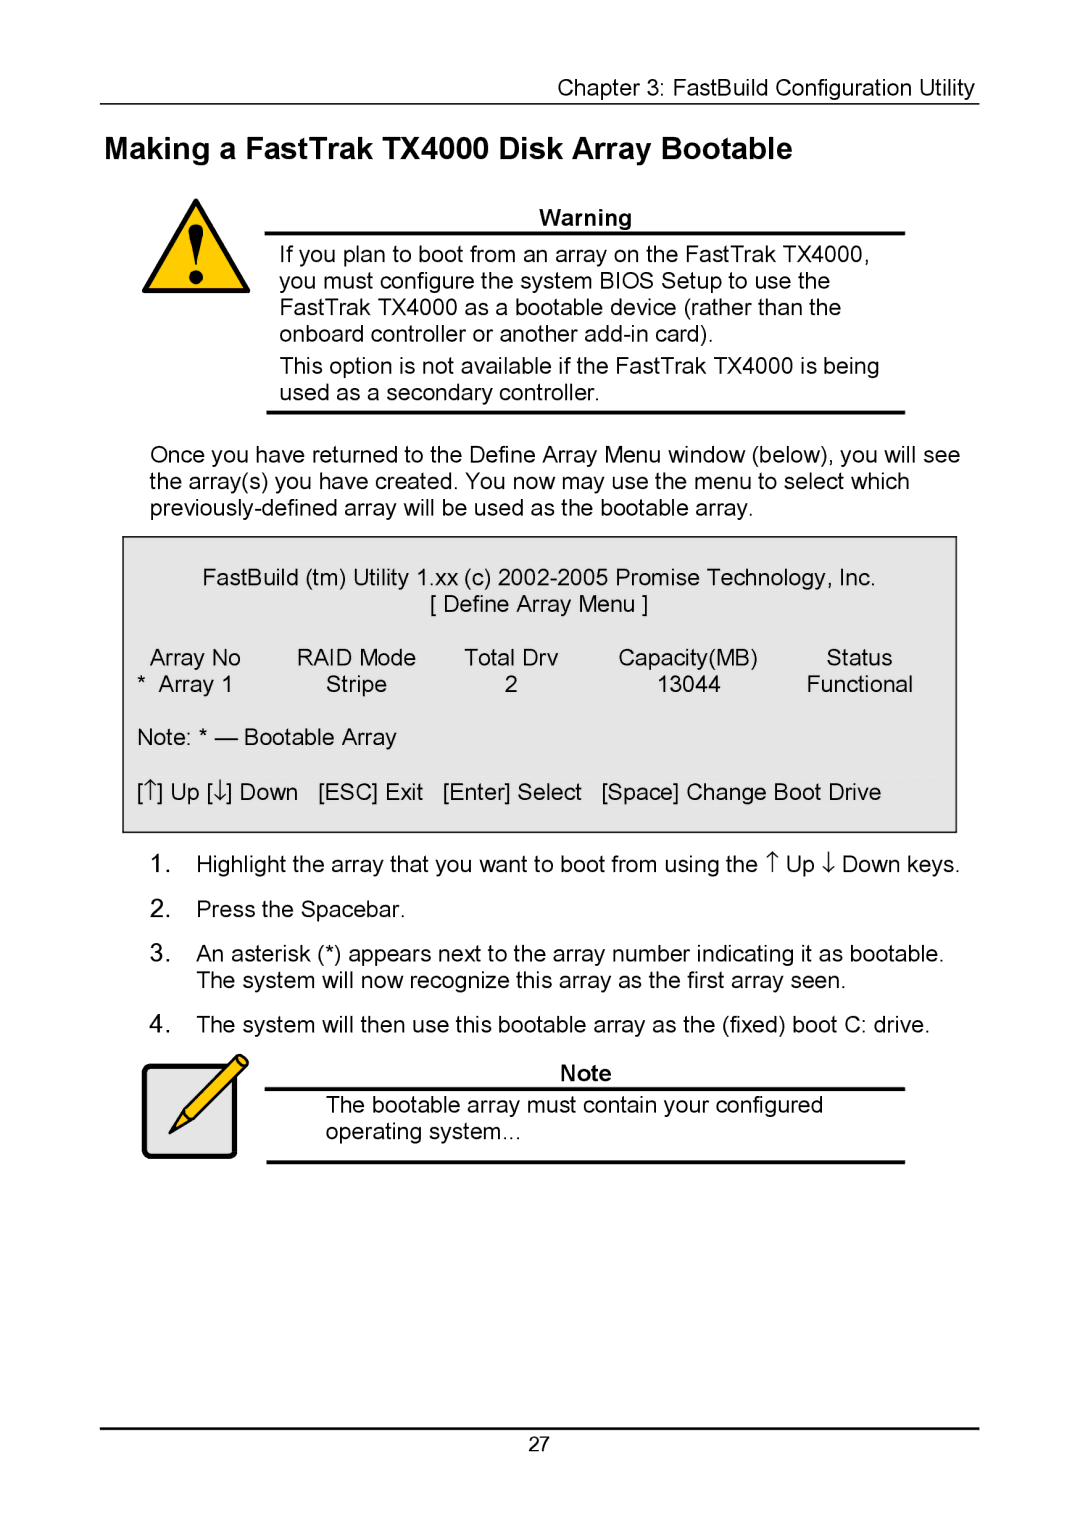
Once you have returned to the Define Array Menu window (below), you will see the array(s) you have created. You now may use the menu to select which
FastBuild (tm) Utility 1.xx (c)
[ Define Array Menu ]
Array No | RAID Mode | Total Drv | Capacity(MB) | Status |
* Array 1 | Stripe | 2 | 13044 | Functional |
Note: * — Bootable Array |
|
|
| |
[↑ ] Up [↓ ] Down [ESC] Exit | [Enter] Select | [Space] Change Boot Drive | ||
1.Highlight the array that you want to boot from using the ↑ Up ↓ Down keys.
2.Press the Spacebar.
3.An asterisk (*) appears next to the array number indicating it as bootable. The system will now recognize this array as the first array seen.
4.The system will then use this bootable array as the (fixed) boot C: drive.
Note
The bootable array must contain your configured
operating system...
27