5.Remove heat exchanger corner brackets.

6.Remove combustion chamber clips at the four cor- ners of the heat exchanger.

7.Lift heat exchanger straight up using caution not to damage refractory.

Fig. 54: Heat Exchanger

10.If gas piping was disconnected, reconnect gas pip- ing system and check for leakage using a soapy solution.

11.Check for correct water pressure and water level in the system. Make sure that system pump oper- ates immediately on the call for heat. The system is ready for operation.

12.Within two (2) days of start-up, recheck all air vents and expansion tank levels.

Combustion Chamber Removal

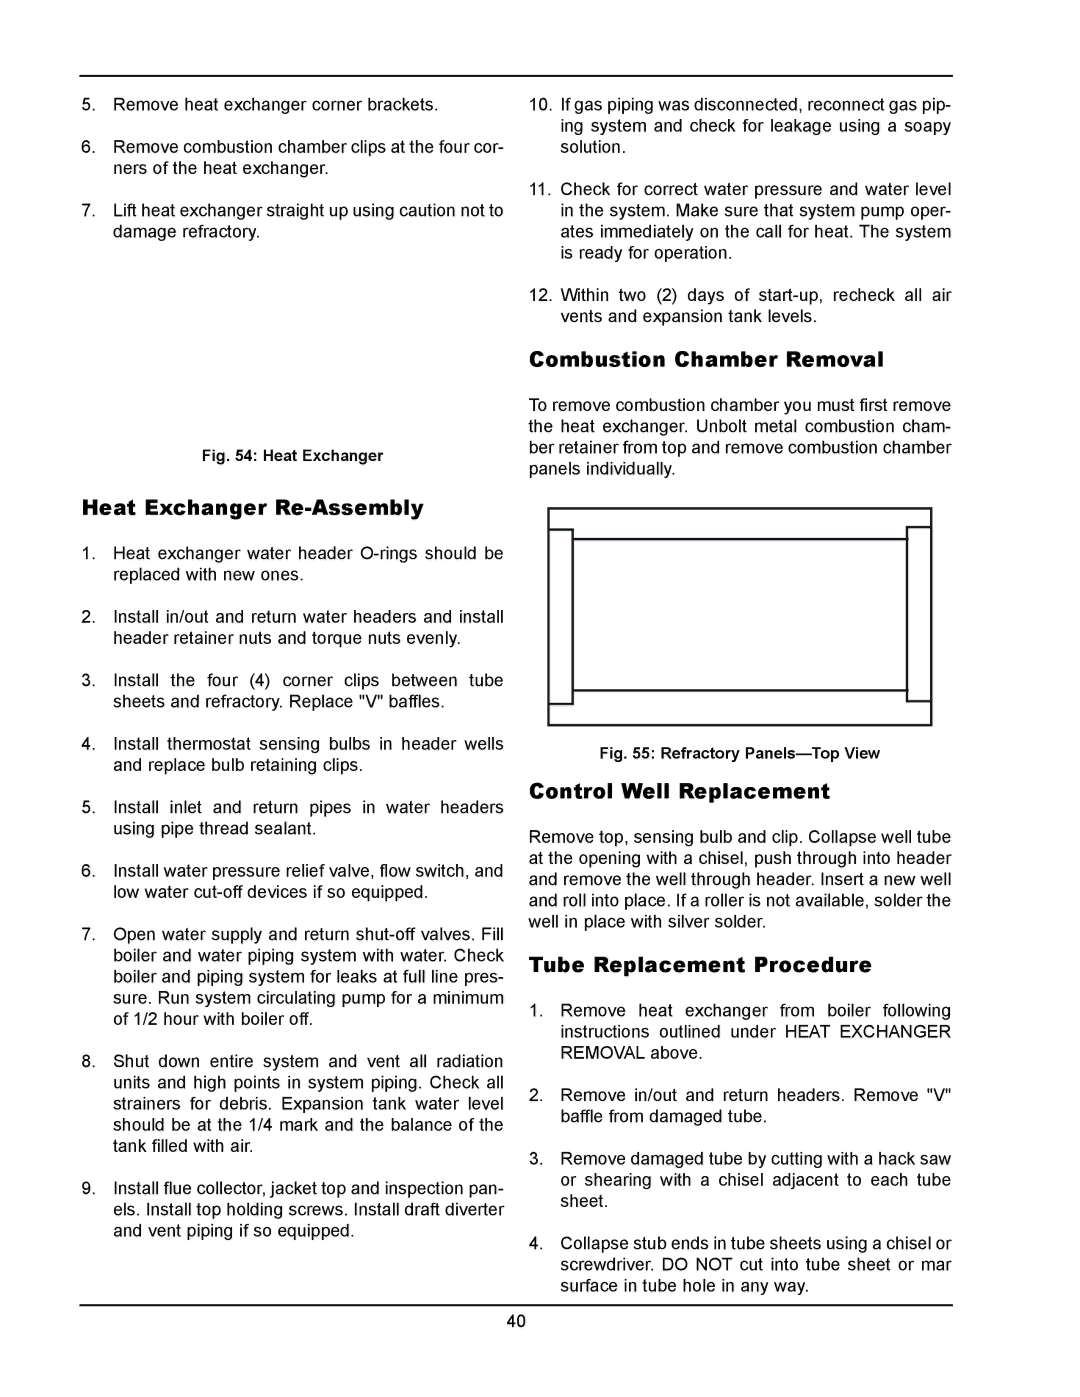
To remove combustion chamber you must first remove the heat exchanger. Unbolt metal combustion cham- ber retainer from top and remove combustion chamber panels individually.

Heat Exchanger Re-Assembly

1.Heat exchanger water header O-rings should be replaced with new ones.

2.Install in/out and return water headers and install header retainer nuts and torque nuts evenly.

3.Install the four (4) corner clips between tube sheets and refractory. Replace "V" baffles.

4.Install thermostat sensing bulbs in header wells and replace bulb retaining clips.

5.Install inlet and return pipes in water headers using pipe thread sealant.

6.Install water pressure relief valve, flow switch, and low water cut-off devices if so equipped.

7.Open water supply and return shut-off valves. Fill boiler and water piping system with water. Check boiler and piping system for leaks at full line pres- sure. Run system circulating pump for a minimum of 1/2 hour with boiler off.

8.Shut down entire system and vent all radiation units and high points in system piping. Check all strainers for debris. Expansion tank water level should be at the 1/4 mark and the balance of the tank filled with air.

9.Install flue collector, jacket top and inspection pan- els. Install top holding screws. Install draft diverter and vent piping if so equipped.

Fig. 55: Refractory Panels—Top View

Control Well Replacement

Remove top, sensing bulb and clip. Collapse well tube at the opening with a chisel, push through into header and remove the well through header. Insert a new well and roll into place. If a roller is not available, solder the well in place with silver solder.

Tube Replacement Procedure

1.Remove heat exchanger from boiler following instructions outlined under HEAT EXCHANGER REMOVAL above.

2.Remove in/out and return headers. Remove "V" baffle from damaged tube.

3.Remove damaged tube by cutting with a hack saw or shearing with a chisel adjacent to each tube sheet.

4.Collapse stub ends in tube sheets using a chisel or screwdriver. DO NOT cut into tube sheet or mar surface in tube hole in any way.

40

Page 40
Image 40
Raypak 133-4001 manual Combustion Chamber Removal, Heat Exchanger Re-Assembly, Control Well Replacement

133-4001 specifications

Raypak 133-4001 is a premier heating solution designed for both residential and commercial applications, known for its efficiency and reliability. This high-performance water heater is specifically engineered to meet the demanding requirements of hot water supply while ensuring energy conservation and user convenience.

One of the standout features of the Raypak 133-4001 is its robust construction. Made from high-quality materials, including a corrosion-resistant heat exchanger and durable casing, this unit is designed to withstand harsh environmental conditions. Its compact design allows for easy installation in various locations, making it an ideal choice for homeowners and businesses alike.

The unit operates on natural gas or LP gas, providing versatility in fuel choice. With a heating capacity of 199,000 BTU/hr, it delivers an impressive flow rate that ensures a steady supply of hot water, even during peak demand periods. This capacity makes it suitable for a wide range of applications, from residential water heating to larger facilities requiring substantial hot water output.

Raypak’s advanced technology set ensures that the 133-4001 operates at maximum efficiency. It utilizes a modulating power burner that adjusts the flame based on demand, optimizing fuel consumption. This feature not only helps in reducing energy bills but also minimizes the carbon footprint, making it an environmentally friendly option.

Another notable characteristic of the Raypak 133-4001 is its digital control system. The intuitive interface allows for precise temperature adjustments and easy monitoring of the heating process. Users can set the desired water temperature, and the system will maintain it consistently, ensuring comfort and reducing the risk of scalding.

Safety is a paramount consideration in the design of the 133-4001. It features a built-in high-limit switch, pressure relief valve, and multiple safety sensors to prevent overheating and potential hazards. These safety features provide peace of mind for homeowners and facility managers, knowing that their hot water system is reliable and secure.

In conclusion, Raypak 133-4001 combines advanced technology, robust construction, and user-friendly features, making it a highly effective water heating solution. Its efficiency and dependability cater to a variety of hot water needs, positioning it as a top choice for both residential and commercial use. Whether for a single-family home or a large facility, the Raypak 133-4001 is built to deliver exceptional performance with every use.