Chapter 5 - Operating instructions
5.5Viewfinder preferences
Set up the viewfinder according to your own preferences; adjust viewing parameters, select markers, message boxes and
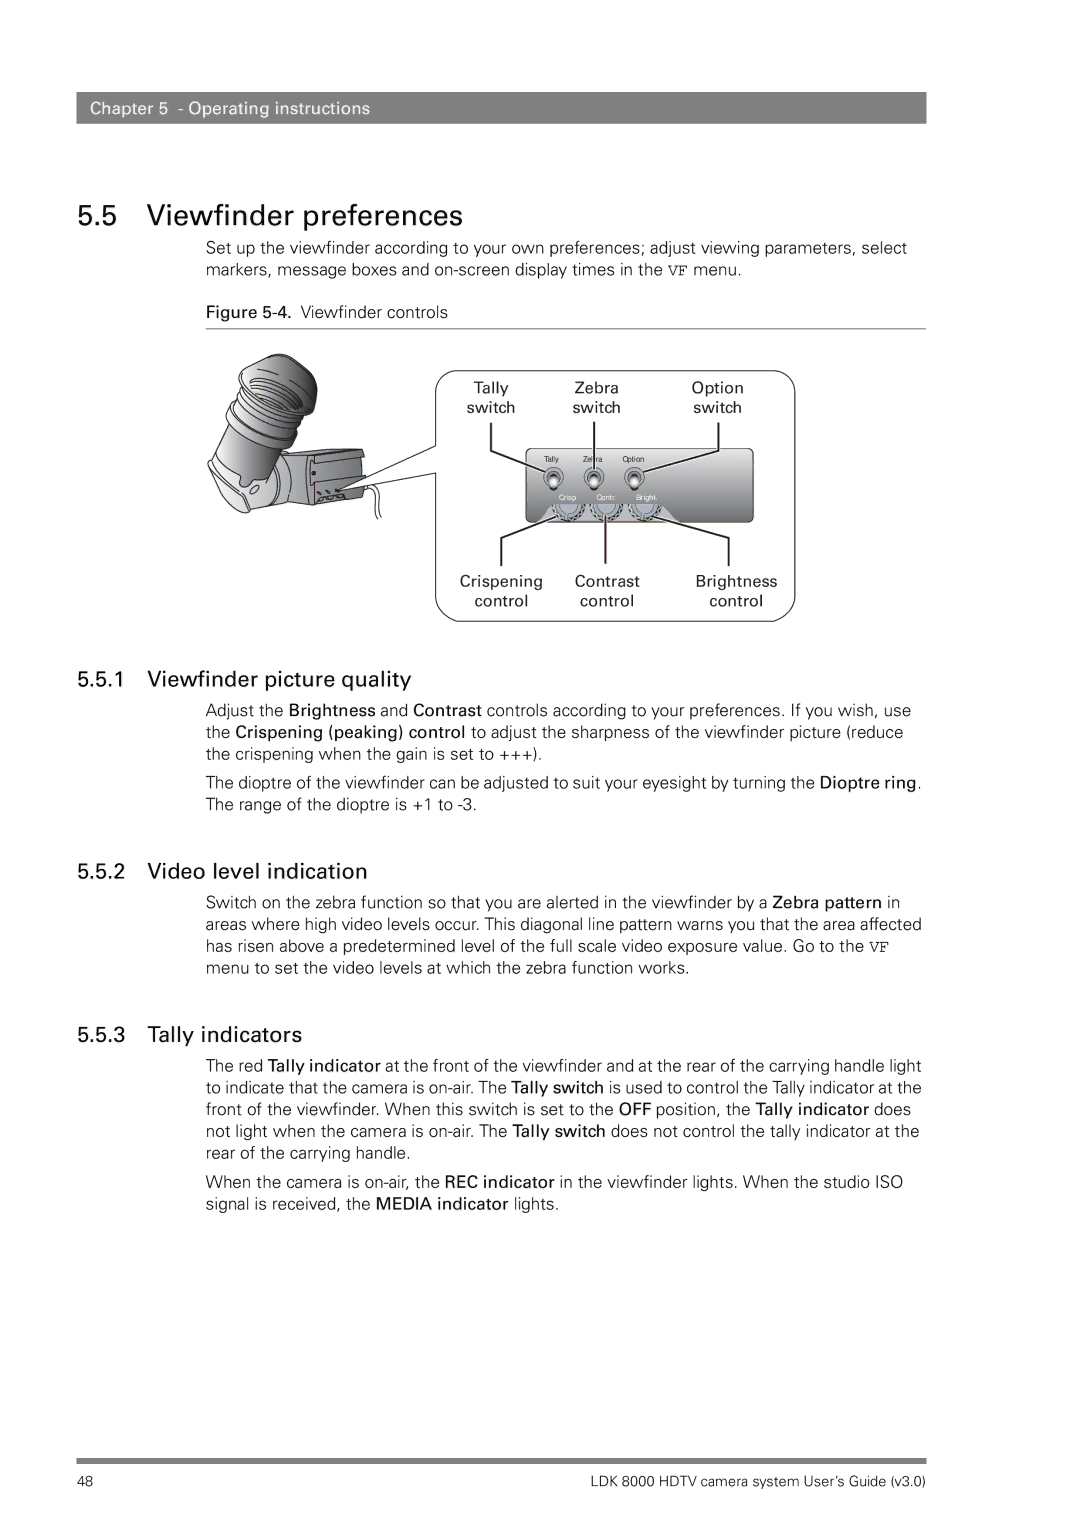
Figure 5-4. Viewfinder controls
Tally | Zebra | Option |
switch | switch | switch |
Tally | Zebra | Option |
| Crisp Contr. | Bright. |
Crispening | Contrast | Brightness |
control | control | control |
5.5.1 Viewfinder picture quality
Adjust the Brightness and Contrast controls according to your preferences. If you wish, use the Crispening (peaking) control to adjust the sharpness of the viewfinder picture (reduce the crispening when the gain is set to +++).
The dioptre of the viewfinder can be adjusted to suit your eyesight by turning the Dioptre ring. The range of the dioptre is +1 to
5.5.2 Video level indication
Switch on the zebra function so that you are alerted in the viewfinder by a Zebra pattern in areas where high video levels occur. This diagonal line pattern warns you that the area affected has risen above a predetermined level of the full scale video exposure value. Go to the VF menu to set the video levels at which the zebra function works.
5.5.3 Tally indicators
The red Tally indicator at the front of the viewfinder and at the rear of the carrying handle light to indicate that the camera is
When the camera is
48 | LDK 8000 HDTV camera system User’s Guide (v3.0) |