INSTALLATION
FACEPLATE & DOOR FRAME
INSTALLATION
1) Locate the 2 mounting brackets on either side of the glass door | 5) The L676S Faceplate consists of 2 parts, an inner faceplate and an |
frame. | outer faceplate, these 2 faceplates will be shipped installed together as |
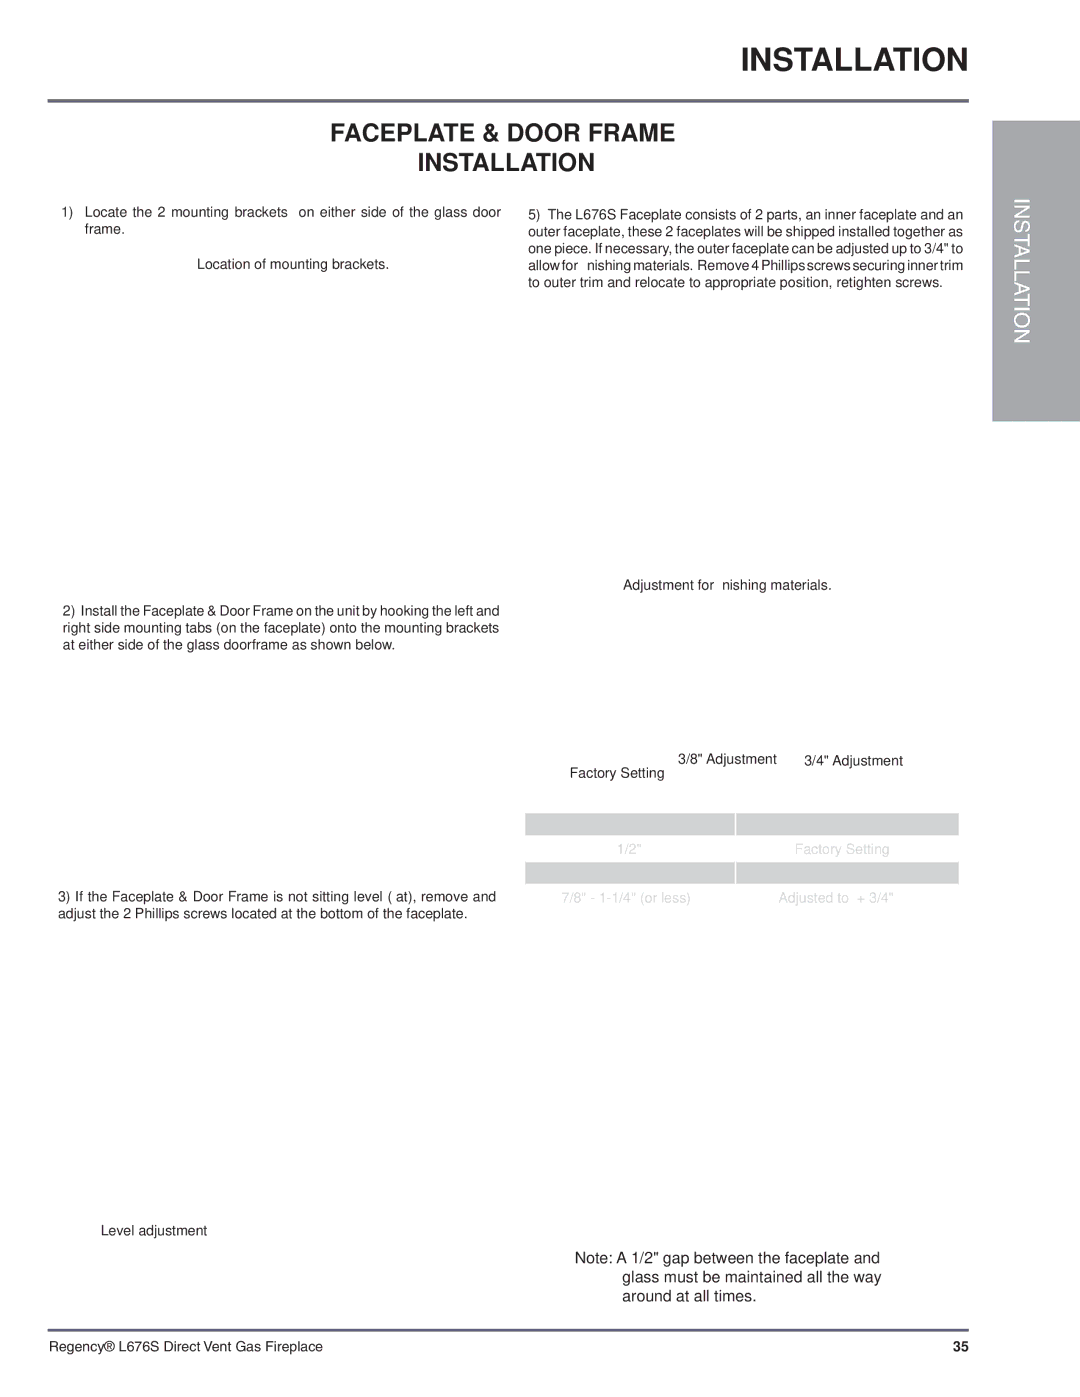
Location of mounting brackets. | one piece. If necessary, the outer faceplate can be adjusted up to 3/4" to |
allow for finishing materials. Remove 4 Phillips screws securing inner trim | |
| to outer trim and relocate to appropriate position, retighten screws. |
Adjustment for fi nishing materials.
2)Install the Faceplate & Door Frame on the unit by hooking the left and right side mounting tabs (on the faceplate) onto the mounting brackets at either side of the glass doorframe as shown below.
INSTALLATION
3)If the Faceplate & Door Frame is not sitting level (flat), remove and adjust the 2 Phillips screws located at the bottom of the faceplate.
Level adjustment
3/8" Adjustment | 3/4" Adjustment | ||
Factory Setting |
|
|
|
|
| ||
Finished Facing Thickness | Faceplate Adjustment | ||
1/2" |
| Factory Setting | |
1/2" - 7/8"(or less) |
| Adjusted to | + 3/8" |
7/8" - |
| Adjusted to | + 3/4" |
1/2" gap
Note: A 1/2" gap between the faceplate and glass must be maintained all the way around at all times.
Regency® L676S Direct Vent Gas Fireplace | 35 |