Basic Saw Operations
Making Common Slide Compound | WARNING: For your convenient | |
Cuts | use, your saw has a blade brake. | |
There are two types of cuts that can be | The brake is not a safety device. | |
made with the slide compound miter saw; | Never rely on it to replace proper | |
1. Slide Cutting | use of the guard on your saw. If | |
a. The slide lock knob is left loose, the | the blade does not stop within 6 | |
cutting head is pulled towards the | seconds, unplug the saw and fol- | |
operator, the sawblade is lowered into | low the instructions in the Trou- | |
the workpiece and then pushed to the | ble Shooting section for fixing | |
rear of the saw to complete the cut. | the brake before using saw | |
b. Used for cutting wide pieces. | again. | |
2. Chop Cutting |
| |
| ||
WARNING: Do not try to cut | ||
a. The slide lock knob is tightened and | ||
short pieces. You cannot prop- | ||
the saw handle is pushed down to | ||
erly support the workpiece and | ||
cut through the workpiece. | ||
keep your hold down hand the | ||
b. This type of cut is used mainly for | ||
required distance from the blade. | ||
narrow pieces. | ||
| ||
|
| |
Slide Cutting |
|
Plan your work to avoid the spinning blade and keep the workpiece from binding on the blade and flying out of your hands.
DANGER: Never pull the saw toward you during a cut. The blade can suddenly climb up on top of the workpiece and force itself toward you.
DANGER: Never lower the saw completely in front of the work- piece and then cut only on the forward push. The upward mov- ing rear portion of the blade could twist the workpiece from your grasp.
Workpieces up to
1.Put wood against fence and secure with clamp as appropriate.
2.Loosen the slide lock knob.
3.Grasp the saw handle and pull the car- riage until the arbor (center of saw- blade) is over the front edge of the workpiece.
4.Switch on the saw and allow to come to full speed.
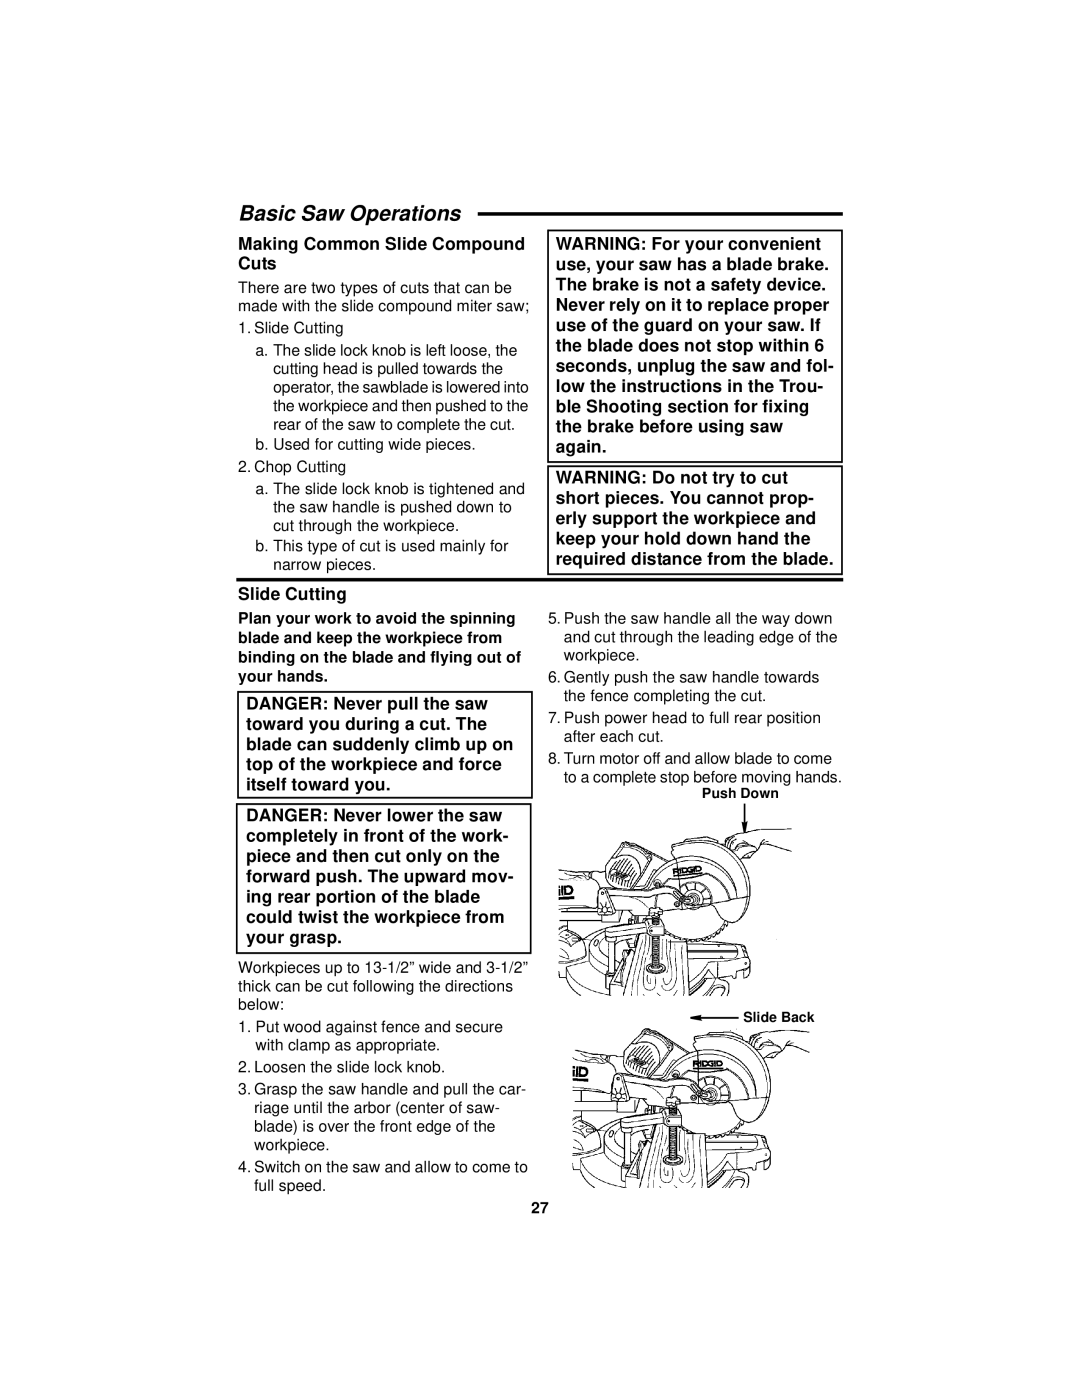
5.Push the saw handle all the way down and cut through the leading edge of the workpiece.
6.Gently push the saw handle towards the fence completing the cut.
7.Push power head to full rear position after each cut.
8.Turn motor off and allow blade to come to a complete stop before moving hands.
Push Down
![]() Slide Back
Slide Back
27