Assembling Dust Bag
1.Locate the dust bag frame and cloth dust bag.
2.Clip the dust bag frame in place on the slide tubes as shown.
3.Slide the cloth dust bag over the dust bag frame.
4.Connect the dust elbow to the dust port on the upper blade guard.
5.Clamp dust bag onto elbow.
NOTE: If connecting a
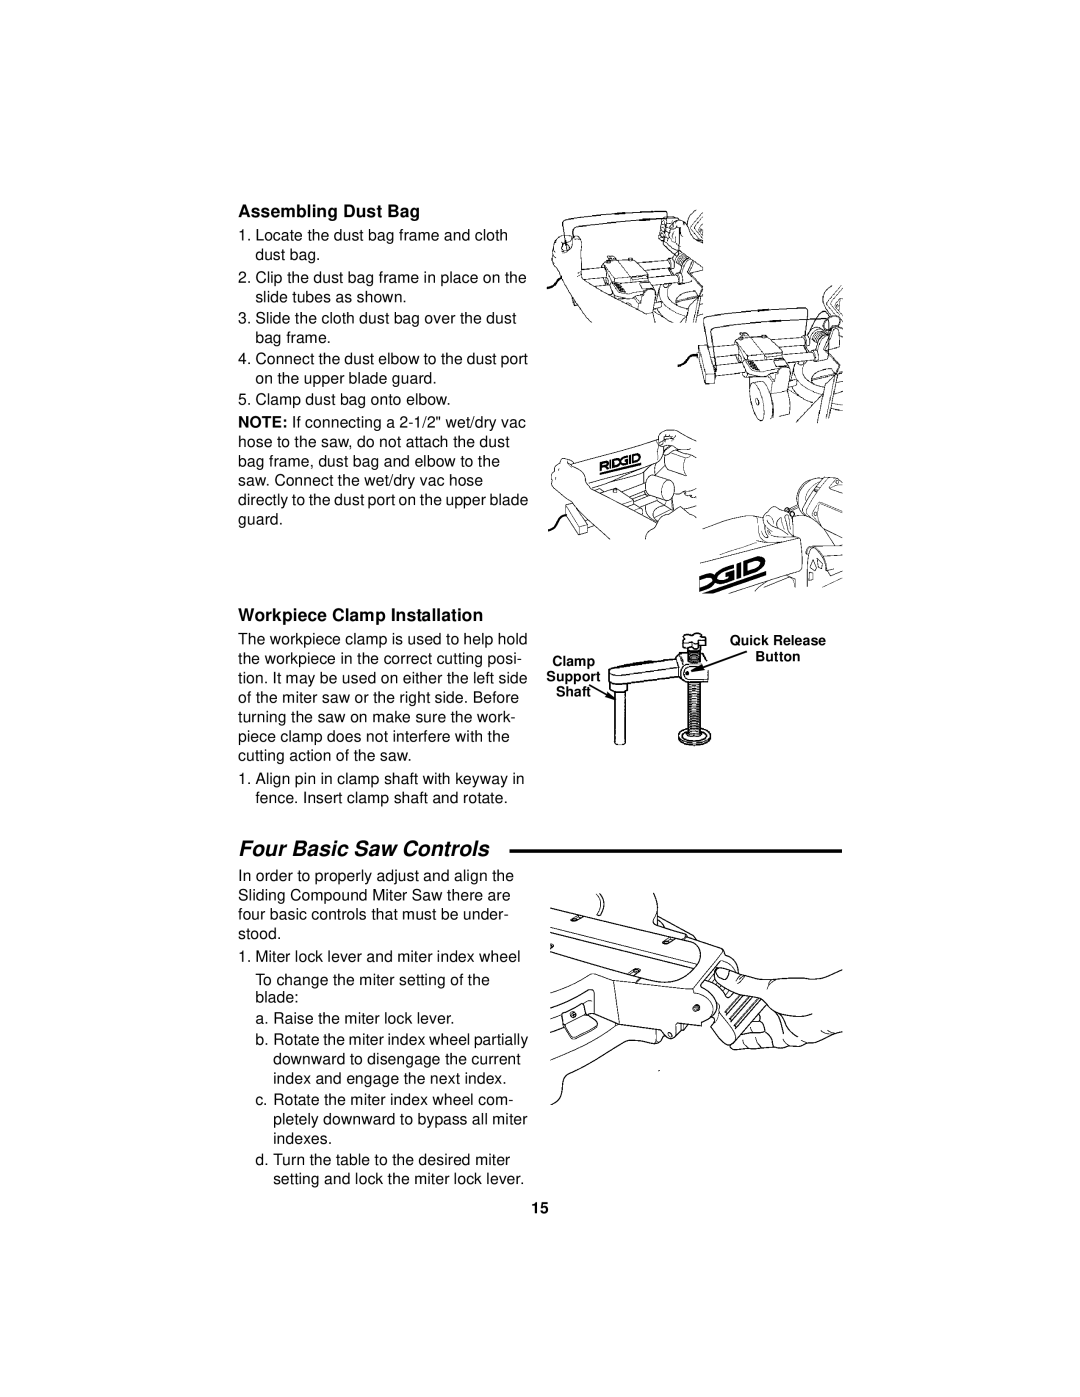
Workpiece Clamp Installation
The workpiece clamp is used to help hold the workpiece in the correct cutting posi- tion. It may be used on either the left side of the miter saw or the right side. Before turning the saw on make sure the work- piece clamp does not interfere with the cutting action of the saw.
1.Align pin in clamp shaft with keyway in fence. Insert clamp shaft and rotate.
Clamp
Support
Shaft![]()
![]()
Quick Release ![]() Button
Button
Four Basic Saw Controls
In order to properly adjust and align the Sliding Compound Miter Saw there are four basic controls that must be under- stood.
1.Miter lock lever and miter index wheel
To change the miter setting of the blade:
a.Raise the miter lock lever.
b.Rotate the miter index wheel partially downward to disengage the current index and engage the next index.
c.Rotate the miter index wheel com- pletely downward to bypass all miter indexes.
d.Turn the table to the desired miter setting and lock the miter lock lever.
15