Alignment (Adjustments) (continued)
Step Three: Blade Square to Fence (Miter Alignment)
1.Place the blade in the 0° miter index and lock the miter lock.
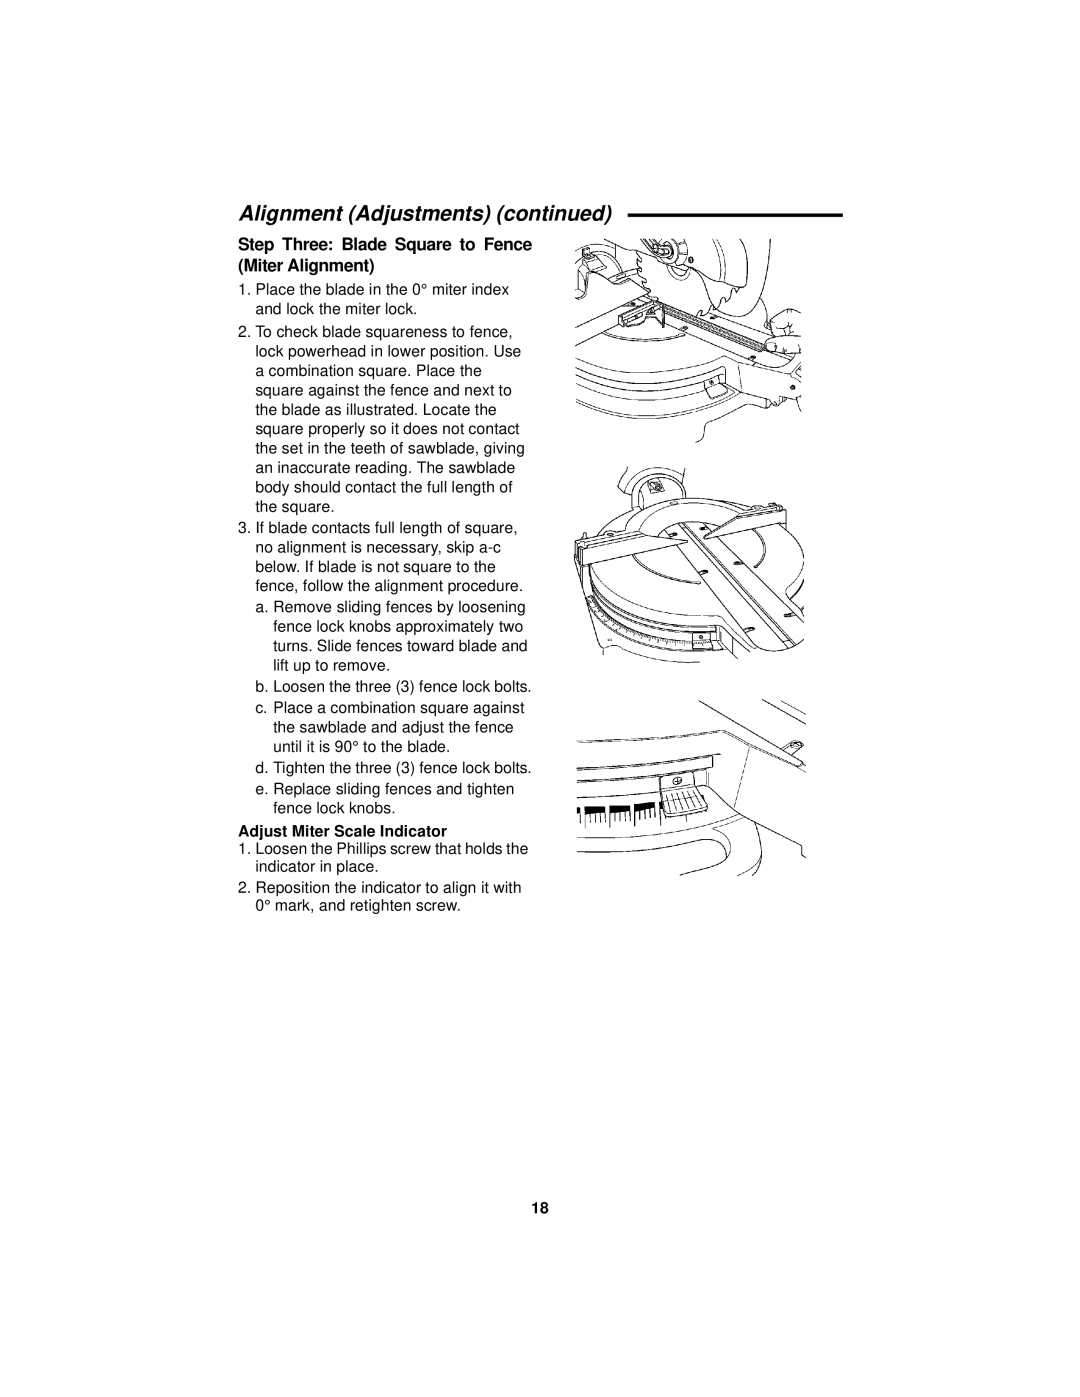
2.To check blade squareness to fence, lock powerhead in lower position. Use
acombination square. Place the square against the fence and next to the blade as illustrated. Locate the square properly so it does not contact the set in the teeth of sawblade, giving an inaccurate reading. The sawblade body should contact the full length of the square.
3.If blade contacts full length of square, no alignment is necessary, skip
a.Remove sliding fences by loosening fence lock knobs approximately two turns. Slide fences toward blade and lift up to remove.
b.Loosen the three (3) fence lock bolts.
c.Place a combination square against the sawblade and adjust the fence until it is 90° to the blade.
d.Tighten the three (3) fence lock bolts.
e.Replace sliding fences and tighten fence lock knobs.
Adjust Miter Scale Indicator
1.Loosen the Phillips screw that holds the indicator in place.
2.Reposition the indicator to align it with 0° mark, and retighten screw.
18