Installing your dryer
REPLACEMENT PARTS AND ACCESSORIES
If your dryer requires replacement parts or accessories, contact the dealer where you purchased your dryer or the SAMSUNG customer care center at
INSTALLATION
For the proper installation, we recommend that you hire a qualified installer.
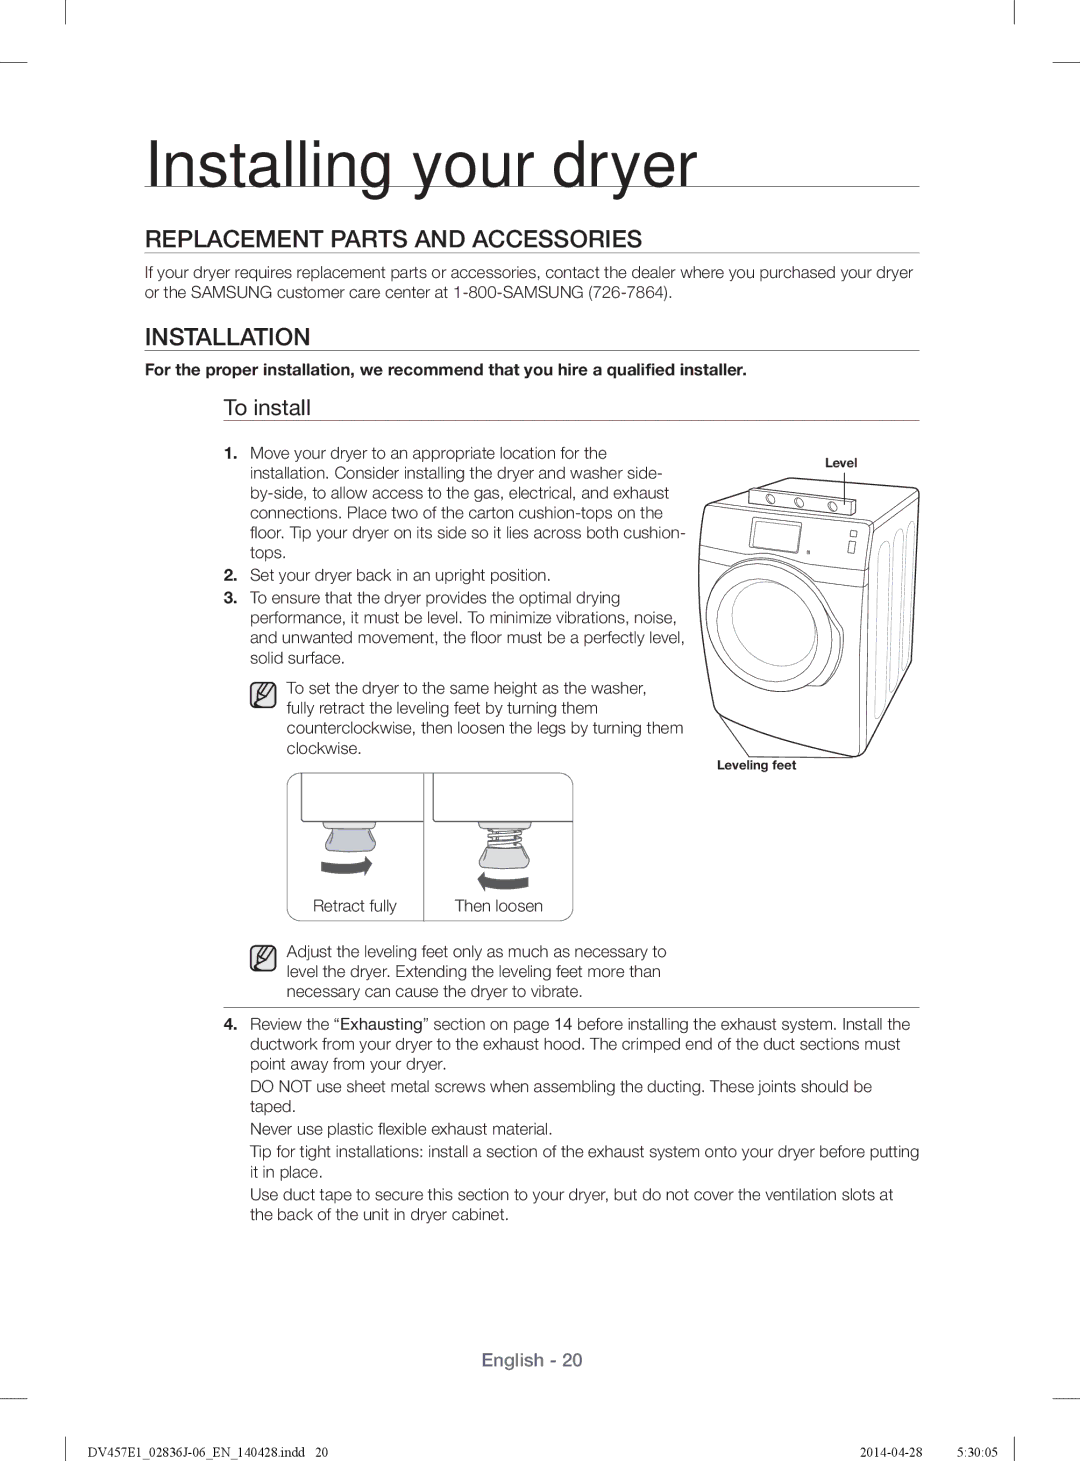
To install
1. Move your dryer to an appropriate location for the
Level
installation. Consider installing the dryer and washer side-
fl oor. Tip your dryer on its side so it lies across both cushion- tops.
2. Set your dryer back in an upright position.
3.To ensure that the dryer provides the optimal drying performance, it must be level. To minimize vibrations, noise, and unwanted movement, the fl oor must be a perfectly level, solid surface.
To set the dryer to the same height as the washer, fully retract the leveling feet by turning them counterclockwise, then loosen the legs by turning them clockwise.
Leveling feet
Retract fully
Then loosen
Adjust the leveling feet only as much as necessary to level the dryer. Extending the leveling feet more than necessary can cause the dryer to vibrate.
4.Review the “Exhausting” section on page 14 before installing the exhaust system. Install the ductwork from your dryer to the exhaust hood. The crimped end of the duct sections must point away from your dryer.
DO NOT use sheet metal screws when assembling the ducting. These joints should be taped.
Never use plastic fl exible exhaust material.
Tip for tight installations: install a section of the exhaust system onto your dryer before putting it in place.
Use duct tape to secure this section to your dryer, but do not cover the ventilation slots at the back of the unit in dryer cabinet.
English - 20