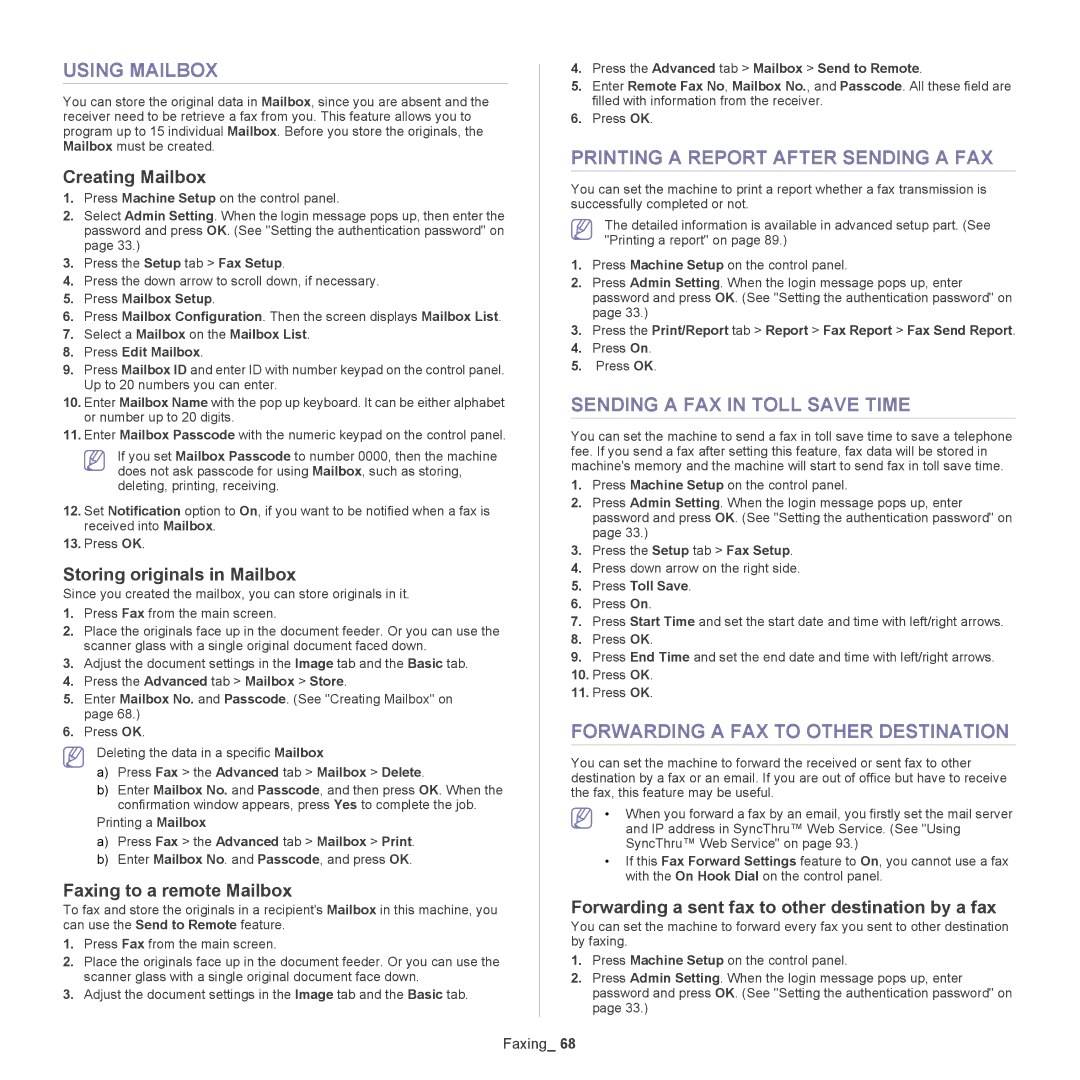
USING MAILBOX

You can store the original data in Mailbox, since you are absent and the receiver need to be retrieve a fax from you. This feature allows you to program up to 15 individual Mailbox. Before you store the originals, the Mailbox must be created.

Creating Mailbox

1.Press Machine Setup on the control panel.

2.Select Admin Setting. When the login message pops up, then enter the password and press OK. (See "Setting the authentication password" on page 33.)

3.Press the Setup tab > Fax Setup.

4.Press the down arrow to scroll down, if necessary.

5.Press Mailbox Setup.

6.Press Mailbox Configuration. Then the screen displays Mailbox List.

7.Select a Mailbox on the Mailbox List.

8.Press Edit Mailbox.

9.Press Mailbox ID and enter ID with number keypad on the control panel. Up to 20 numbers you can enter.

10.Enter Mailbox Name with the pop up keyboard. It can be either alphabet or number up to 20 digits.

11.Enter Mailbox Passcode with the numeric keypad on the control panel.

If you set Mailbox Passcode to number 0000, then the machine does not ask passcode for using Mailbox, such as storing, deleting, printing, receiving.

12.Set Notification option to On, if you want to be notified when a fax is received into Mailbox.

13.Press OK.

Storing originals in Mailbox

Since you created the mailbox, you can store originals in it.

1.Press Fax from the main screen.

2.Place the originals face up in the document feeder. Or you can use the scanner glass with a single original document faced down.

3.Adjust the document settings in the Image tab and the Basic tab.

4.Press the Advanced tab > Mailbox > Store.

5.Enter Mailbox No. and Passcode. (See "Creating Mailbox" on page 68.)

6.Press OK.

Deleting the data in a specific Mailbox

a)Press Fax > the Advanced tab > Mailbox > Delete.

b)Enter Mailbox No. and Passcode, and then press OK. When the confirmation window appears, press Yes to complete the job.

Printing a Mailbox

a)Press Fax > the Advanced tab > Mailbox > Print.

b)Enter Mailbox No. and Passcode, and press OK.

Faxing to a remote Mailbox

To fax and store the originals in a recipient's Mailbox in this machine, you can use the Send to Remote feature.

1.Press Fax from the main screen.

2.Place the originals face up in the document feeder. Or you can use the scanner glass with a single original document face down.

3.Adjust the document settings in the Image tab and the Basic tab.

4.Press the Advanced tab > Mailbox > Send to Remote.

5.Enter Remote Fax No, Mailbox No., and Passcode. All these field are filled with information from the receiver.

6.Press OK.

PRINTING A REPORT AFTER SENDING A FAX

You can set the machine to print a report whether a fax transmission is successfully completed or not.

The detailed information is available in advanced setup part. (See "Printing a report" on page 89.)

1.Press Machine Setup on the control panel.

2.Press Admin Setting. When the login message pops up, enter password and press OK. (See "Setting the authentication password" on page 33.)

3.Press the Print/Report tab > Report > Fax Report > Fax Send Report.

4.Press On.

5.Press OK.

SENDING A FAX IN TOLL SAVE TIME

You can set the machine to send a fax in toll save time to save a telephone fee. If you send a fax after setting this feature, fax data will be stored in machine's memory and the machine will start to send fax in toll save time.

1.Press Machine Setup on the control panel.

2.Press Admin Setting. When the login message pops up, enter password and press OK. (See "Setting the authentication password" on page 33.)

3.Press the Setup tab > Fax Setup.

4.Press down arrow on the right side.

5.Press Toll Save.

6.Press On.

7.Press Start Time and set the start date and time with left/right arrows.

8.Press OK.

9.Press End Time and set the end date and time with left/right arrows.

10.Press OK.

11.Press OK.

FORWARDING A FAX TO OTHER DESTINATION

You can set the machine to forward the received or sent fax to other destination by a fax or an email. If you are out of office but have to receive the fax, this feature may be useful.

When you forward a fax by an email, you firstly set the mail server and IP address in SyncThru™ Web Service. (See "Using SyncThru™ Web Service" on page 93.)

If this Fax Forward Settings feature to On, you cannot use a fax with the On Hook Dial on the control panel.

Forwarding a sent fax to other destination by a fax

You can set the machine to forward every fax you sent to other destination by faxing.

1.Press Machine Setup on the control panel.

2.Press Admin Setting. When the login message pops up, enter password and press OK. (See "Setting the authentication password" on page 33.)

Faxing_ 68

Page 68
Image 68
Samsung SCX-5835NX, 5935NX manual Using Mailbox, Printing a Report After Sending a FAX, Sending a FAX in Toll Save Time

SCX-5835NX, 5935NX specifications

The Samsung 5935NX and SCX-5835NX are part of Samsung’s innovative line of multifunction printers designed to cater to the needs of modern businesses. These models combine advanced technologies with user-friendly functionalities, making them ideal for companies seeking efficiency and productivity in their printing tasks.

The Samsung 5935NX is a monochrome laser printer that delivers high-quality printing with impressive speed. It boasts a printing speed of up to 35 pages per minute, making it suitable for high-volume document printing. With a resolution of 1200 x 1200 dpi, it ensures sharp text and detailed images, which are essential for professional-looking documents. This device supports multiple media types and sizes, allowing users to print everything from standard A4 sheets to envelopes and labels.

One of the standout features of the 5935NX is its robust security capabilities. The printer includes various security protocols such as IP address filtering, which prevents unauthorized access, and Secure Print, which allows users to print sensitive documents without the risk of interception. Additionally, the device incorporates energy-saving technologies, such as an Energy Star certification, ensuring that it operates efficiently while reducing electricity consumption.

On the other hand, the Samsung SCX-5835NX combines printing, copying, scanning, and faxing functionalities into one compact device, making it a true multifunction printer. Like its counterpart, it achieves a printing speed of up to 35 pages per minute and maintains a high resolution of 1200 x 1200 dpi. The SCX-5835NX also features an automatic document feeder (ADF) that can handle up to 50 sheets at a time, further enhancing productivity by allowing users to copy or scan multiple pages without manual intervention.

This model is equipped with advanced scanning capabilities, including a color scanning option that can digitize documents in high quality. The device also supports various connectivity options, including USB, Ethernet, and wireless printing, giving users the flexibility to print from a range of devices, including smartphones and tablets.

Both the 5935NX and SCX-5835NX utilize Samsung’s innovative Smart Panel technology, which provides users with real-time information about the printer's status and alerts for toner levels. This user-friendly interface simplifies management and maintenance, aiding users in efficiently operating the devices.

In summary, the Samsung 5935NX and SCX-5835NX are exemplary choices for businesses that require multifunctionality, high performance, and reliability. With their advanced features, these printers not only enhance workflow efficiency but also contribute to cost savings and improved document security in the workplace.