Installation
Lens Installation
Before setting up the projector, install Projection Lens on the projector.
Before installation, check where the projector is used and prepare a suitable lens. For the specifications of Projection Lens, contact sales dealer where you purchased the projector.
- Lens installation and replacement should be performed by the qualified service personnel. - When setting the projector after lens installation, be sure to replace a Lens Cap to protect a surface.
-When carrying or holding up the projector, be careful not to put your hands on lens part. It may damage lens, cabinet, or mechanical parts.
Positioning Projector
This projector is designed to project on a flat projection surface.
✔Note:
•Brightness in room has a great influence on picture quality. It is recommended to limit ambient lighting in order to provide the best image.
Picture Level and Pitch Adjustment
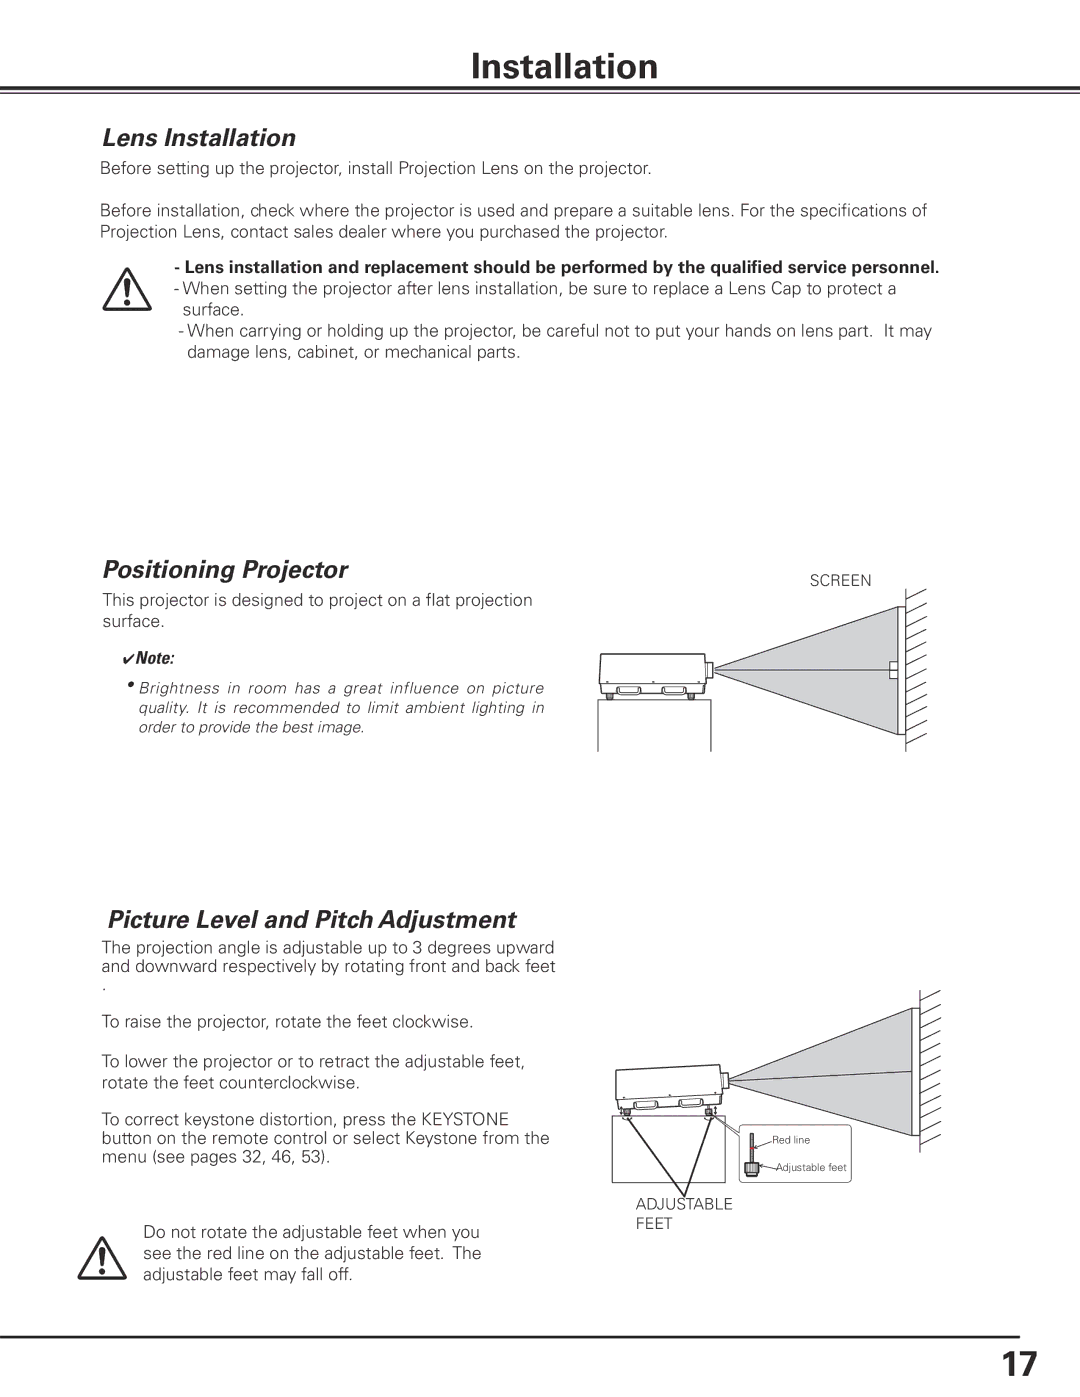
The projection angle is adjustable up to 3 degrees upward and downward respectively by rotating front and back feet
.
To raise the projector, rotate the feet clockwise.
To lower the projector or to retract the adjustable feet, rotate the feet counterclockwise.
To correct keystone distortion, press the KEYSTONE button on the remote control or select Keystone from the menu (see pages 32, 46, 53).
Do not rotate the adjustable feet when you see the red line on the adjustable feet. The
adjustable feet may fall off.
SCREEN
Red line
Adjustable feet
ADJUSTABLE
FEET
17