Network Camera Settings
A NETWORK SET Settings
These settings are used in order to connect the camera to the network.
Note: Check with the network system administrator for details on settings related to the network itself, such as IP address settings.
1
2
3
4
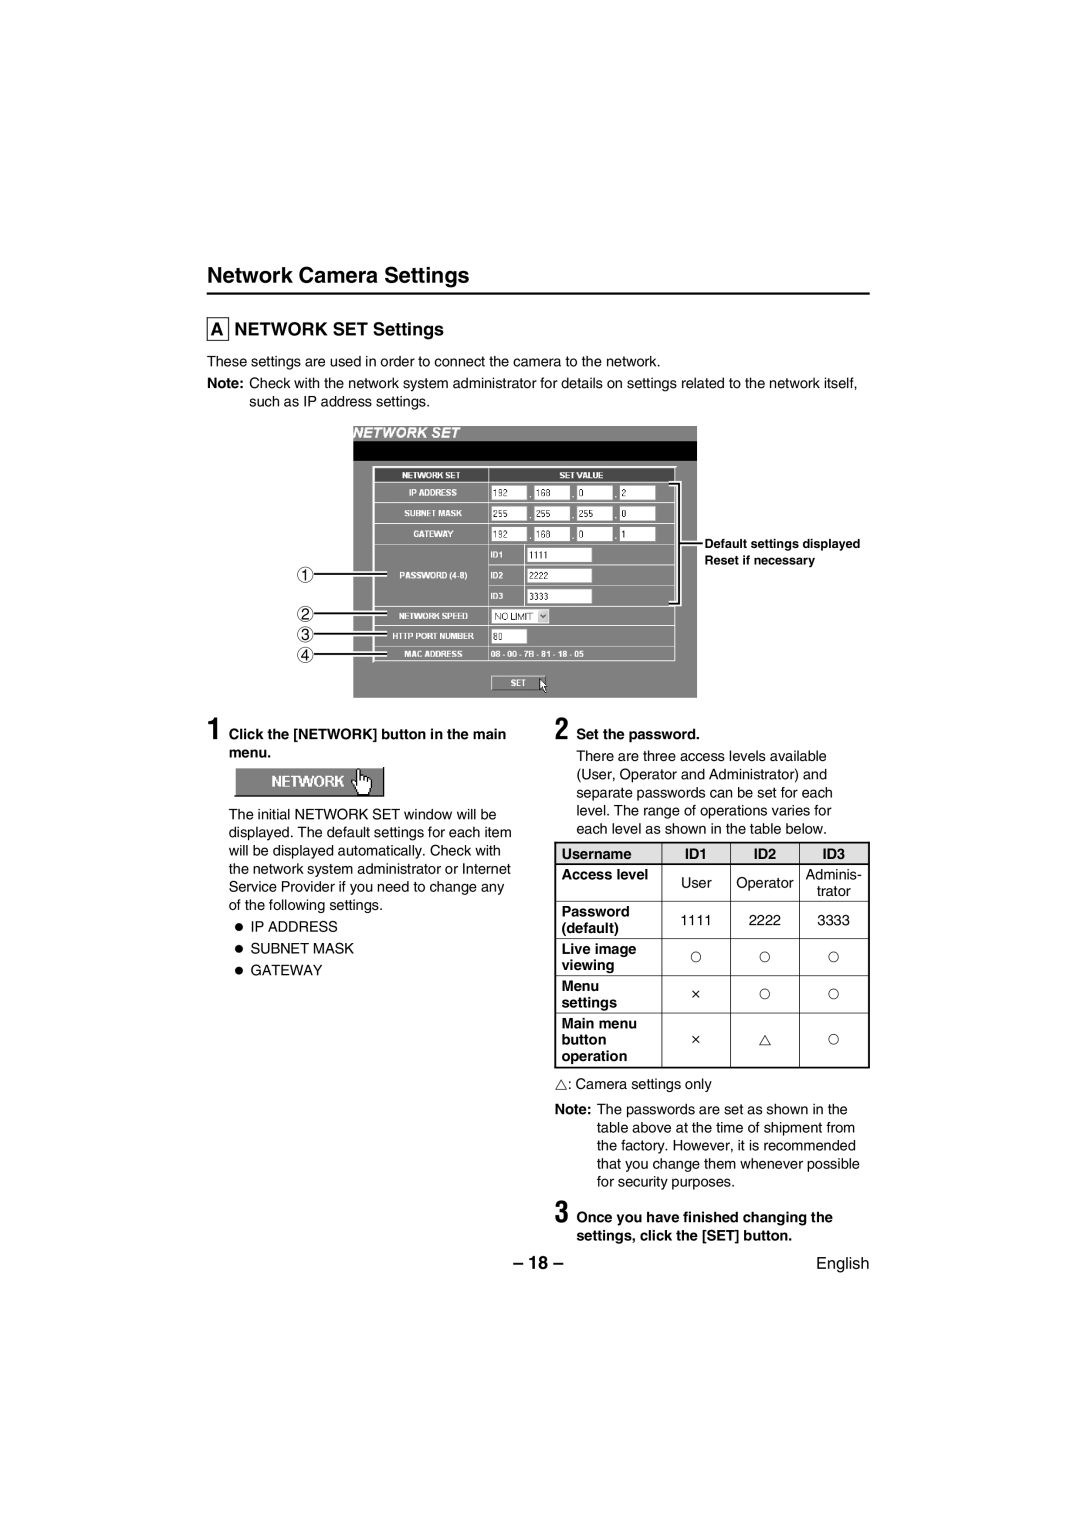
1 Click the [NETWORK] button in the main menu.
The initial NETWORK SET window will be displayed. The default settings for each item will be displayed automatically. Check with the network system administrator or Internet Service Provider if you need to change any of the following settings.
•IP ADDRESS
•SUBNET MASK
•GATEWAY
![]() Default settings displayed
Default settings displayed
Reset if necessary
2 Set the password.
There are three access levels available (User, Operator and Administrator) and separate passwords can be set for each level. The range of operations varies for each level as shown in the table below.
Username | ID1 | ID2 | ID3 | |
Access level | User | Operator | Adminis- | |
|
|
| trator | |
Password | 1111 | 2222 | 3333 | |
(default) | ||||
|
|
| ||
Live image | F | F | F | |
viewing | ||||
|
|
| ||
Menu | T | F | F | |
settings | ||||
|
|
| ||
Main menu |
|
|
| |
button | T | v | F | |
operation |
|
|
| |
|
|
|
|
v: Camera settings only
Note: The passwords are set as shown in the table above at the time of shipment from the factory. However, it is recommended that you change them whenever possible for security purposes.
3 Once you have finished changing the settings, click the [SET] button.
– 18 – | English |
