Alarm Setting
 Recording Alarm Data
The camera’s internal memory can only record a single alarm event (approximately 16 MB). When an alarm signal is input, the internal memory automatically starts recording alarm data, and this recorded data can then be played back. To record new alarm data, you need to delete the old data and clear the internal memory. If an expansion memory card has been inserted, the data recorded in the camera’s internal memory is automatically transferred to the memory card. The purpose of the memory card is to store the data from the camera’s internal memory, and so it cannot be used for direct recording and playback.
To play back the data that is stored on the memory card, the data needs to be transferred from the memory card back into the camera’s internal memory. Refer to “Playing Back Alarm Data” for further details.
Note:
•Data that is stored in the camera’s internal memory cannot be overwritten. To record new data, you should use the ALARM DATA LIST screen to clear the existing data in the internal memory (p. 41)
•A new alarm cannot be received while alarm data is being transferred to the expansion memory card.
•Data is not recorded directly onto the expansion memory card. The data is first recorded into the camera’s internal memory, and it is then transferred automatically to the expansion memory card.
•The alarm data that has been transferred to the expansion memory card cannot be played back directly. The data that is stored on the expansion memory card is first loaded into the camera’s internal memory and it is then played back. Refer to “Playing Back Expansion Memory Card Images”. (p. 41)
•During alarm recording, the resolution and compression ratio for the images in the live image screen will be momentarily changed to the settings for alarm recording. In addition, the time taken for the images to be changed in this way may be delayed in some cases.
 Playing Back Alarm Data
The data that is stored in the camera’s internal memory or on an expansion memory card can be played back.
Note: If an alarm is detected while existing alarm images are being played back, the new alarm data will not be recorded. However, an alarm detection signal will be output from the ALARM OUT terminal, so that the buzzer or other device can still indicate that an alarm has been received.
1 Click the [LIVE VIEW] button in the main menu.
The live image screen will be displayed.
2 Click the ALARM DATA indicator while it is red or green.
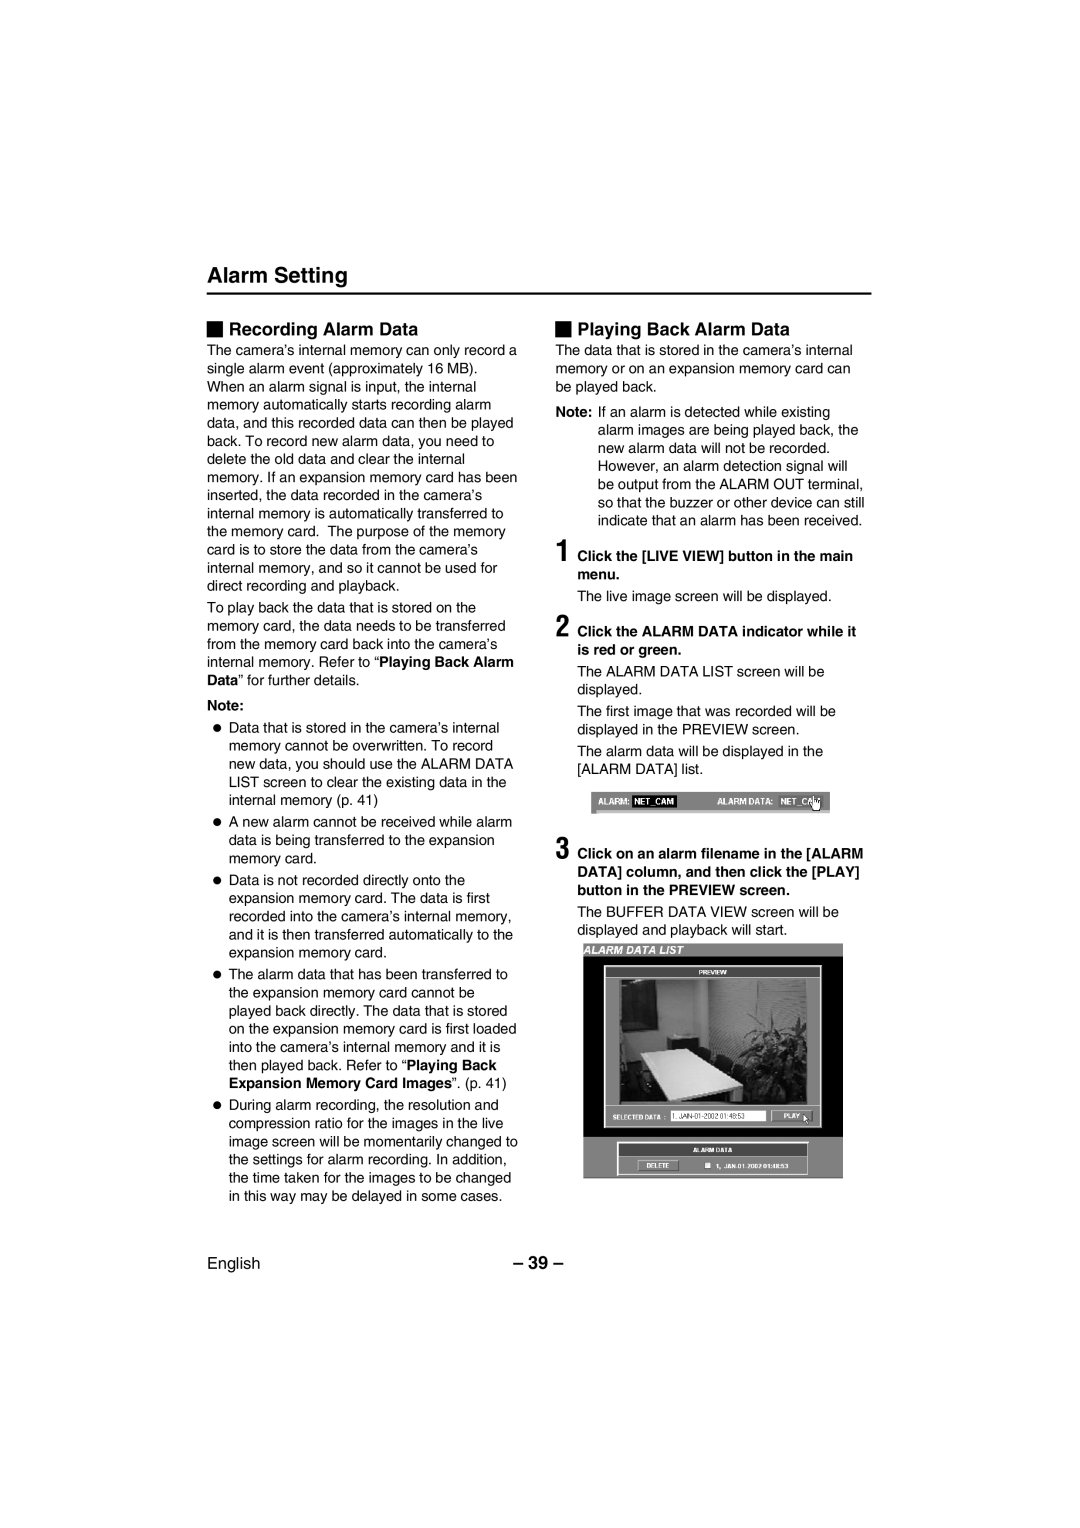
The ALARM DATA LIST screen will be displayed.
The first image that was recorded will be displayed in the PREVIEW screen.
The alarm data will be displayed in the [ALARM DATA] list.
3 Click on an alarm filename in the [ALARM DATA] column, and then click the [PLAY] button in the PREVIEW screen.
The BUFFER DATA VIEW screen will be displayed and playback will start.
English | – 39 – |
