Inserting and Removing the SD Card (Optional Accessory)
The digital camera comes with approx. 10 MB of internal memory, allowing you to store captured still images or movie clips in the digital camera. However, you can also expand the memory capacity by using an optional SD card so that you can store more files. We recommend using sandisk, Panasonic or Toshiba brand SD cards up to 1GB memory size.
Inserting the SD card
1.Open the battery/SD card cover.
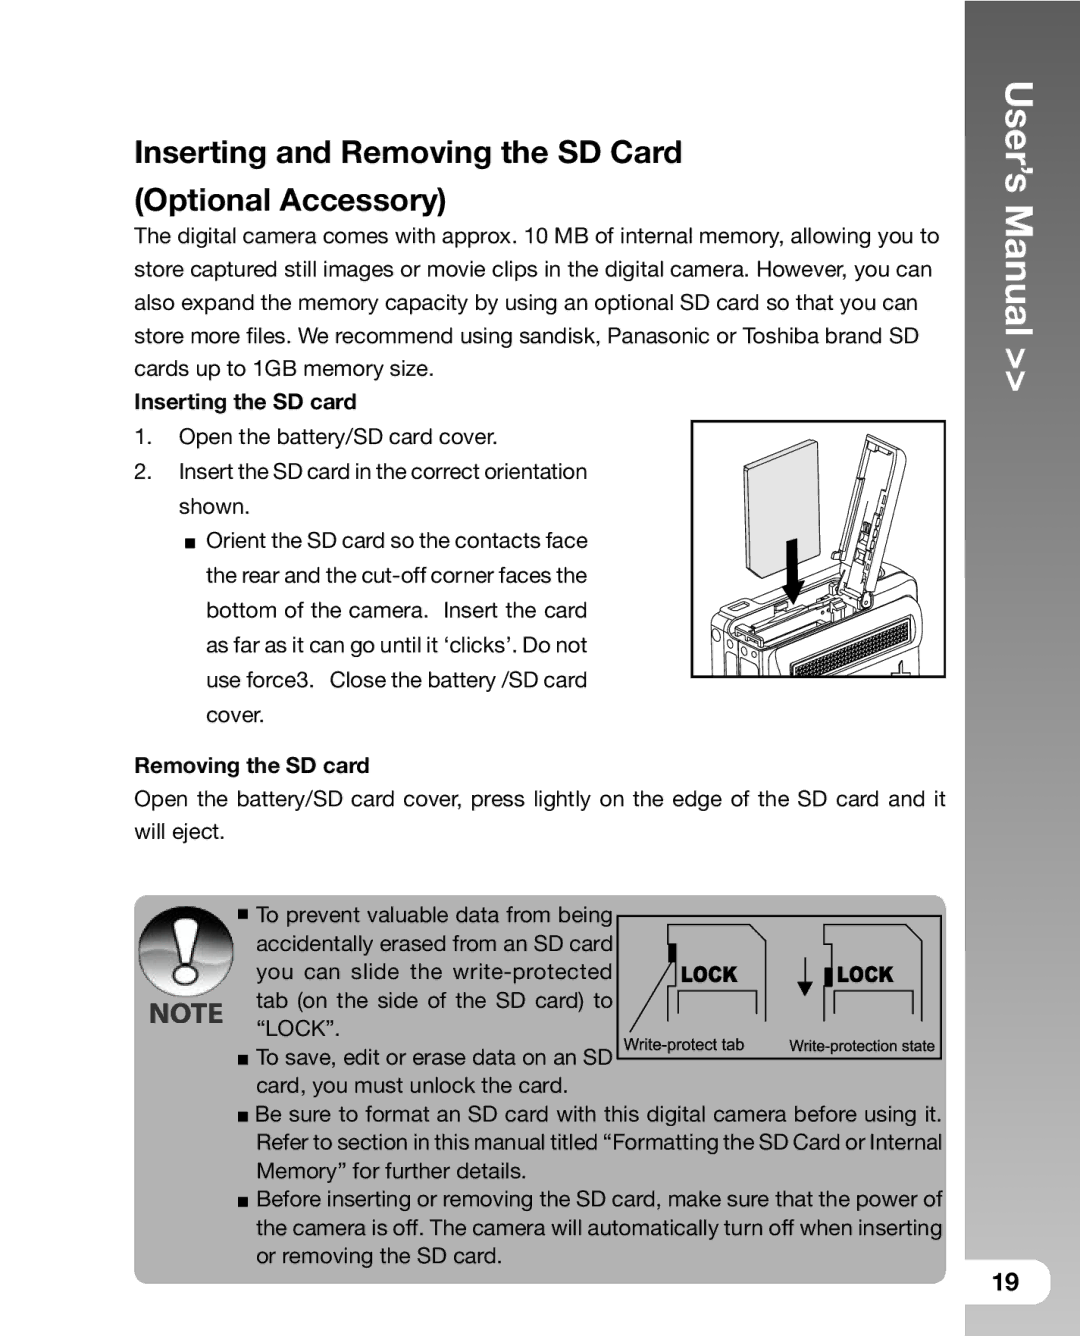
2.Insert the SD card in the correct orientation shown.
![]() Orient the SD card so the contacts face
Orient the SD card so the contacts face
the rear and the
Removing the SD card
Open the battery/SD card cover, press lightly on the edge of the SD card and it will eject.
![]() To prevent valuable data from being accidentally erased from an SD card
To prevent valuable data from being accidentally erased from an SD card
you can slide the
![]() To save, edit or erase data on an SD
To save, edit or erase data on an SD ![]() card, you must unlock the card.
card, you must unlock the card.
![]() Be sure to format an SD card with this digital camera before using it. Refer to section in this manual titled “Formatting the SD Card or Internal Memory” for further details.
Be sure to format an SD card with this digital camera before using it. Refer to section in this manual titled “Formatting the SD Card or Internal Memory” for further details.
![]() Before inserting or removing the SD card, make sure that the power of the camera is off. The camera will automatically turn off when inserting or removing the SD card.
Before inserting or removing the SD card, make sure that the power of the camera is off. The camera will automatically turn off when inserting or removing the SD card.
User’s Manual >>
19