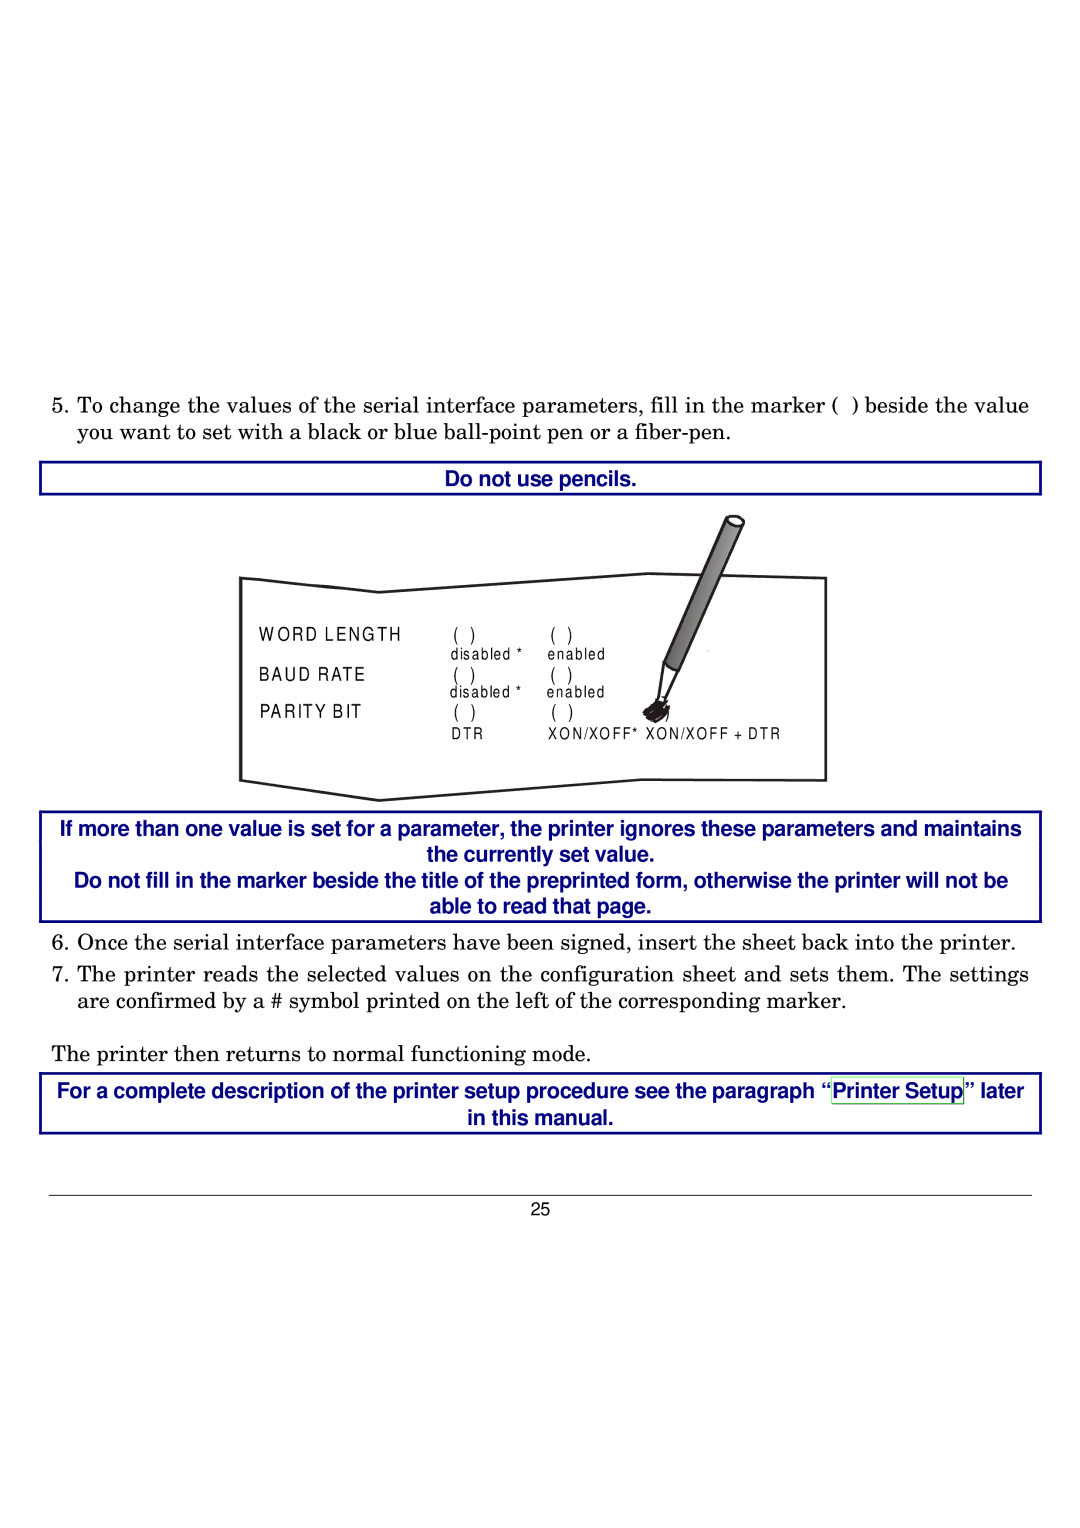
5.To change the values of the serial interface parameters, fill in the marker ( ) beside the value you want to set with a black or blue
Do not use pencils.
W ORD LENG TH | ( ) | ( ) |
|
| disabled * | enabled |
|
BA UD RATE | ( ) | ( ) |
|
| disabled * | enabled |
|
PA RITY B IT | ( ) | ( ) | ( ) |
| DTR | X O N/XO FF* X ON /X O F F + DT R | |
If more than one value is set for a parameter, the printer ignores these parameters and maintains
the currently set value.
Do not fill in the marker beside the title of the preprinted form, otherwise the printer will not be
able to read that page.
6.Once the serial interface parameters have been signed, insert the sheet back into the printer.
7.The printer reads the selected values on the configuration sheet and sets them. The settings are confirmed by a # symbol printed on the left of the corresponding marker.
The printer then returns to normal functioning mode.
For a complete description of the printer setup procedure see the paragraph “Printer Setup” later
in this manual.
25