SK 100 G2 / SK 300 G2 / SK 500 G2 bodypack transmitters
yThe prevention of improper charging of inserted primary cells (batteries). Due to the missing sensor, individual rechargeable battery cells will also not be charged in the L 2015 charger.
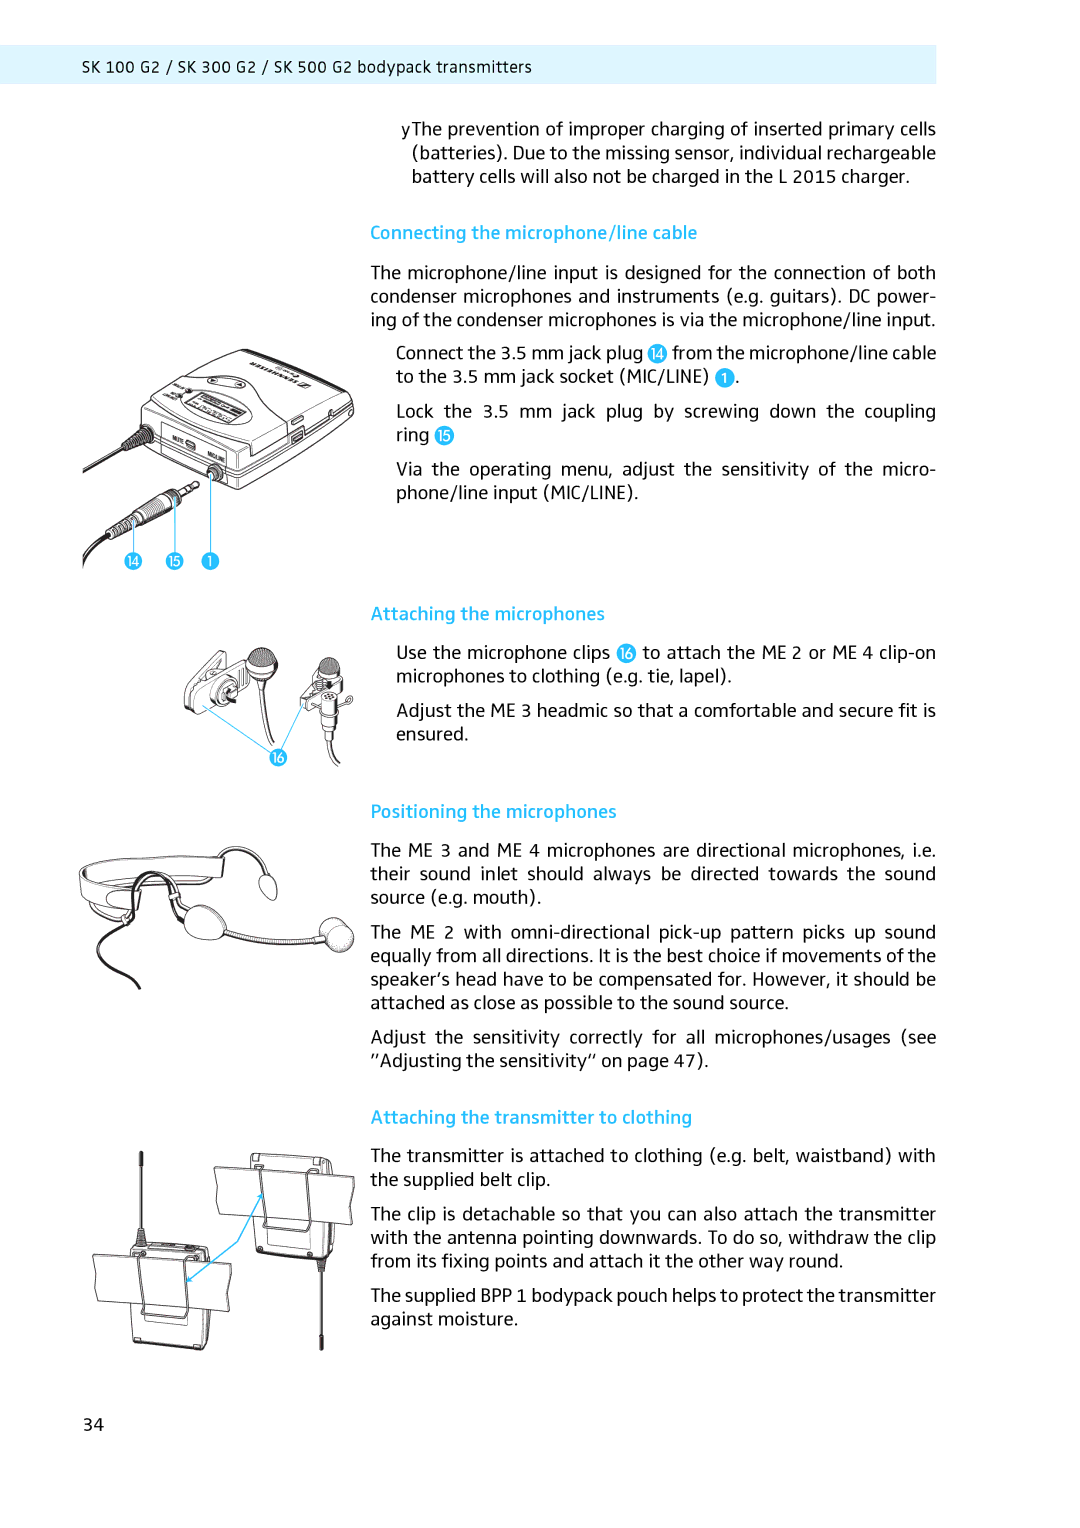
Connecting the microphone/line cable
The microphone/line input is designed for the connection of both condenser microphones and instruments (e.g. guitars). DC power- ing of the condenser microphones is via the microphone/line input.
Connect the 3.5 mm jack plug from the microphone/line cable to the 3.5 mm jack socket (MIC/LINE) .
Lock the 3.5 mm jack plug by screwing down the coupling ring
Via the operating menu, adjust the sensitivity of the micro- phone/line input (MIC/LINE).
Attaching the microphones |
|
Use the microphone clips | to attach the ME 2 or ME 4 |
microphones to clothing (e.g. tie, lapel).
Adjust the ME 3 headmic so that a comfortable and secure fit is ensured.
Positioning the microphones
The ME 3 and ME 4 microphones are directional microphones, i.e. their sound inlet should always be directed towards the sound source (e.g. mouth).
The ME 2 with
Adjust the sensitivity correctly for all microphones/usages (see ”Adjusting the sensitivity“ on page 47).
Attaching the transmitter to clothing
The transmitter is attached to clothing (e.g. belt, waistband) with the supplied belt clip.
The clip is detachable so that you can also attach the transmitter with the antenna pointing downwards. To do so, withdraw the clip from its fixing points and attach it the other way round.
The supplied BPP 1 bodypack pouch helps to protect the transmitter against moisture.
34