Conducting calls – the basic functions
Step by Step
cor u
o
p
o if necessary X
if necessary ©
cor u
p
z
D or E
c
First seize the line, then dial
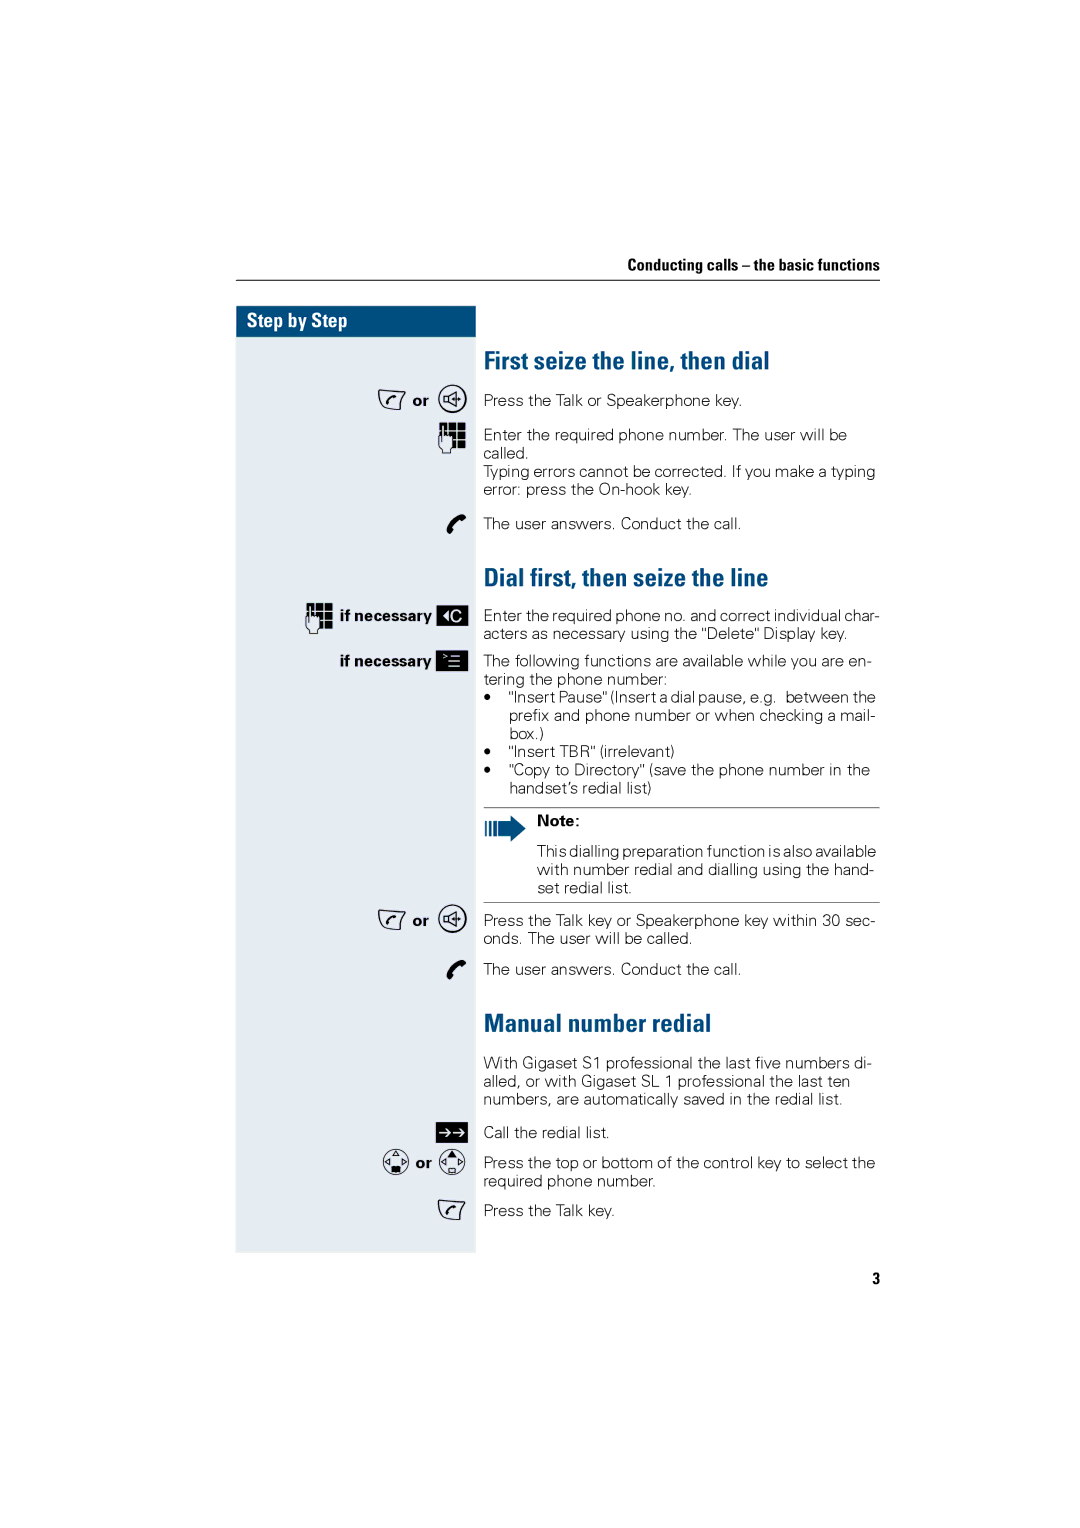
Press the Talk or Speakerphone key.
Enter the required phone number. The user will be called.
Typing errors cannot be corrected. If you make a typing error: press the
The user answers. Conduct the call.
Dial first, then seize the line
Enter the required phone no. and correct individual char- acters as necessary using the "Delete" Display key.
The following functions are available while you are en- tering the phone number:
•"Insert Pause" (Insert a dial pause, e.g. between the prefix and phone number or when checking a mail- box.)
•"Insert TBR" (irrelevant)
•"Copy to Directory" (save the phone number in the handset’s redial list)
Note:
This dialling preparation function is also available with number redial and dialling using the hand- set redial list.
Press the Talk key or Speakerphone key within 30 sec- onds. The user will be called.
The user answers. Conduct the call.
Manual number redial
With Gigaset S1 professional the last five numbers di- alled, or with Gigaset SL 1 professional the last ten numbers, are automatically saved in the redial list.
Call the redial list.
Press the top or bottom of the control key to select the required phone number.
Press the Talk key.
3
