Configuring Your Starmate 5
Alarm - lets you to set your Starmate 5 to turn On at a specific time.. The last selected channel prior to shutdown will play when the Starmate 5 powers On..
To set the Alarm:
1Press menu..
2Press the Down button to scroll and highlight Time Based Features and press the Select button..
3Press the Down button to scroll and highlight Alarm and press the
Select button..
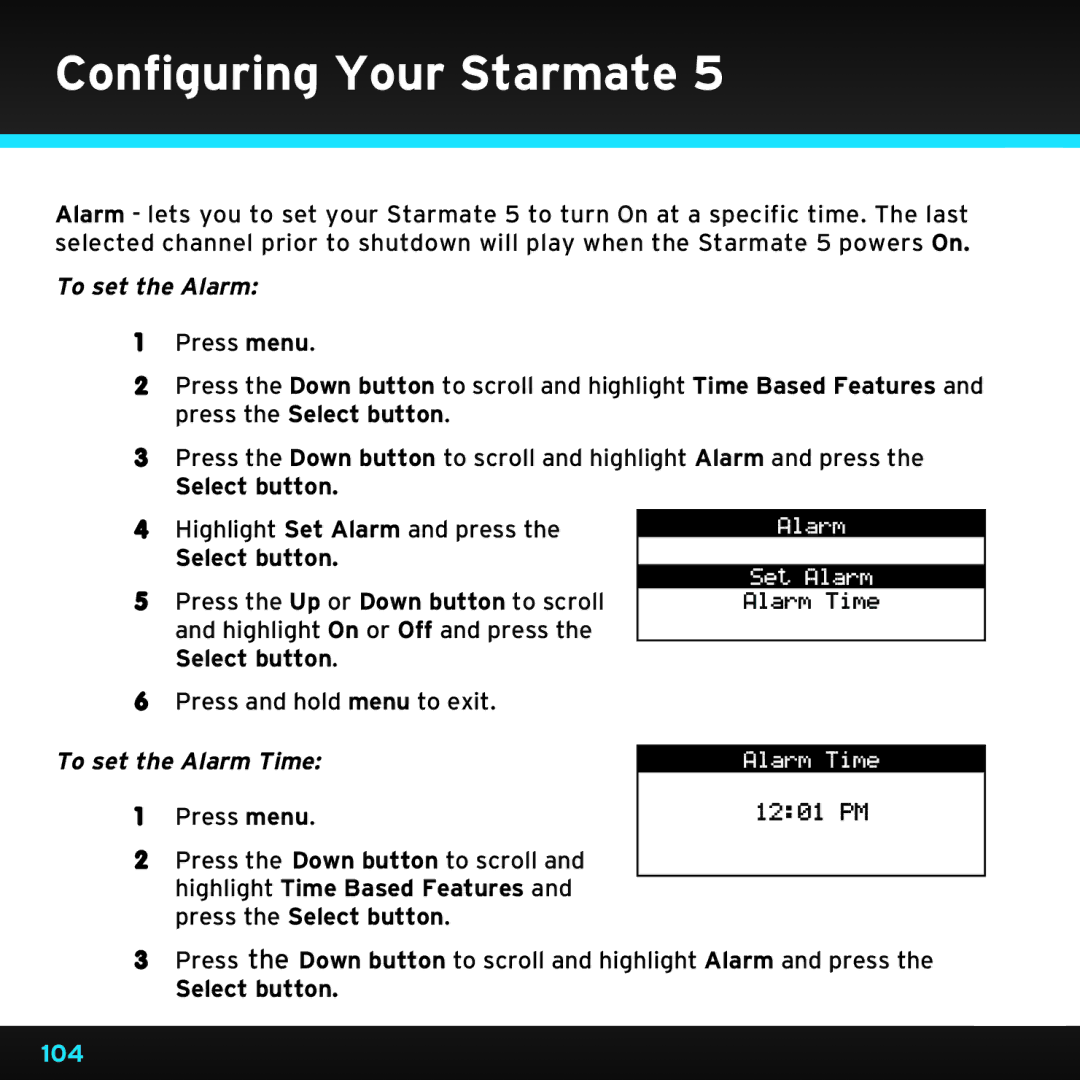
4 Highlight Set Alarm and press the
Select button..
5 Press the Up or Down button to scroll and highlight On or Off and press the Select button..
6Press and hold menu to exit..
To set the Alarm Time:
1 Press menu..
2Press the Down button to scroll and highlight Time Based Features and press the Select button..
3Press the Down button to scroll and highlight Alarm and press the