i n t e l l i g e n t | w i r e l e s s | p l a t f o r m |
2. airClient Configuration
The airClient can work in one of three modes: Bridge, Router or NAT. The procedures for configuring the various parameters in each mode are outlined in this chapter.
2.1. User Login and License Agreement
The airClient unit comes with a
and subnet mask: 255.255.255.0. This default device IP address should be used when accessing the device configuration management interface for the first time using a
Follow the steps below to login as an Administrator to the
1.Connect the airClient using the Power over Ethernet (PoE) to a PC or network via the ETH A or ETH B port. (Please refer to the Quick Install Guide for more information on connections).
2.Open a web browser on the PC and enter the device IP address 192.168.0.207 in the web browser address field and press the Enter key.
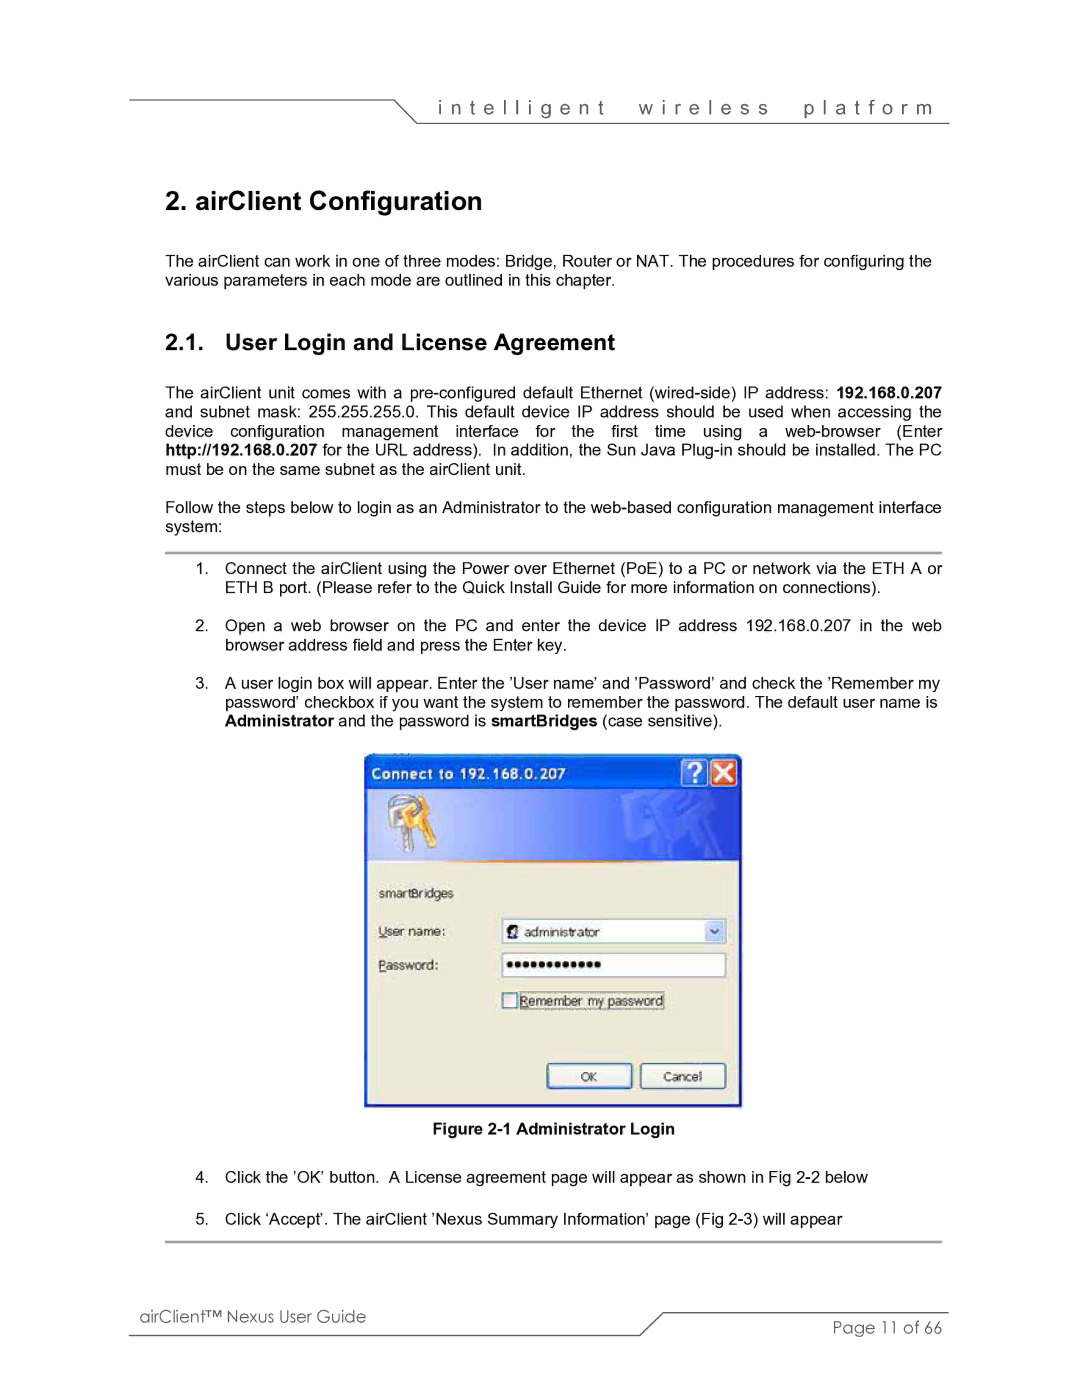
3.A user login box will appear. Enter the ’User name’ and ’Password’ and check the ’Remember my password’ checkbox if you want the system to remember the password. The default user name is Administrator and the password is smartBridges (case sensitive).
Figure 2-1 Administrator Login
4.Click the ’OK’ button. A License agreement page will appear as shown in Fig
5.Click ‘Accept’. The airClient ’Nexus Summary Information’ page (Fig
airClient™ Nexus User Guide | Page 11 of 66 |
|