Setup
This monitor works with platforms running at horizontal frequencies between 30 and 130 kHz.
Step 1:Connect your monitor to your computer
Step 2:Connect the power cord
With the monitor and computer switched off, first connect the power cord to the monitor, then connect it to a power outlet.
Turn off the monitor and computer before connecting.
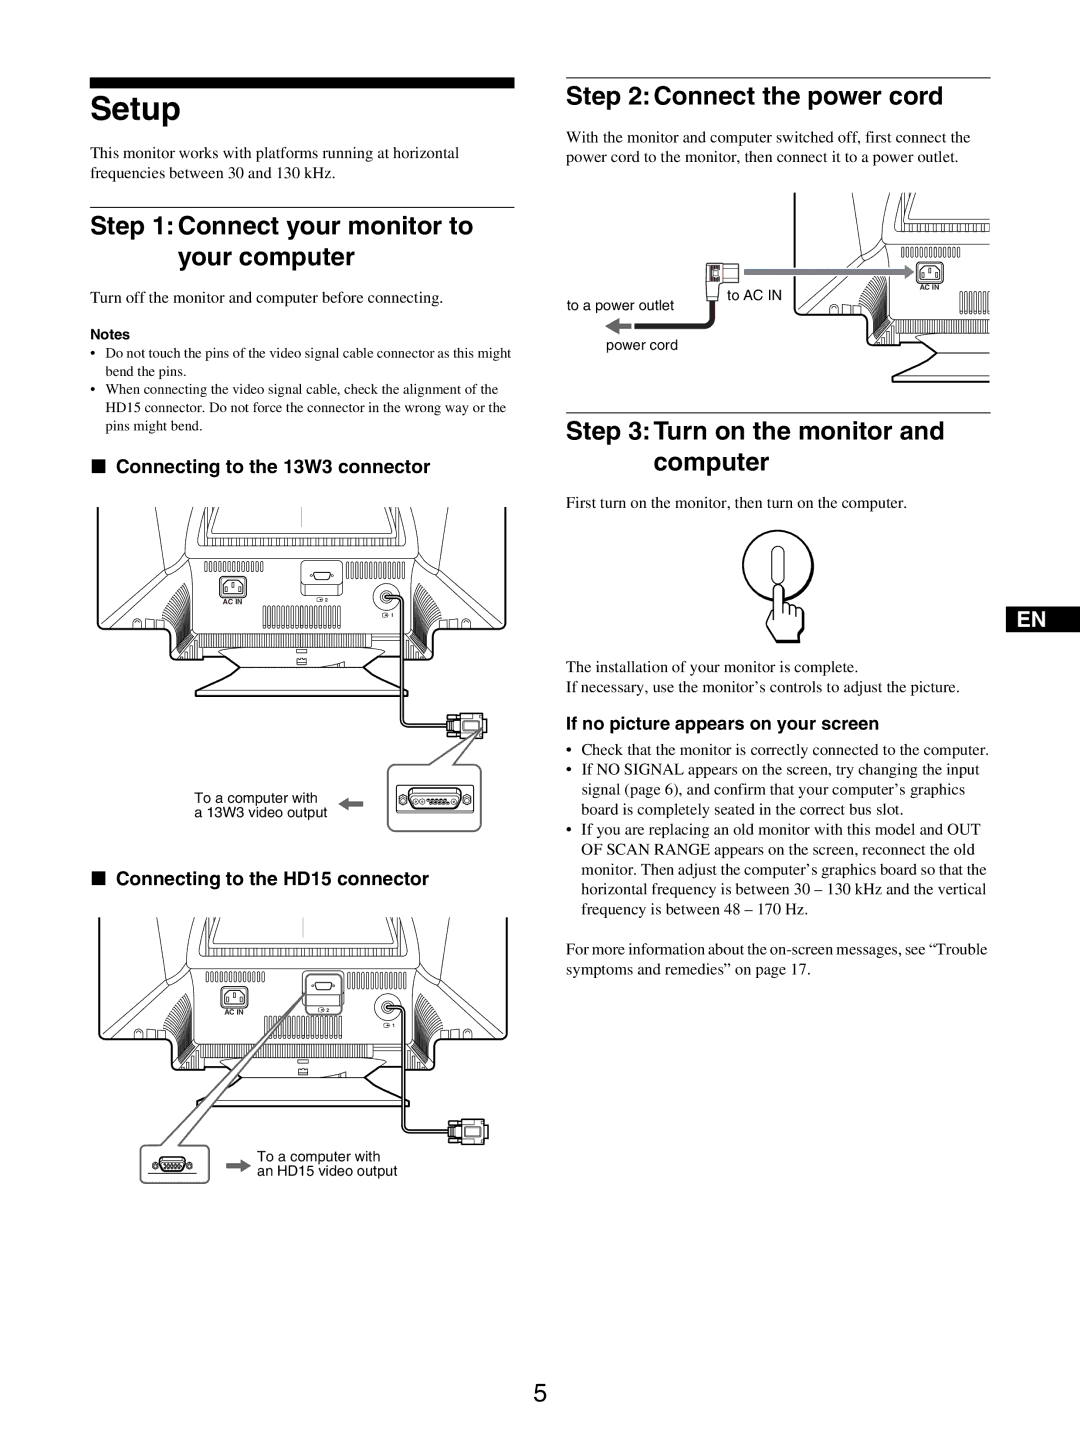
to a power outlet
to AC IN
AC IN
Notes
•Do not touch the pins of the video signal cable connector as this might bend the pins.
•When connecting the video signal cable, check the alignment of the HD15 connector. Do not force the connector in the wrong way or the pins might bend.
xConnecting to the 13W3 connector
AC IN | 2 |
|
![]() 1
1
To a computer with a 13W3 video output
xConnecting to the HD15 connector
AC IN | 2 |
|
![]() 1
1
To a computer with an HD15 video output
power cord
Step 3:Turn on the monitor and computer
First turn on the monitor, then turn on the computer.
EN
The installation of your monitor is complete.
If necessary, use the monitor’s controls to adjust the picture.
If no picture appears on your screen
•Check that the monitor is correctly connected to the computer.
•If NO SIGNAL appears on the screen, try changing the input signal (page 6), and confirm that your computer’s graphics board is completely seated in the correct bus slot.
•If you are replacing an old monitor with this model and OUT OF SCAN RANGE appears on the screen, reconnect the old monitor. Then adjust the computer’s graphics board so that the horizontal frequency is between 30 – 130 kHz and the vertical frequency is between 48 – 170 Hz.
For more information about the
5