Getting Started
How to Use the Software
Music
Videos/Photos
FM Radio
Timer
Settings
Troubleshooting
Important Information
Specifications
![]() Contents list
Contents list
Top page > How to Use the Software > Content Transfer > Transferring videos/photos using Content Transfer
Transferring videos/photos using Content Transfer
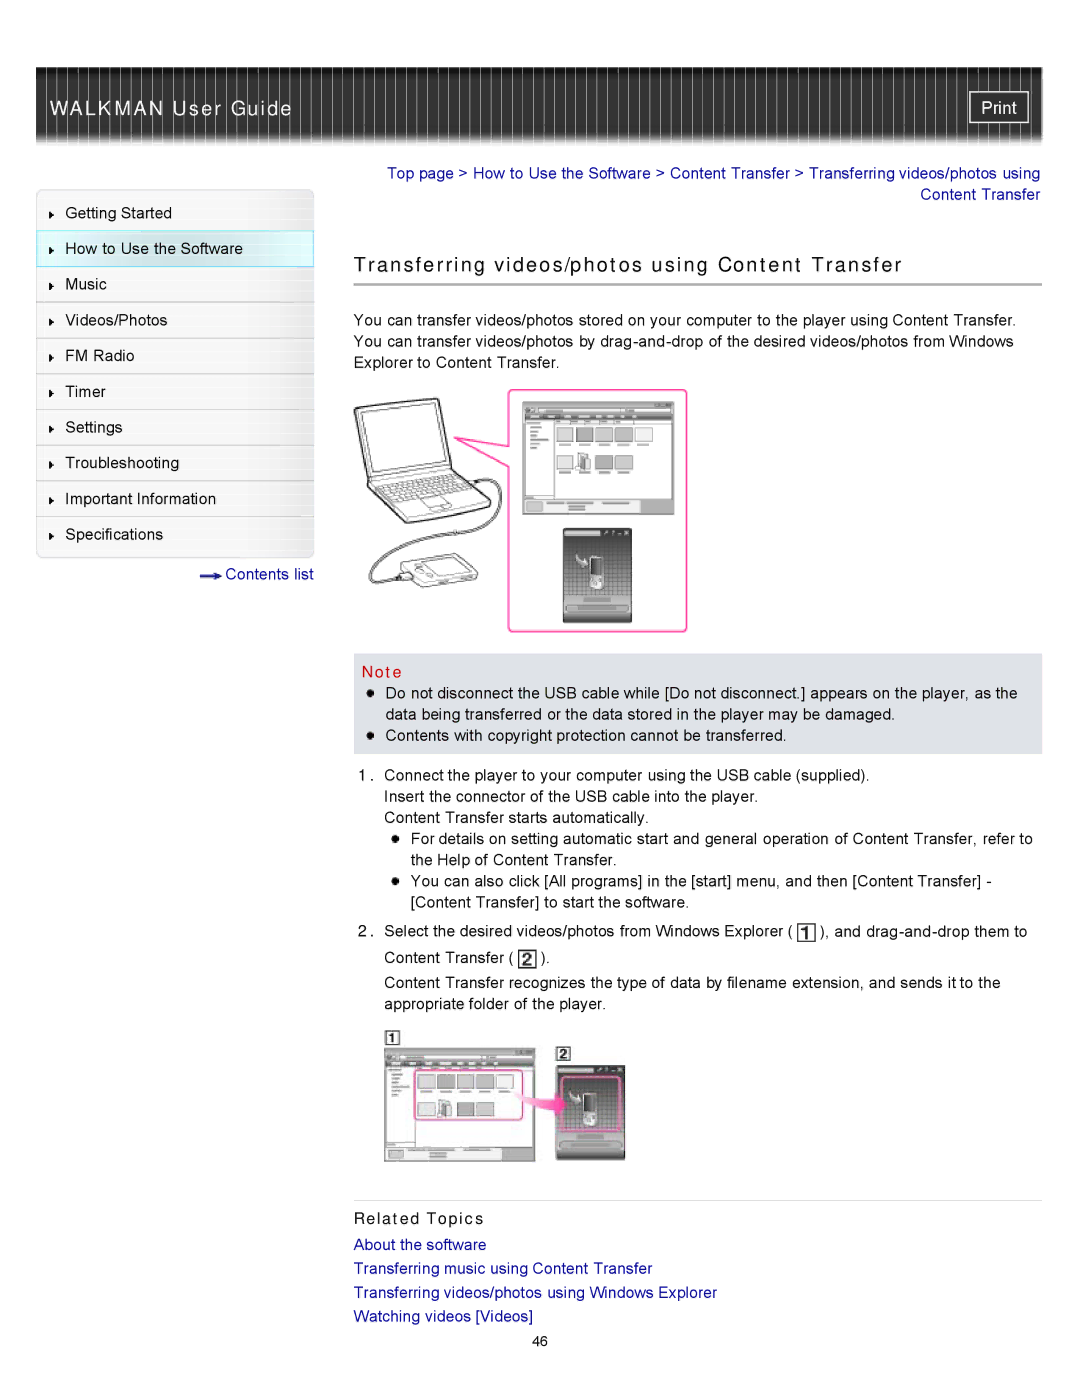
You can transfer videos/photos stored on your computer to the player using Content Transfer. You can transfer videos/photos by
Note
Do not disconnect the USB cable while [Do not disconnect.] appears on the player, as the data being transferred or the data stored in the player may be damaged.
![]() Contents with copyright protection cannot be transferred.
Contents with copyright protection cannot be transferred.
1.Connect the player to your computer using the USB cable (supplied). Insert the connector of the USB cable into the player.
Content Transfer starts automatically.
For details on setting automatic start and general operation of Content Transfer, refer to the Help of Content Transfer.
You can also click [All programs] in the [start] menu, and then [Content Transfer] - [Content Transfer] to start the software.
2.Select the desired videos/photos from Windows Explorer (![]() ), and
), and ![]() ).
).
Content Transfer recognizes the type of data by filename extension, and sends it to the appropriate folder of the player.
Related Topics
About the software
Transferring music using Content Transfer
Transferring videos/photos using Windows Explorer
Watching videos [Videos]
46
