9
3Hardware installation
3.1 Getting ready
Switch off the computer, remove the power supply, and open the PC's enclosure. In tower cases, the side parts often can be removed individually (on the backside of the enclosure you just need to remove a few screws). Many machines have U- or O shaped covers that have to be pulled off (either towards the front or the back). Should you need any assistance, please contact your dealer.
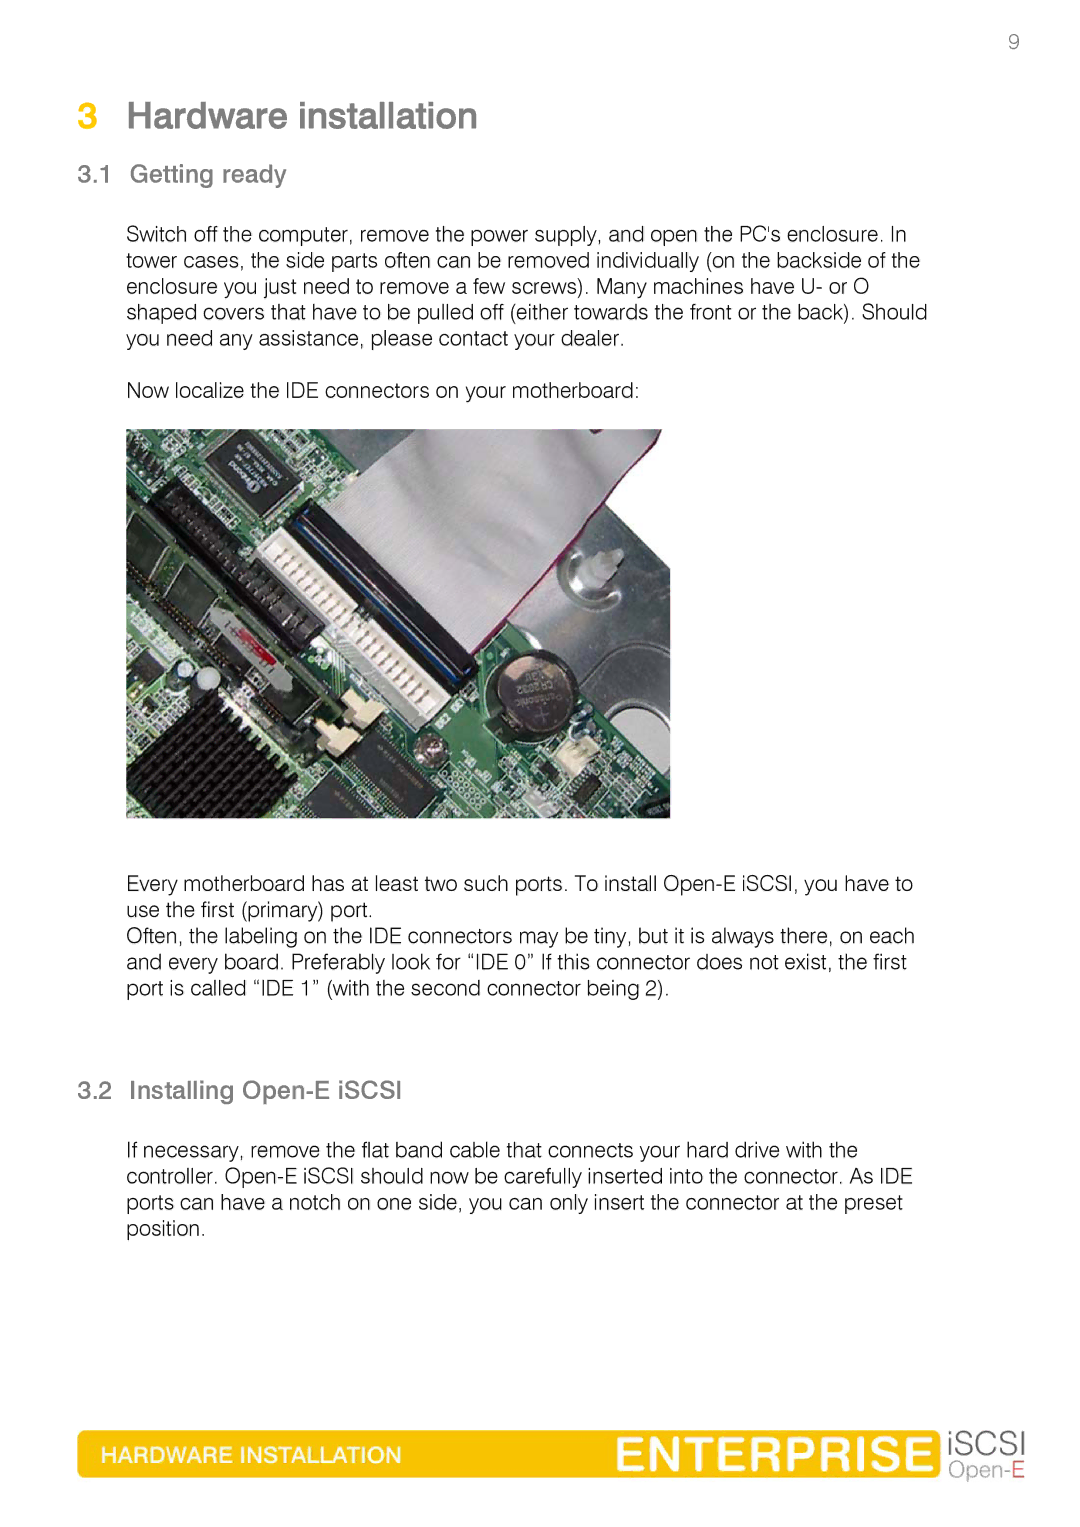
Now localize the IDE connectors on your motherboard:
Every motherboard has at least two such ports. To install
Often, the labeling on the IDE connectors may be tiny, but it is always there, on each and every board. Preferably look for “IDE 0” If this connector does not exist, the first port is called “IDE 1” (with the second connector being 2).
3.2 Installing Open-E iSCSI
If necessary, remove the flat band cable that connects your hard drive with the controller.