4.Pivot back the feed hopper to gain free access to the cutting chamber.
5.Check that there are no foreign objects in the cutting chamber.
6.Check to be sure the bed knife and rotor knife bolts are at the proper torque and the knife gap is set according to specifications. See Sections
7.After completing the checks, close the hopper and screen, and fasten them with the corresponding knobs; reinsert the bin. Then close both the rear cover and the front panel.
8.Remove the drive belt guard by unscrewing the ten fastening screws.
9.Manually give the rotor at least one complete turn using the rotor pulley.
10.If there are no warning noises or signs of friction, this means the cutting chamber is completely clear. Replace the belt guard, remove lockout devices, and turn power on.
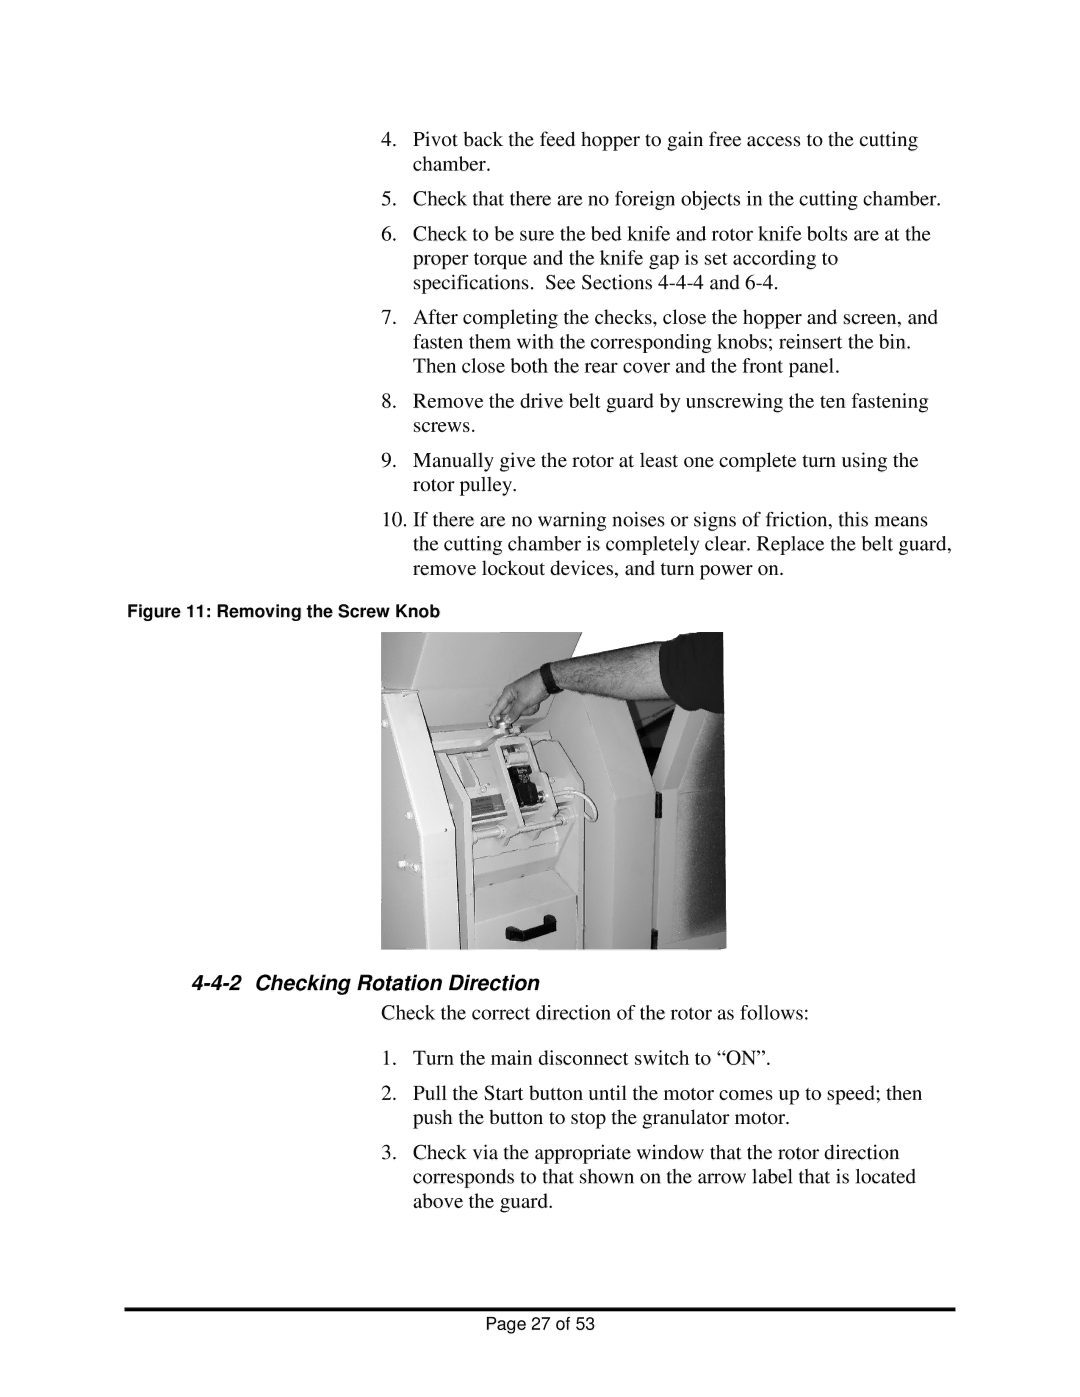
Figure 11: Removing the Screw Knob
4-4-2 Checking Rotation Direction
Check the correct direction of the rotor as follows:
1.Turn the main disconnect switch to “ON”.
2.Pull the Start button until the motor comes up to speed; then push the button to stop the granulator motor.
3.Check via the appropriate window that the rotor direction corresponds to that shown on the arrow label that is located above the guard.
Page 27 of 53