4.Remove the screw knob that holds the hopper on top of the cutting chamber. Carefully lower the screen cradle assembly, resting it on the base.
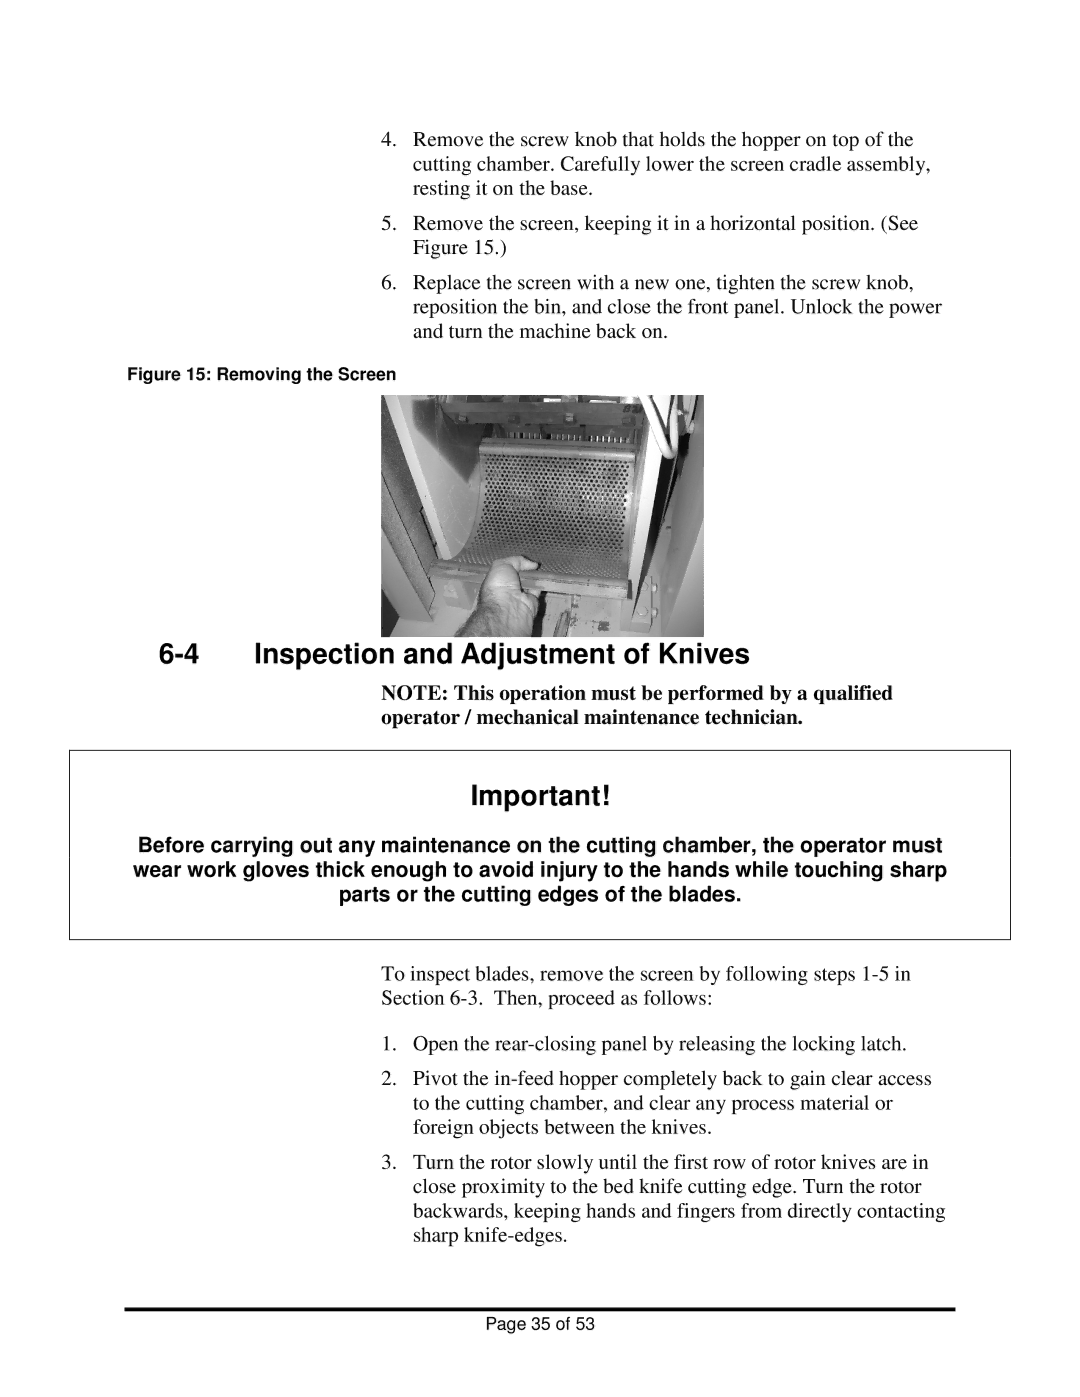
5.Remove the screen, keeping it in a horizontal position. (See Figure 15.)
6.Replace the screen with a new one, tighten the screw knob, reposition the bin, and close the front panel. Unlock the power and turn the machine back on.
Figure 15: Removing the Screen
6-4 Inspection and Adjustment of Knives
NOTE: This operation must be performed by a qualified operator / mechanical maintenance technician.
Important!
Before carrying out any maintenance on the cutting chamber, the operator must wear work gloves thick enough to avoid injury to the hands while touching sharp parts or the cutting edges of the blades.
To inspect blades, remove the screen by following steps
Section
1.Open the
2.Pivot the
3.Turn the rotor slowly until the first row of rotor knives are in close proximity to the bed knife cutting edge. Turn the rotor backwards, keeping hands and fingers from directly contacting sharp
Page 35 of 53