INSTALLATION INSTRUCTIONS
INSTALLATION
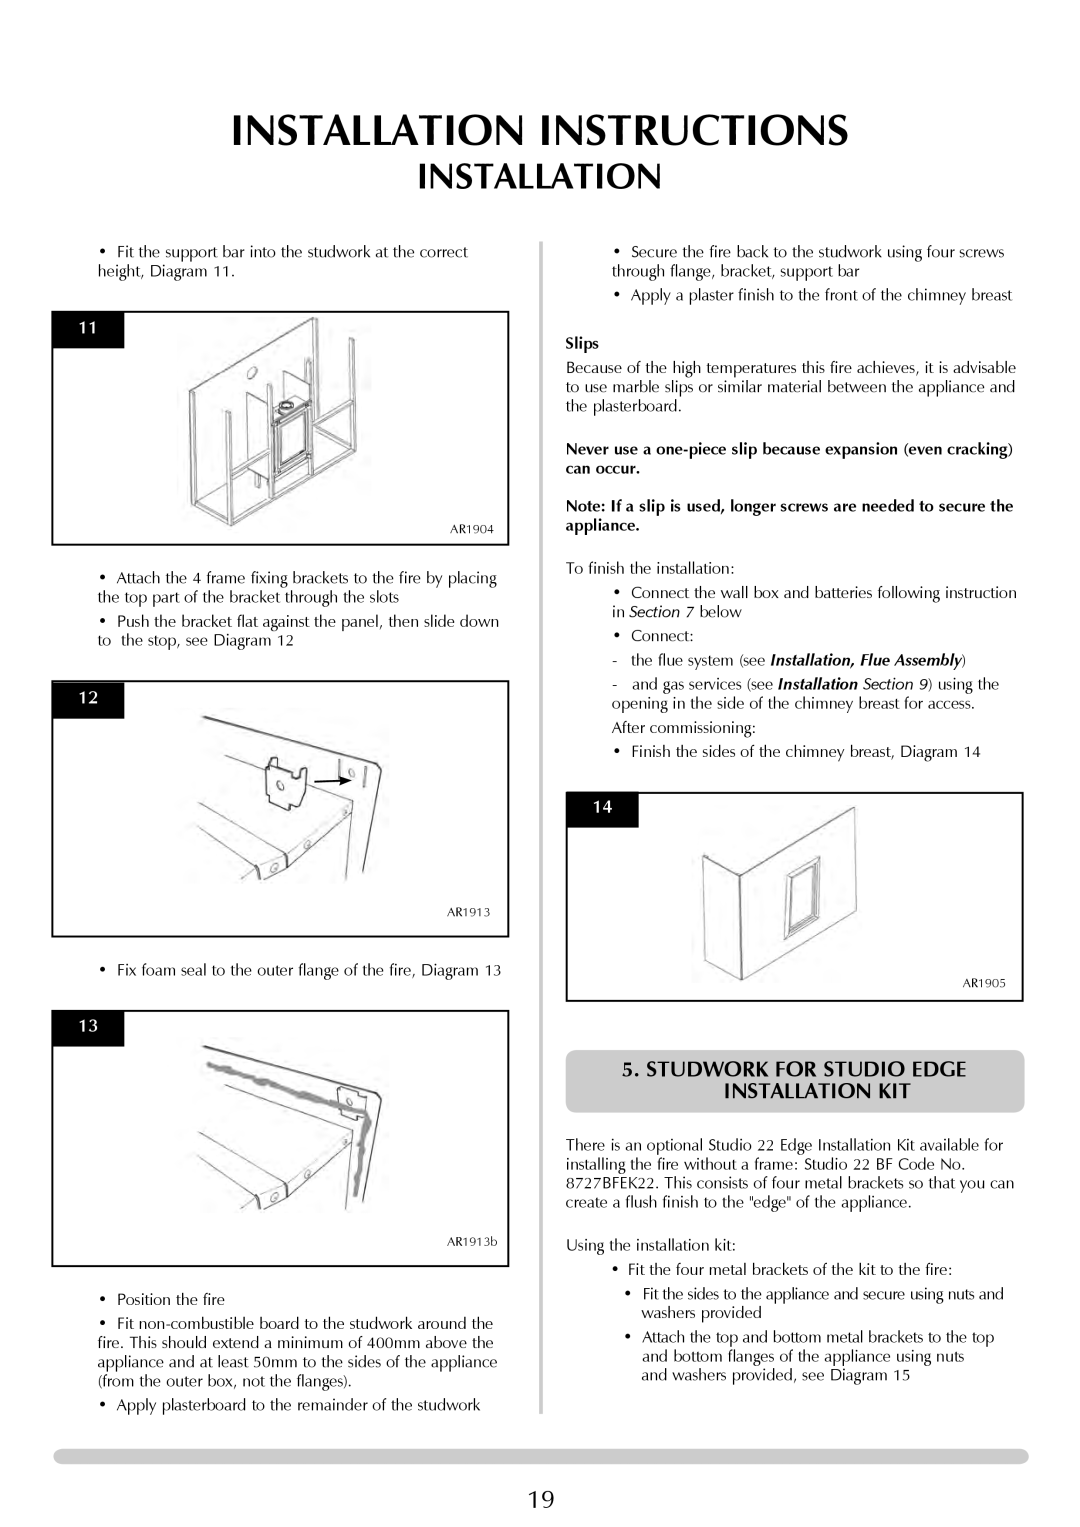
•Fit the support bar into the studwork at the correct height, Diagram 11.
11
AR1904
•Attach the 4 frame fixing brackets to the fire by placing the top part of the bracket through the slots
•Push the bracket flat against the panel, then slide down to the stop, see Diagram 12
12
AR1913
• Fix foam seal to the outer flange of the fire, Diagram 13
13
AR1913b
•Position the fire
•Fit
•Apply plasterboard to the remainder of the studwork
•Secure the fire back to the studwork using four screws through flange, bracket, support bar
•Apply a plaster finish to the front of the chimney breast
Slips
Because of the high temperatures this fire achieves, it is advisable to use marble slips or similar material between the appliance and the plasterboard.
Never use a
Note: If a slip is used, longer screws are needed to secure the appliance.
To finish the installation:
•Connect the wall box and batteries following instruction in Section 7 below
•Connect:
-the flue system (see Installation, Flue Assembly)
-and gas services (see Installation Section 9) using the opening in the side of the chimney breast for access.
After commissioning:
• Finish the sides of the chimney breast, Diagram 14
14
AR1905
5.STUDWORK FOR STUDIO EDGE INSTALLATION KIT
There is an optional Studio 22 Edge Installation Kit available for installing the fire without a frame: Studio 22 BF Code No. 8727BFEK22. This consists of four metal brackets so that you can create a flush finish to the "edge" of the appliance.
Using the installation kit:
•Fit the four metal brackets of the kit to the fire:
•Fit the sides to the appliance and secure using nuts and washers provided
•Attach the top and bottom metal brackets to the top and bottom flanges of the appliance using nuts and washers provided, see Diagram 15
19