INSTALLATION INSTRUCTIONS
COMMISSIONING
1.COMMISSIONING
1.1Complete the Commissioning Checklist at the front of this manual covering:
•Flue checks
•Gas checks
For working pressure test, use the access panel at the gas connection ensuring the burner is in position, see
Installation, Section 9, 9.1
1.2In the unlikely event that the appliance is receiving interference from other electronic devices,
Reprogramming handset/Control box
•Remove the battery cover from the handset to see the four DIP switches. See Diagram 1
1
AR1935
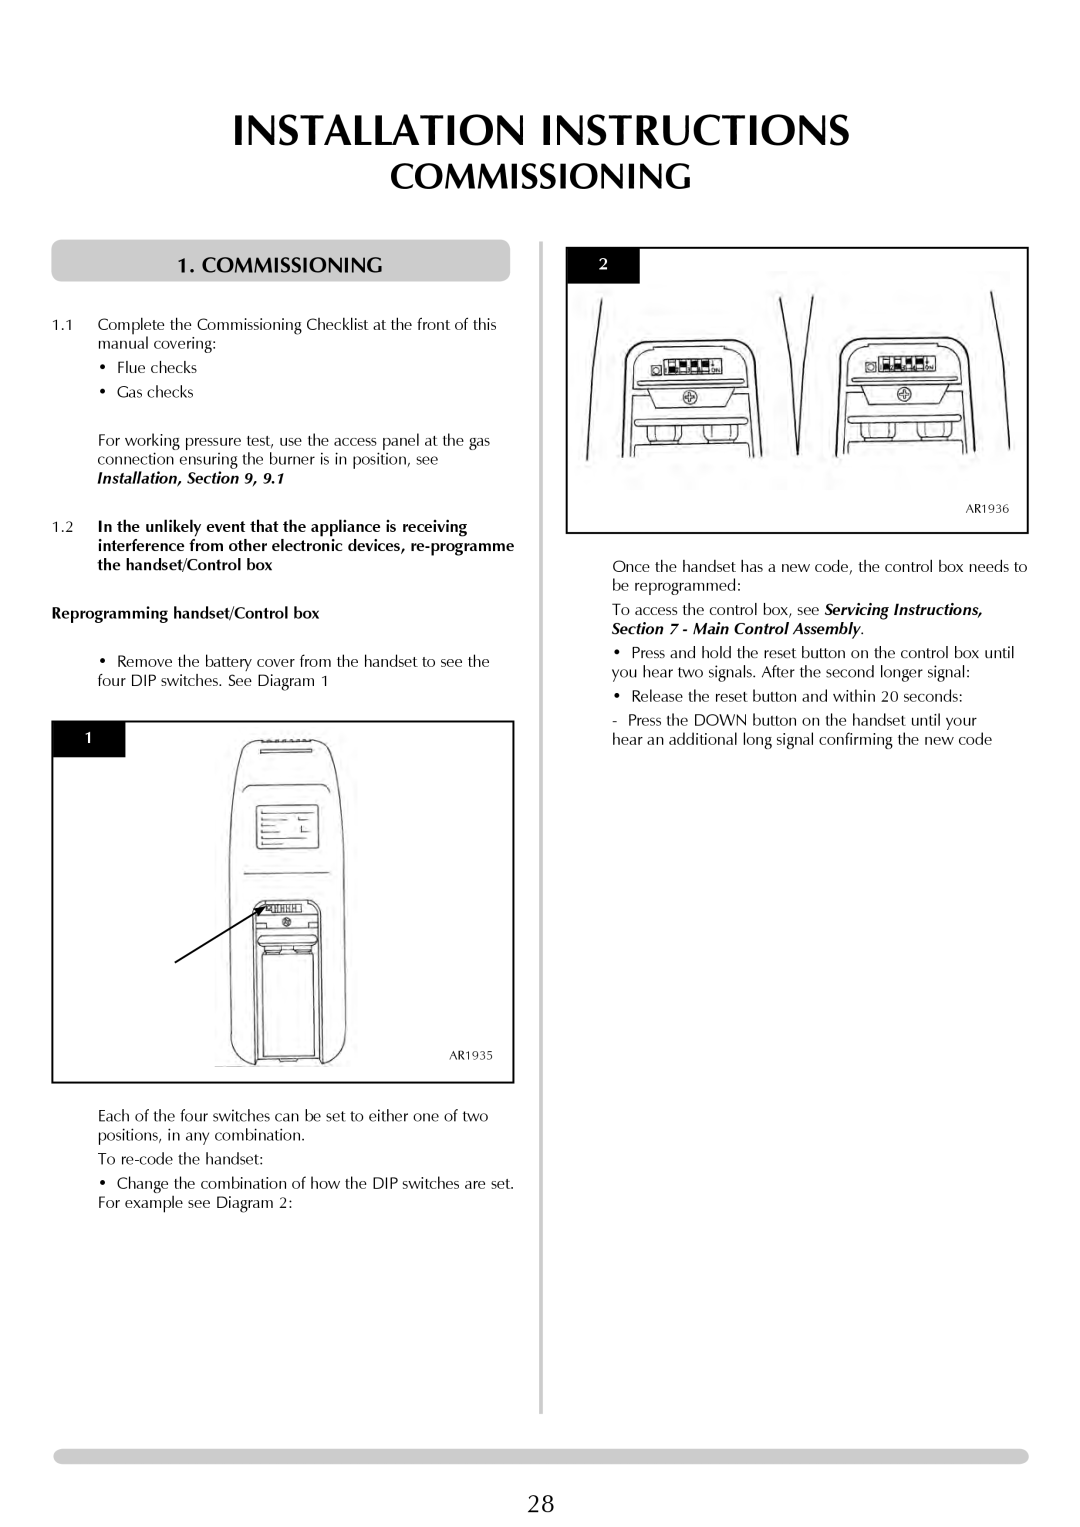
Each of the four switches can be set to either one of two positions, in any combination.
To
•Change the combination of how the DIP switches are set.
For example see Diagram 2:
2
AR1936
Once the handset has a new code, the control box needs to be reprogrammed:
To access the control box, see Servicing Instructions, Section 7 - Main Control Assembly.
•Press and hold the reset button on the control box until you hear two signals. After the second longer signal:
•Release the reset button and within 20 seconds:
-Press the DOWN button on the handset until your
hear an additional long signal confirming the new code
28