INSTALLATION INSTRUCTIONS
INSTALLATION
•Fit
•Fit plasterboard to the remaining chimney breast front
•Connect the flue system and gas services using the opening in the side of the chimney breast for access.
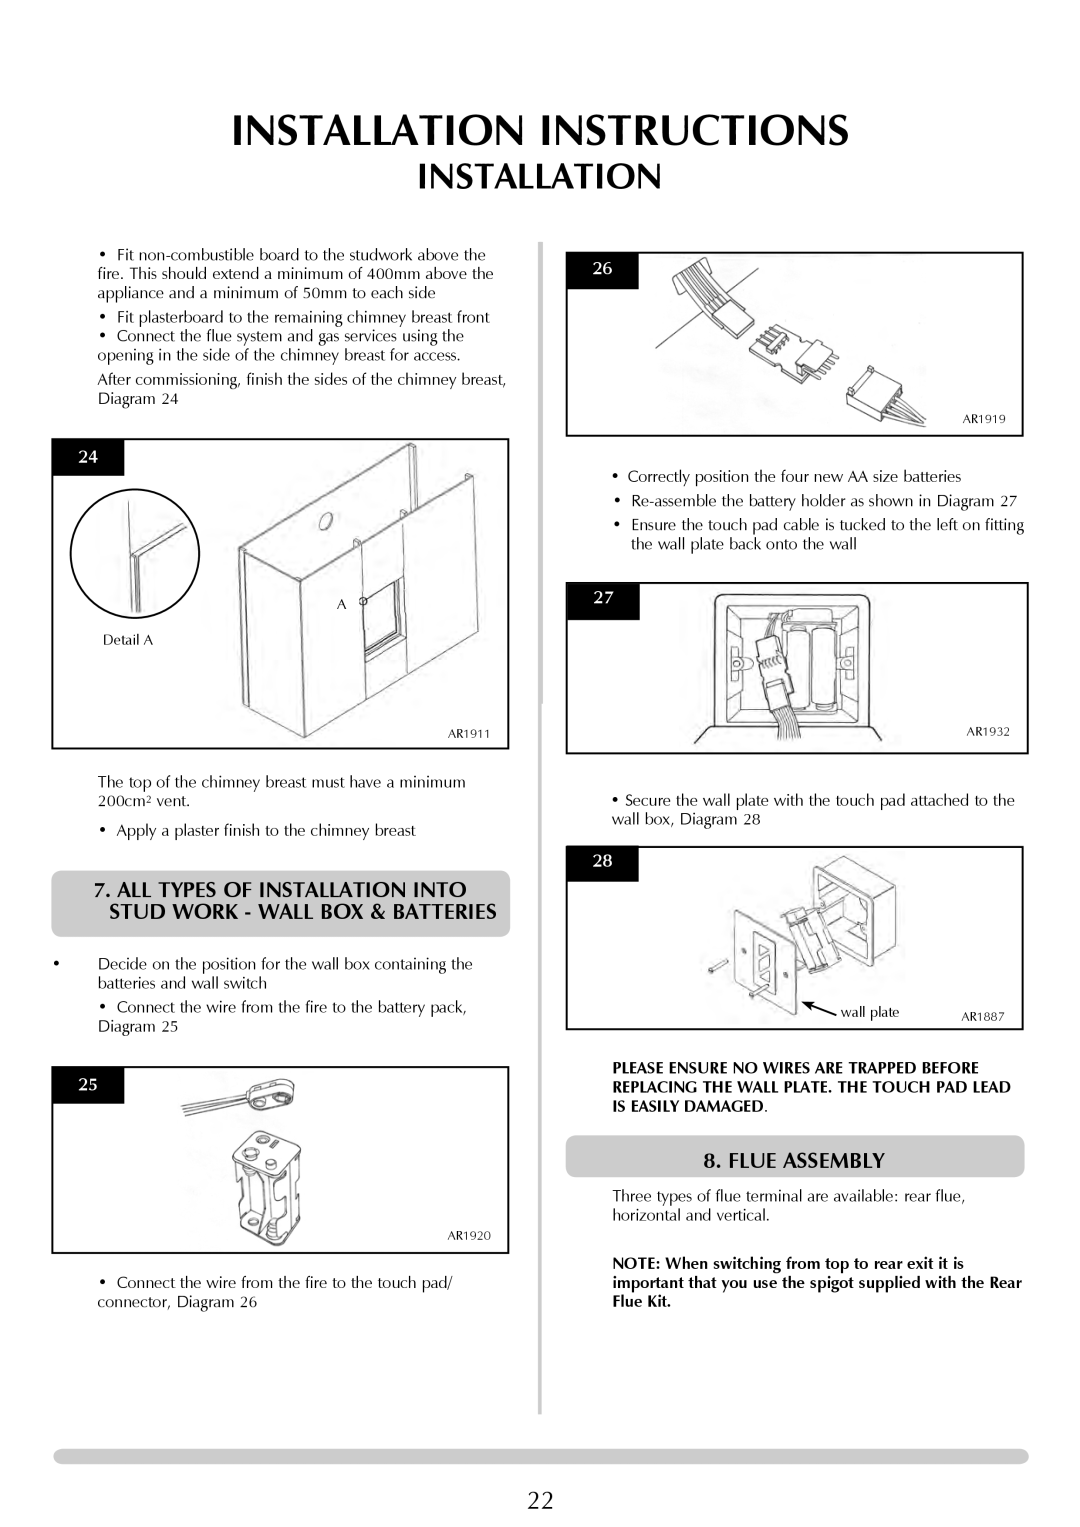
After commissioning, finish the sides of the chimney breast, Diagram 24
24
A
Detail A
AR1911
The top of the chimney breast must have a minimum 200cm2 vent.
• Apply a plaster finish to the chimney breast
7.all types of installation into stud work - wall box & batteries
•Decide on the position for the wall box containing the batteries and wall switch
• Connect the wire from the fire to the battery pack,
Diagram 25
25
AR1920
•Connect the wire from the fire to the touch pad/ connector, Diagram 26
26
AR1919
•Correctly position the four new AA size batteries
•
•Ensure the touch pad cable is tucked to the left on fitting the wall plate back onto the wall
27
AR1932
•Secure the wall plate with the touch pad attached to the wall box, Diagram 28
28
wall plate | AR1887 |
PLEASE ENSURE NO WIRES ARE TRAPPED BEFORE REPLACING THE WALL PLATE. THE TOUCH PAD LEAD IS EASILY DAMAGED.
8. FLUE ASSEMBLY
Three types of flue terminal are available: rear flue, horizontal and vertical.
NOTE: When switching from top to rear exit it is important that you use the spigot supplied with the Rear Flue Kit.
22