INSTALLATION INSTRUCTIONS
INSTALLATION
6.STUDWORK FOR COOL WALL INSTALLATION KIT
There is an optional Studio 22 Cool Wall Installation Kit available for installing the fire without a frame: Studio 22 BF Code No. 8727BFCW22. This consists of four metal brackets so that you can create a flush finish to the "edge" of the appliance.
For this
The cool wall installation kit is provided unfinished. This allows the kit to be finished to match the fireplace decor.
Using the fixing kit:
•Fit the four metal brackets of the kit to the fire
•Line up the side brackets with the holes in the front flange of the appliance
•Secure to the flange using the nuts, washers and bolts provided, Diagram 20
20
AR2132
Note: Make sure the long side of the bracket is nearest the inside.
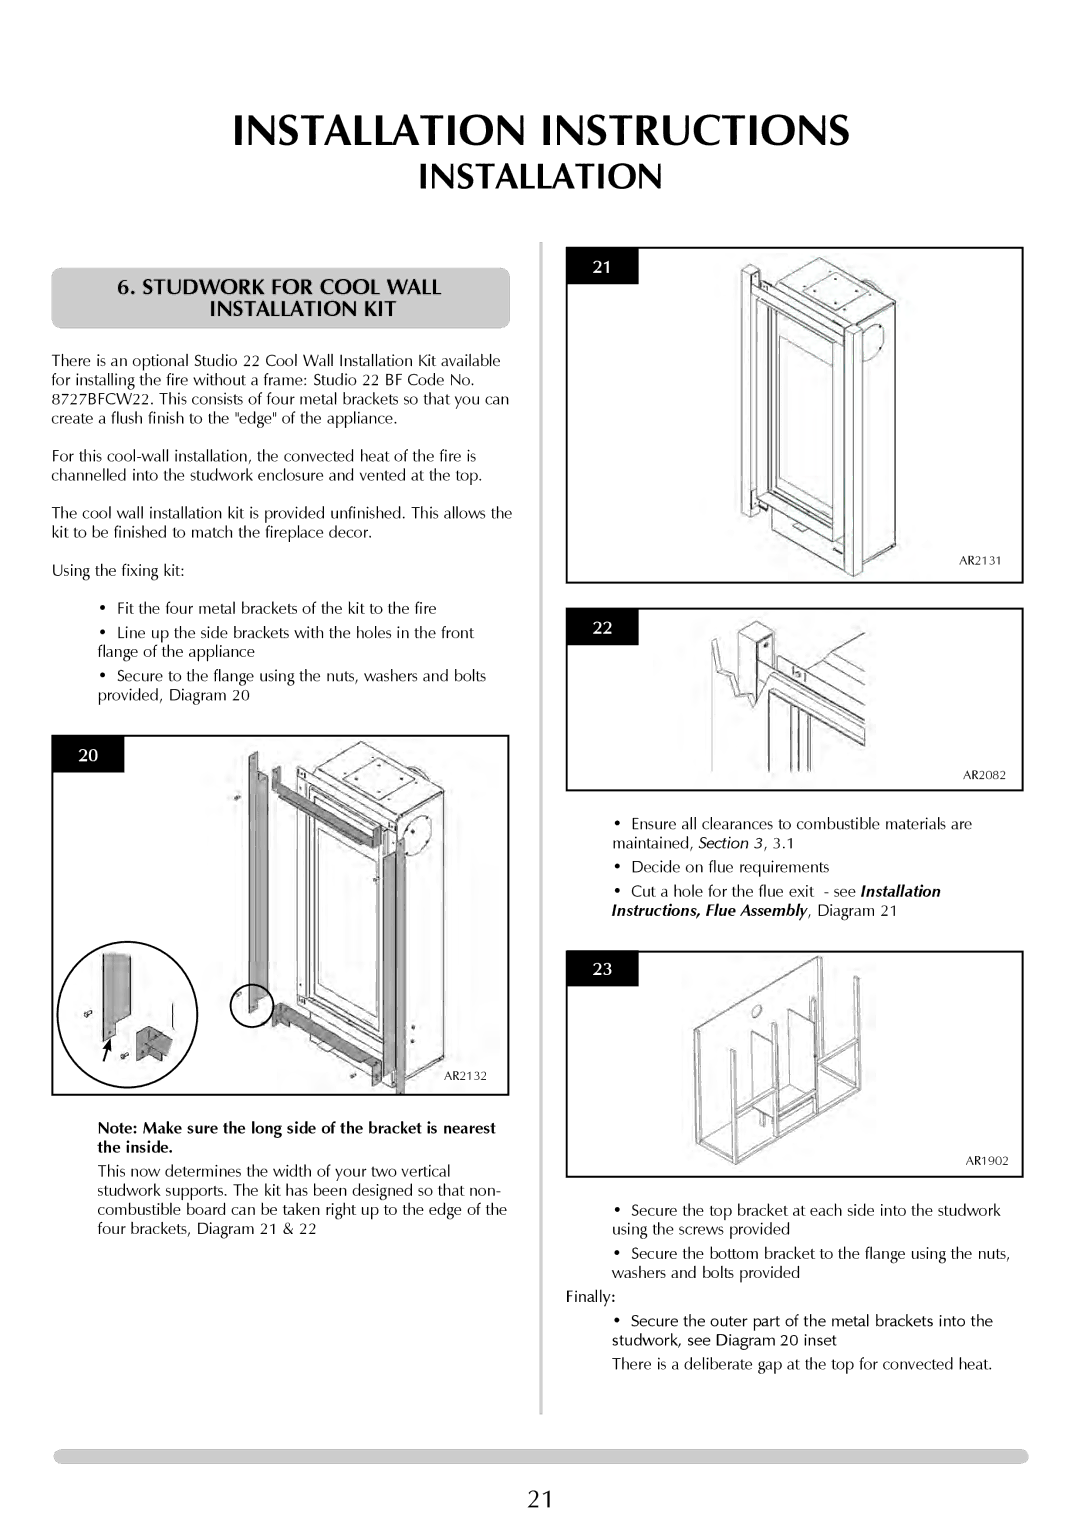
This now determines the width of your two vertical studwork supports. The kit has been designed so that non- combustible board can be taken right up to the edge of the four brackets, Diagram 21 & 22
21
AR2131
22
AR2082
•Ensure all clearances to combustible materials are maintained, Section 3, 3.1
•Decide on flue requirements
•Cut a hole for the flue exit - see Installation Instructions, Flue Assembly, Diagram 21
23
AR1902
•Secure the top bracket at each side into the studwork using the screws provided
•Secure the bottom bracket to the flange using the nuts, washers and bolts provided
Finally:
•Secure the outer part of the metal brackets into the studwork, see Diagram 20 inset
There is a deliberate gap at the top for convected heat.
21